Heat-Resistant Plaster Finishes Near Wood Stoves: Safer Choices and Topcoats
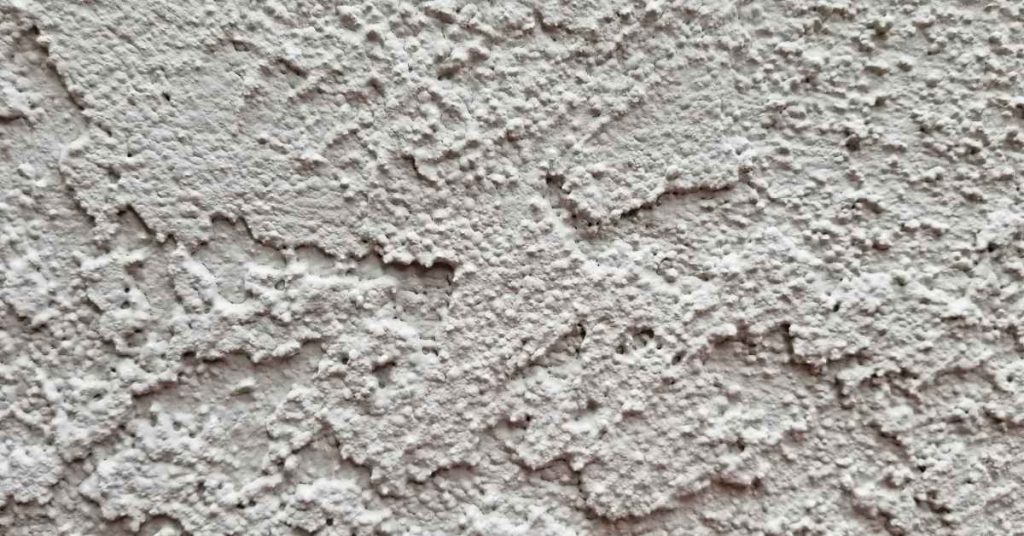
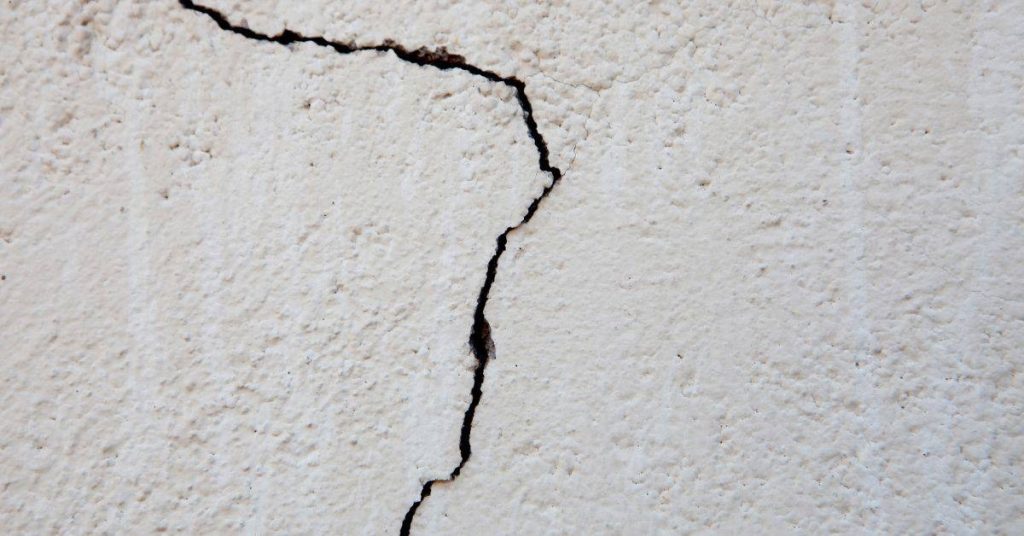
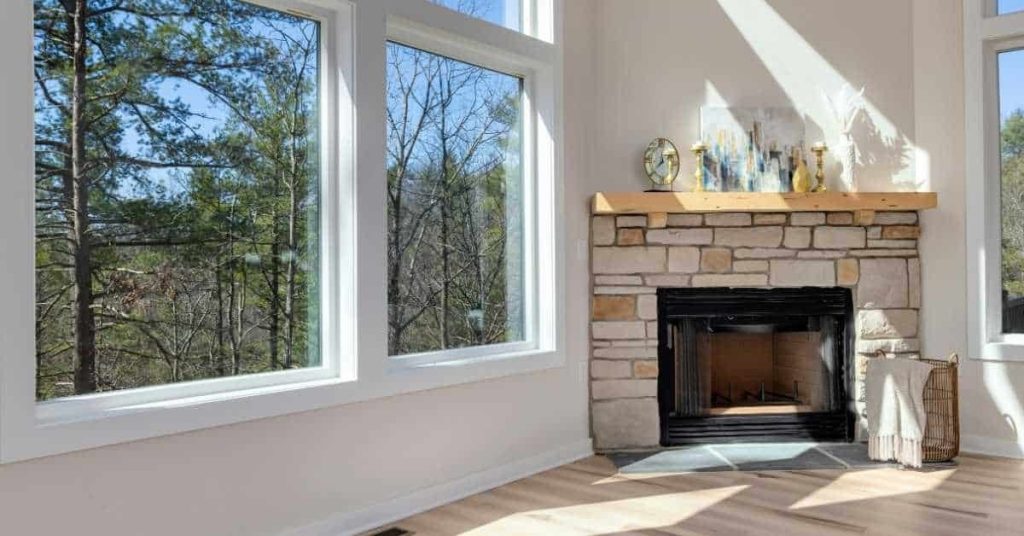
Introduction Heat-resistant plaster finishes are durable coatings designed to survive nearby wood stoves without cracking or posing a fire risk. Choose a plaster system that is non-combustible with a solid backing and proper joints, and follow the manufacturer’s instructions for installation and curing. For topcoats, look for options labeled for high-heat areas and apply them […]
Heat-Resistant Plaster Finishes Near Wood Stoves: Safer Choices and Topcoats Read More »