

Introduction
Concrete spalling is not caused by freeze-thaw cycles alone; moisture, reinforcement, and quality of materials also influence damage.
You’ll learn how to assess the other contributing factors, recognize the signs early, and apply practical steps to reduce spalling and extend the life of concrete structures.
Key takeaways
- Freeze-thaw is often blamed, but moisture sources and hydration drive spalling.
- Corrosion of steel reinforcement is a major non-freeze spalling trigger.
- Chemical reactions and alkali-silica reactions can mimic spalling signs often.
- Defects in mix design or placement cause early surface scaling and cracking.
- Deicers, salts, and contaminants accelerate deterioration beyond freeze cycles outdoors.
- Early inspection, moisture assessment, and corrosion checks improve diagnosis accuracy.
Table of Contents
- Introduction
- Key takeaways
- What is concrete spalling? Definitions and visual signs
- Why freeze–thaw cycles are often blamed — and what they actually do
- Corrosion of reinforcement: a primary non‑freeze cause
- Chemical and material reactions that mimic spalling
- Construction and material defects that cause spalling
- Human and environmental factors: deicers, salts, and contamination
- How to inspect and diagnose the root cause
- Repair options, prevention, and long‑term maintenance
- Safety, timing, and when to call a professional
- Common mistakes, warranty considerations, and regional nuances
- Conclusion
- FAQ
What is concrete spalling? Definitions and visual signs
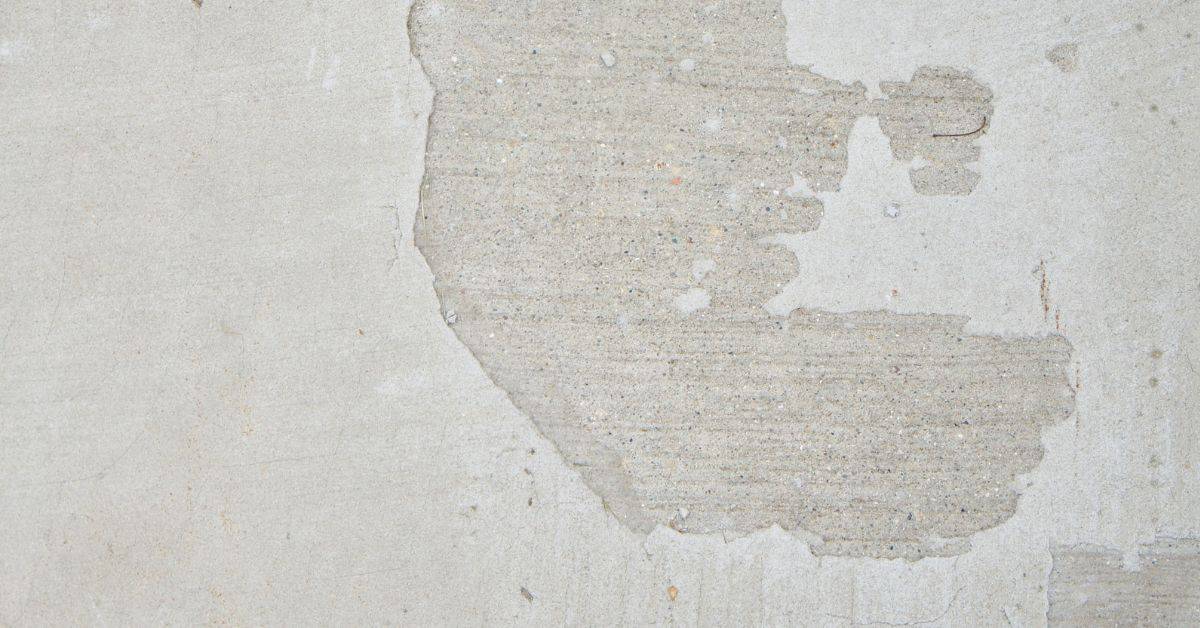
Concrete spalling is the surface failure where the outer skin of a concrete piece flakes, peels, or delaminates, revealing a rough interior and weakening the visible face. It can mimic ordinary finishing issues, but it extends deeper than superficial concerns like scaling or pop-outs. Knowing what to look for helps you separate cosmetic defects from problems that merit attention or professional help.
Quick visual cues and simple at-home tests can guide you: tap the area, observe moisture signatures, and note crack patterns over time. Spalling varies by location—slabs, walls, or decorative surfaces each present differently—and immediate safety steps should always be taken if the damage is extensive or near structural elements.
Pitting, flaking, and scaling — what to look for
Pitting appears as small, deep holes you can feel with a glancing touch; craters may extend deeper than an inch in severe cases. Flaking shows thin layers peeling away, leaving loose granular debris around the base.
Scaling presents larger, plate-like lifts or sheets that separate from the surface. If you can pry a panel with a screwdriver or hammer and it detaches, you’re likely dealing with scaling rather than a shallow finish.
Rebar exposure and delamination indicators
Rust staining along cracks or spalls signals internal steel corrosion. Exposed bars or orange‑brown threads of metal indicate rebar deterioration beneath the skin.
A hollow, drums-like sound when tapping often means a detached layer; solid concrete sounds dense and compact.
Distinguishing cosmetic vs structural spalling
Evaluate depth and spread: shallow chips under 1/4–1/2 inch across a small area are often cosmetic; deep pockets or widespread spalling on load-bearing elements raise structural concerns.
Consider location: decorative surfaces differ from beams, columns, or stair components. When reinforcement or load paths are involved, treat it as structural and seek professional guidance.
Why freeze–thaw cycles are often blamed — and what they actually do
Freeze–thaw damage starts when water infiltrates the concrete pore system, saturates it, and then expands as it freezes. Repeated cycles push on pore walls, widening microcracks and driving surface scaling, spalling, and cracking, especially near the exposed surface that dries and re-wets. In DIY circles, it’s a familiar culprit, but the blame is often overstated or misapplied when other factors mimic or amplify the effect.
Read the moisture environment, exposure to freeze cycles, and the pattern of damage to separate true freeze–thaw failures from other killers. Chloride exposure, poor drainage, inadequate compaction, air-void quality issues, and rebar corrosion can resemble or worsen spalling. Practical prevention hinges on drainage, moisture control, right air-void content, appropriate sealants, and knowing when to call a professional for fixes beyond DIY scope.
The freeze–thaw process in porous concrete
Water migrates into pores and microcracks; when temperatures drop, that water freezes and expands, creating pressure that widens voids and microcracks over many cycles. The damage accumulates gradually, with surface layers peeling or scaling as the weak zones reach the surface.
Key field cues: moisture-rich conditions, seasonal freeze cycles, and damage that begins at edges or areas with poor drainage. Air-entraining admixtures and higher permeability provide escape routes for ice, mitigating pressure. Regular surface sealing and a properly designed mix slow the cycle, while poor drainage or dense, low-porosity mixes accelerate it.
When freeze–thaw is the primary driver — and when it isn’t
Freeze–thaw dominates in environments with repeated wetting and frequent subfreezing temps, especially where drainage is inadequate. In mild/coastal climates or well-drained slabs, it plays a smaller role.
Other factors can overwhelm or mimic freeze–thaw: improper mix design, sulfate attack, heavy traffic, or chronic moisture issues. Look for a combination of water exposure, surface conditions, and structural exposures before attributing spalling to cycles alone.
Corrosion of reinforcement: a primary non‑freeze cause
Corrosion of reinforcement escalates when chloride ions and CO2 breach the concrete’s outer defenses, reaching rebar and disrupting the passive layer that normally slows rust. The ensuing chemistry drives rust growth, which pushes against the surrounding concrete and can trigger spalling near the steel. Early detection through targeted testing keeps repairs practical and affordable.
For field crews, recognizing specific patterns—like rust staining with local breakout near rebar—helps separate corrosion-driven damage from pure freeze–thaw effects. Combine non-destructive tests with selective core checks to confirm active corrosion and map affected zones, guiding durable repairs and long-term protective strategies.
Sources of chlorides: salts, seawater, and deicers
Chlorides reach steel primarily via surface salts, seawater splash, and road deicers that migrate into the concrete pore network. Once chlorides reach the rebar, they undermine the passive film and accelerate corrosion, even at modest moisture levels. Construction practices and adjacent use of deicers can significantly boost ingress if cover and barrier details are weak.
- Non-destructive checks: half-cell potential, covermeter for concrete cover, and rapid chloride tests to flag active ingress.
- Targeted core sampling to confirm corrosion activity and measure chloride concentration with depth.
- Key mitigation: limit exposure to chlorides, improve detailing around high-risk joints, and apply corrosion-inhibiting strategies during repairs.
Carbonation and pH loss — invisible but destructive
Carbonation silently lowers concrete pH as CO2 penetrates the paste, dissolving the protective film on steel and allowing rust to form without chlorides. This process progresses slowly but steadily, especially under poor cover or high-permeability mixes, and can precede visible spalling by years.
- Assess with cover measurements and surface quality checks to gauge protection against CO2 ingress.
- Use targeted cores to verify pH level changes and identify areas where rebar is vulnerable.
- Prevention hinges on robust cover, dense mixes, and protective barriers; repairs may include rebar treatment and corrosion-aware overlays.
Chemical and material reactions that mimic spalling
Alkali–silica reaction (ASR) signs and timeline
ASR shows up as a mottled network of fine, map‑like cracks across the concrete surface. Cracks often follow a web pattern and can be accompanied by a sticky, sometimes brownish gel pushed out of joints or cracks.
The damage develops slowly over months to years as the reactive aggregate expands with alkali and moisture. You’ll see progressive widening of cracks and measurable expansion of slabs or structures rather than sudden flakes coming off like freeze‑thaw damage.
Tip: If the pattern is a web of cracks with gradual bulging or expansion, think ASR. If you see sharp surface scaling after cold spells, that’s more likely freeze‑thaw and not ASR.
Sulfate attack and other chemical deterioration
Sulfate attack comes from soils, groundwater, or contaminated materials. Sulfates react with cement paste to form expansive, weak phases that cause the concrete to soften, crack, and lose surface material.
What you’ll notice is surface powdering, flaking, and progressive loss of paste around aggregates. The concrete becomes crumbly rather than producing intact chunks; rebar corrosion can follow if the paste drops away.
Practical note: Check nearby soils, de‑icing salt exposure, and the origin of aggregates or fill. Removing the source of sulfates and using sulfate‑resistant cement are the usual fixes on the job.
Construction and material defects that cause spalling
Spalling in concrete floors and pavements often stems from material defects that begin at mix design and placement, including incorrect water-cement ratios, inappropriate cement types, poorly chosen air-entraining agents, and non‑optimal aggregate gradation that weaken the surface and underlying matrix. Excessive bleed water and segregation during placement produce a soft laitance layer on the surface, which loses strength under foot traffic, loading, or temperature cycling and becomes a ready site for not‑freeze spalling. Inadequate concrete cover and faulty reinforcement placement expose the surface to abrasion, moisture, and freeze‑thaw stress, while insufficient consolidation creates voids and cracks that initiate spalling under use.
Keeping these factors in check means choosing the right mix, controlling water content, and ensuring proper compaction and curing so the surface develops uniform strength and resists cracking when temperatures swing. On a jobsite, attention to cover, proper consolidation practices, and avoiding premature drying are the practical steps that prevent costly spalling repairs and extend the life of driveways, floors, and concrete slabs. Understanding these defects helps DIYers plan effective timelines, communicate with concrete suppliers, and verify that the finished work will resist not‑freeze stresses rather than crumble after a season of use.
Too much water, weak near‑surface paste, and finishing errors
These are common finishing mistakes that make the top layer soft and prone to flaking. They’