

Introduction
Learn how to make durable concrete garden edging with simple prep, the right tools, and practical pro tips.
You’ll discover how to prep the site, mix and pour, set forms, finish surfaces, and troubleshoot common issues to achieve clean, lasting borders.
Key takeaways
- Choose a durable concrete mix and proper slump for stability and finish.
- Prepare a firm compacted trench and straight form boards for clean edges.
- Reinforce edges with wire or plastic forms to prevent cracking.
- Pour in stages, vibrate lightly, and strike off flush with guides.
- Cure under consistent moisture and shade to minimize surface crazing.
- Maintain edging by sealing, periodic reseeding of joints, and weed control.
Table of Contents
- Introduction
- Key takeaways
- Why concrete garden edging is worth doing
- Planning and site preparation
- Tools, materials, and mix selection
- Step-by-step pouring and forming process
- Finishing, curing, and long-term maintenance
- Professional tips, common mistakes, and safety
- Cost breakdown, time estimate, and environmental considerations
- Conclusion
- FAQ
Why concrete garden edging is worth doing
Concrete garden edging gives you a durable, clean border that stands up to foot traffic, weather, and shifting soil while staying low maintenance. It can last for decades—roughly in the range of 20–40+ years depending on conditions—and it won’t rot or attract pests like wood or loose stone. You get crisp edges, predictable lines, and the chance to dress it up with textures, stamps, and color to mimic other materials without sacrificing the concrete’s strengths.
This edging isn’t just strong; it’s flexible in look and easy to care for. Simple cleaning and occasional sealant or color touch-ups keep it looking sharp, and you can tailor textures or stamps to fit your landscape style. It helps plant health and lawn mowing by creating defined, maintenance-friendly borders, and it can be a cost-conscious, install-practical choice when compared to metal, plastic, or stone—check manufacturer instructions and local guidance for the best fit in your yard.
When to choose concrete vs. other edging materials
The choice of material for your garden edging can make a big difference in how well it performs and looks over time.
- High-traffic areas: Concrete is ideal for paths or walkways where foot traffic is heavy, as it holds up better than plastic or metal. Look for concrete with high compressive strength ratings to handle the load.
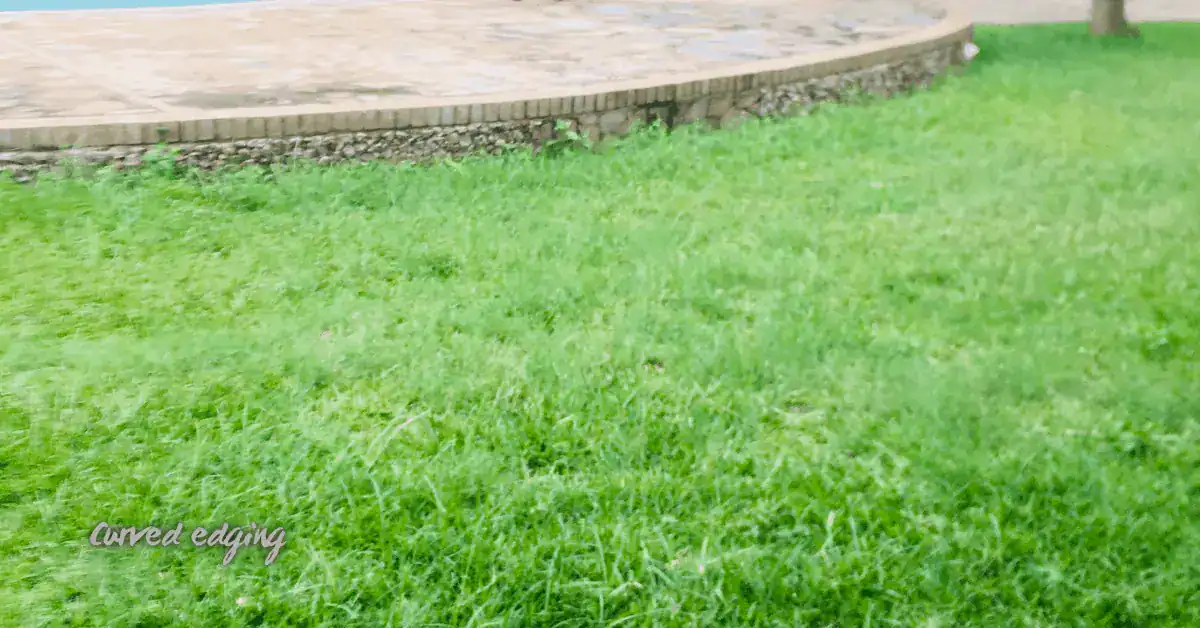
- Curved borders: Plastic and metal are easier to bend into curves but can crack over time from soil movement. Concrete forms tight curves well if poured correctly; avoid using precast pieces that might not fit.
- Root barriers: For areas where tree roots could be a problem, concrete provides a strong barrier compared to wood or plastic which may rot or break down faster.
- Low-maintenance: Concrete requires little upkeep and won’t stain like stone can. Avoid using materials that need regular painting or sealing.
- Budget constraints: While initial costs might be higher, concrete’s long lifespan means fewer replacements over time compared to plastic or metal which wear out faster.
How edging improves garden function and curb appeal
Garden edging not only defines the space but also enhances its functionality. Properly installed concrete edges help contain mulch, prevent grass from encroaching into beds, and improve soil retention.
The clean lines of a well-defined edge add to your property’s overall aesthetic, making it look more polished and cared for. This can significantly boost curb appeal and potentially increase the value of your home.
Concrete edges also make lawn maintenance easier by providing a clear boundary that mowers can follow without damaging plants or soil. The durability of concrete ensures these benefits last long-term with minimal upkeep.
Planning and site preparation
Planning and site prep means laying out every detail before you lift a shovel: measure the layout precisely, mark the lines, check the drainage slope away from structures, and pull turf and topsoil as needed. Define the edging height and how it will interact with beds and walks, then set reference points and baseline lines to guide curves and transitions so you don’t end up with sharp corners or misaligned edges. Get all permits, rules, and safety checks lined up so you aren’t surprised halfway through, and keep a simple risk checklist handy for the day you start digging.
This planning stage matters because careful prep prevents cracks and movement once the project is built. It gives you a stable base, helps you verify that water will drain properly, and keeps turf removal from destabilizing nearby features. Following a clear prep plan also makes later steps predictable: edging alignment stays true, grading shifts are caught early, and adjustments don’t derail the whole job. If anything seems off, check the label or instructions for the base materials, and confirm local rules before proceeding.
Measuring, marking, and calculating material needs
The right materials are crucial for a strong, long-lasting concrete garden edging. Use the correct measurements to ensure you have enough material without waste.
- Measure length: Start with your layout plan; measure straight sections and curved edges separately. Round up slightly to account for any miscalculation.
- Determine depth: Dig a test trench to see the soil type and decide on a consistent depth, usually 6 inches deep for stability.
- Calculate radius: For curves, measure from the center of the curve to the edge. Use this measurement to cut your concrete blocks or formwork accurately.
- Estimate volume: Multiply length by width by depth (in feet) and divide by 27 to get cubic yards of concrete needed. Don’t forget a little extra for waste.
- Select base material: Use gravel or sand as your subbase, depending on drainage needs. Gravel is better for slopes; sand works well in flat areas.
Ground prep: excavating, grading, and subbase
Proper excavation and a solid base are key to preventing cracks and shifting. Start by removing turf and topsoil down to the soil line.
Excavate trenches 6 inches deep for straight sections and adjust depth as needed for curves or slopes. Ensure the trench is level, with slight slope away from structures for drainage.
Create a compacted gravel base at least 4 inches thick. Use a plate compactor to ensure it’s solid before pouring concrete. This base provides stability and prevents water pooling.
Utilities, permits, and local considerations
Before you start digging, call your utility companies to mark underground lines. You don’t want to accidentally cut a cable or pipe.
Check with your city hall for any necessary permits or HOA rules. Some areas have specific requirements for concrete edging height and placement.
Timing is also important. Avoid working in extreme weather conditions like freezing temperatures or heavy rain. The best time is usually late spring to early fall when the ground is dry and stable.
Tools, materials, and mix selection
This section shows you the practical toolkit and material choices for edging or small slabs, making clear which tools are essential now and which add value later as you build experience. Expect a core set of forms (straight and flexible), a tamper, floats and jointer, hand or portable mixers, trowels, measuring tools, and safety gear, plus materials like the concrete type, aggregate, reinforcement options, and sealers. It also explains when to reach for bagged concrete versus ready‑mix and walks you through selecting a mix by relative strength, workability (slump), and batch considerations, while linking decisions to your project size and color consistency.
Getting the tool setup and material plan right helps you keep edges clean, depth and base stable, and the surface looking even, so you spend less time fixing rework. This matters because DIY projects suffer from under‑reinforcement, over‑tilling, or rushing curing, and knowing how to plan for weather, curing time, and workflow saves you from costly mistakes. Check labels and manufacturer instructions for any limits, and use your judgment to balance ready‑mix versus bagged options, reinforcement choice, and sealer or conditioner decisions based on your climate and use.
Tools checklist and alternatives
Before you start pouring concrete, run through this quick tool check to ensure everything is ready.
- Concrete mixer: Essential for mixing large batches. Check if it’s clean and operational; skipping this can lead to uneven mixes.
- Tamper or plate compactor: For compacting the base material. Ensure it’s charged or ready to go, as a loose base will cause settlement issues later.
- Forms: Straight or flexible depending on your design. Check for any cracks or damage that could leak concrete.
- Trowels and floats: For smoothing the surface. Make sure they’re clean and sharp to avoid marks in the finish.
- Safety gear: Gloves, safety glasses, and dust mask are a must. Skipping this can lead to injuries.
- Mason’s line: To keep your forms straight. Check for any knots or frays that could cause misalignment.
- Measuring tools: Tape measure and level. Ensure they’re accurate, as incorrect measurements mean wasted materials.
- Rebar bender: For shaping reinforcement. Make sure it’s functional to avoid weak spots in the concrete.
Quick rule: Always double-check your tools before starting work to prevent costly mistakes.
Concrete mixes and additives explained
Picking the right mix is crucial for a durable garden edge. Standard concrete works well, but fast-set or polymer-modified options can be better if you need to work quickly.
Fiber reinforcement is often added to prevent cracking, especially in longer runs of edging. It’s important to choose a mix with at least 2500 psi compressive strength for durability.
Admixtures like air-entraining agents can improve freeze-thaw resistance and workability, making your concrete more resilient over time.
Forms, reinforcement, and finishing supplies
The materials you choose for forms, reinforcement, and finishes will greatly impact the final look and durability of your garden edging.
- Wood or plastic forms: Use straight wood or flexible plastic. Look for durable material that won’t warp or crack under pressure.
- Rebar or wire mesh: For longer runs, use rebar or wire mesh to reinforce the concrete. Ensure it’s properly spaced and anchored to prevent cracking.
- Sealers or conditioners: Apply after curing for weather resistance. Choose a product that matches your climate conditions.
- Trowels and floats: For smoothing and finishing. Look for high-quality tools with comfortable grips.
- Concrete stamps: For decorative patterns. Ensure they’re clean and in good condition to avoid marks or stains.
Step-by-step pouring and forming process
Set up the forms properly, then lay out the base and edge controls before any mixing starts. Plan a clear pour sequence, keep the base well supported, and keep expansion joints in place to help prevent cracking as the concrete cures. Mix and batch with a sensible plan that matches the crew size and project length, then screed evenly and shape the surface to the final contour as soon as the pour is down and level becomes manageable, followed by the initial finish near the edges.
This approach matters because it reduces surprises on pour day, keeps the slab true to shape, and minimizes rework. A well-executed forming and base setup, controlled pace of pouring, and thoughtful finishing will help with drainage, edge protection, and joint placement as the concrete cures. The timing and crew coordination matter for different lengths, so stay flexible, follow the product instructions and local guidance, and keep a clean work surface to avoid contamination and mistakes.
Step-by-Step Pouring Process
This sequence ensures a smooth, professional finish for your concrete garden edging.<