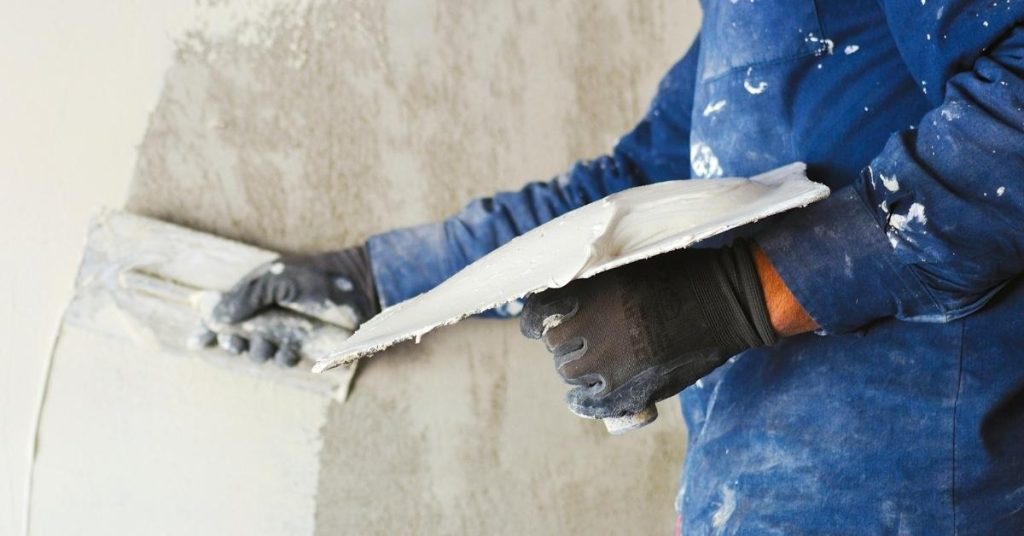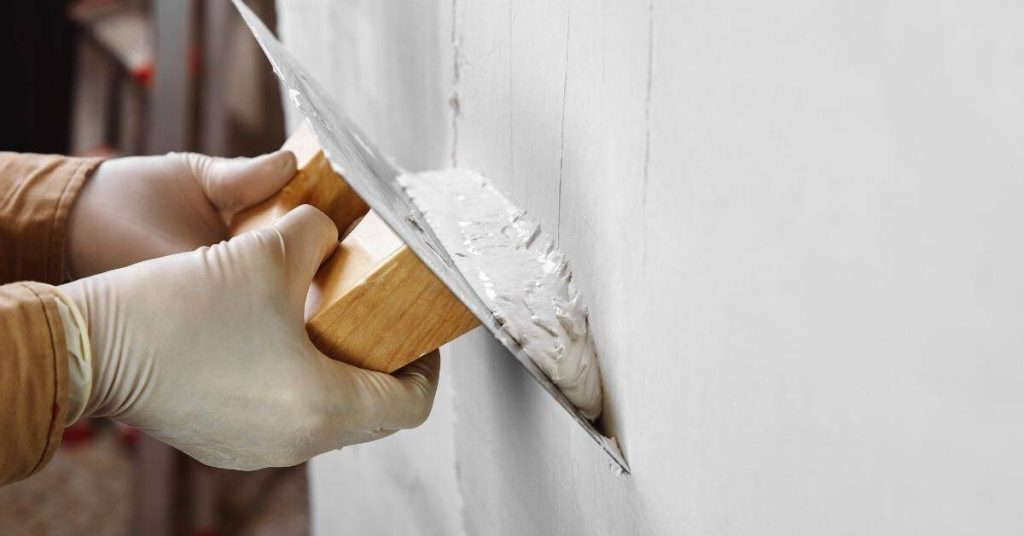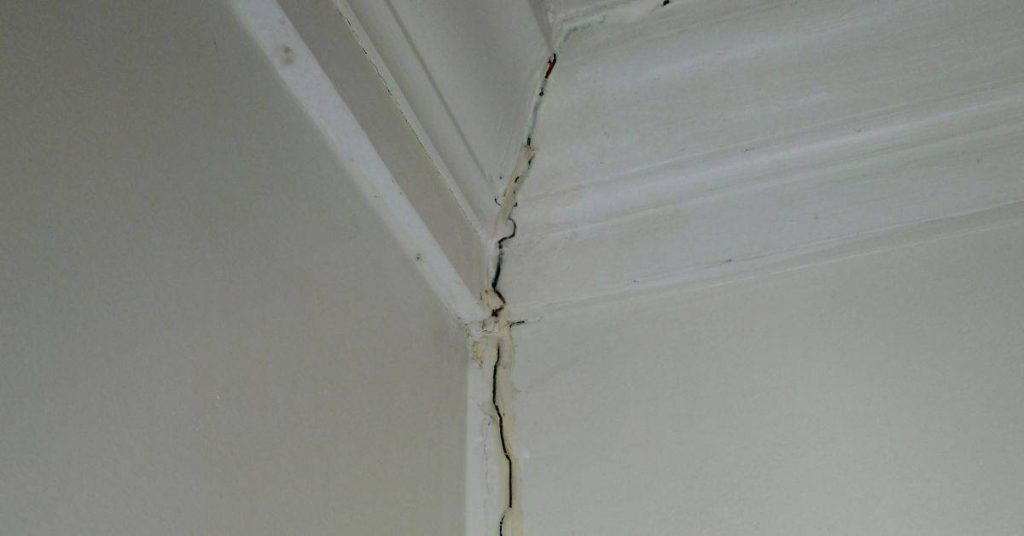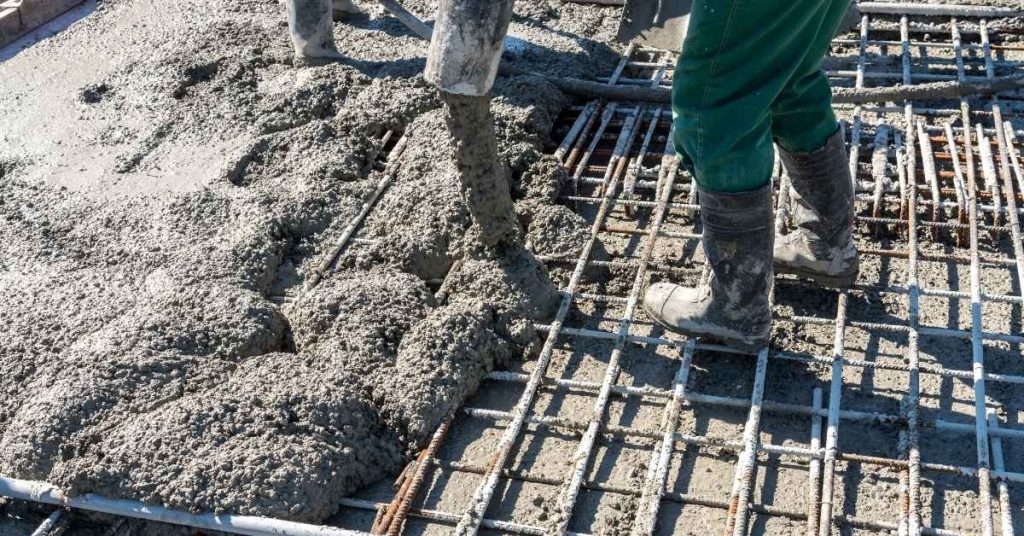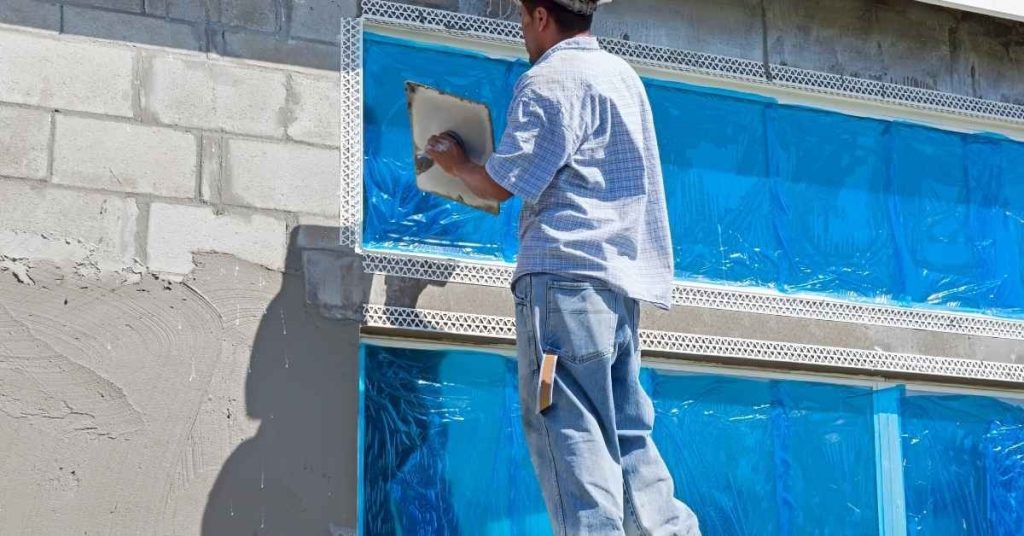
Stucco Over Painted Concrete Block: Adhesion Tests and Prep That Prevents Delamination
Introduction Stucco over painted concrete block requires proper surface prep and adhesion testing to prevent delamination. We’ll walk through simple checks you can do with basic tools to judge if the old paint will hold and what to rough up or clean. This is a hands-on, DIY-friendly overview, not a full contractor guide. You’ll start […]
Stucco Over Painted Concrete Block: Adhesion Tests and Prep That Prevents Delamination Read More »