Search Results for: plaster crack repair

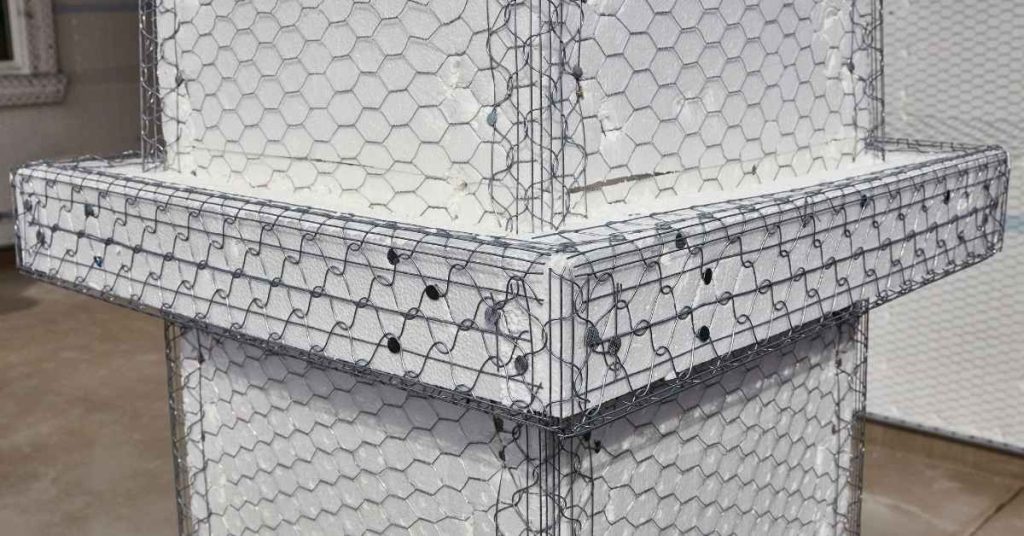
Wire lath attached over foam insulation at inside corner

Inside-Corner Stucco Cracks: Reinforcement That Works Without Bulking

Introduction Inside-corner stucco crack reinforcement is a way to strengthen the joint without making it bulky. It focuses on tying the corner back together and borrowing the surrounding material’s strength so the crack doesn’t widen. Check local guidelines and product instructions to choose a method that fits your wall and climate. Different stucco types and […]

Inside-Corner Stucco Cracks: Reinforcement That Works Without Bulking Read More »

Stucco exterior walls of beige house with visible horizontal control joints

Stucco Control Joint Layout for Big Walls: Spacing That Prevents Map Cracking

Introduction Control joints are designed gaps in stucco that allow movement and prevent cracks on big walls. They give the plaster somewhere to flex instead of tearing apart as the wall expands and contracts. If you skip them on a large surface, you’re inviting map cracking and uneven textures. Plan joint placement based on wall

Stucco Control Joint Layout for Big Walls: Spacing That Prevents Map Cracking Read More »

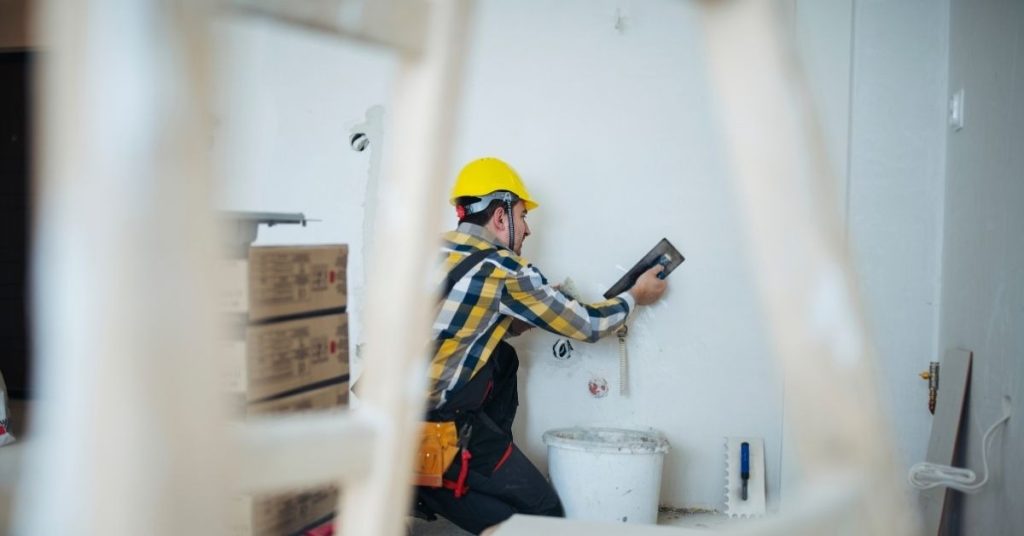
Worker wearing yellow helmet applying plaster to a wall

Plaster After Flooring Changes: Baseboard Edges, Gaps, and Crack Isolation

Introduction Plaster after flooring changes is about finishing edges where the wall meets the new floor to keep things smooth and crack-free. This topic covers baseboard edges, gaps, and how plaster behaves around different floor heights. Stay practical and honest about what you can patch and what might need more follow-up. Start by inspecting the

Plaster After Flooring Changes: Baseboard Edges, Gaps, and Crack Isolation Read More »

Man applying plaster on wall with a trowel

Heat-Resistant Plaster Finishes Near Wood Stoves: Safer Choices and Topcoats

Introduction Heat-resistant plaster finishes are durable coatings designed to survive nearby wood stoves without cracking or posing a fire risk. Choose a plaster system that is non-combustible with a solid backing and proper joints, and follow the manufacturer’s instructions for installation and curing. For topcoats, look for options labeled for high-heat areas and apply them

Heat-Resistant Plaster Finishes Near Wood Stoves: Safer Choices and Topcoats Read More »

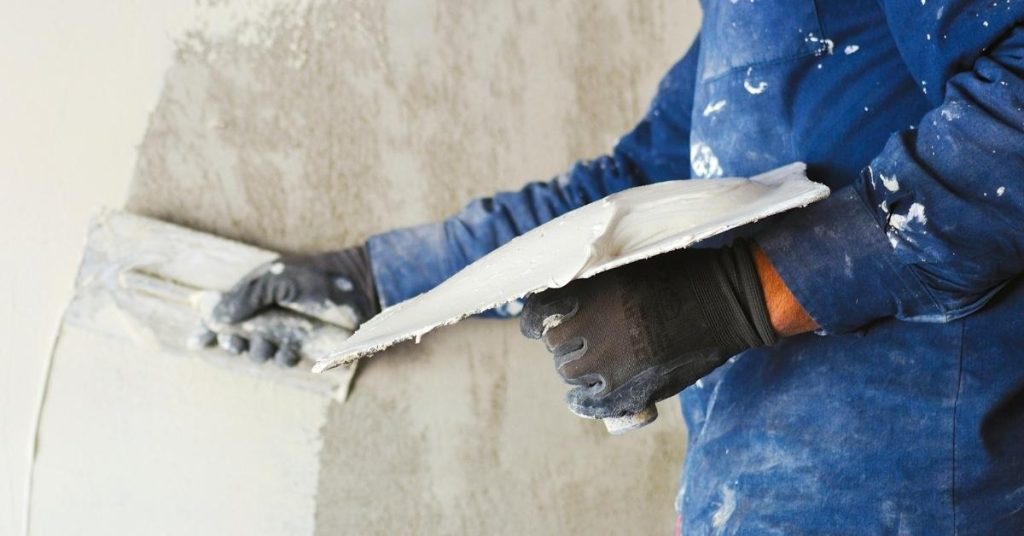
Worker applying plaster to wall with trowel and hawk

Venetian Plaster Over Existing Tile: Prep, Bond Bridges, and Edge Detailing

Introduction Venetian plaster over existing tile is applying plaster onto a tile surface to create a seamless, stone-like finish. Prep and bond are critical, because you’re sticking plaster to a non-porous base. You’ll need to clean, roughen, and seal as needed, then choose a compatible bonding product and follow its directions. Start with careful prep,

Venetian Plaster Over Existing Tile: Prep, Bond Bridges, and Edge Detailing Read More »

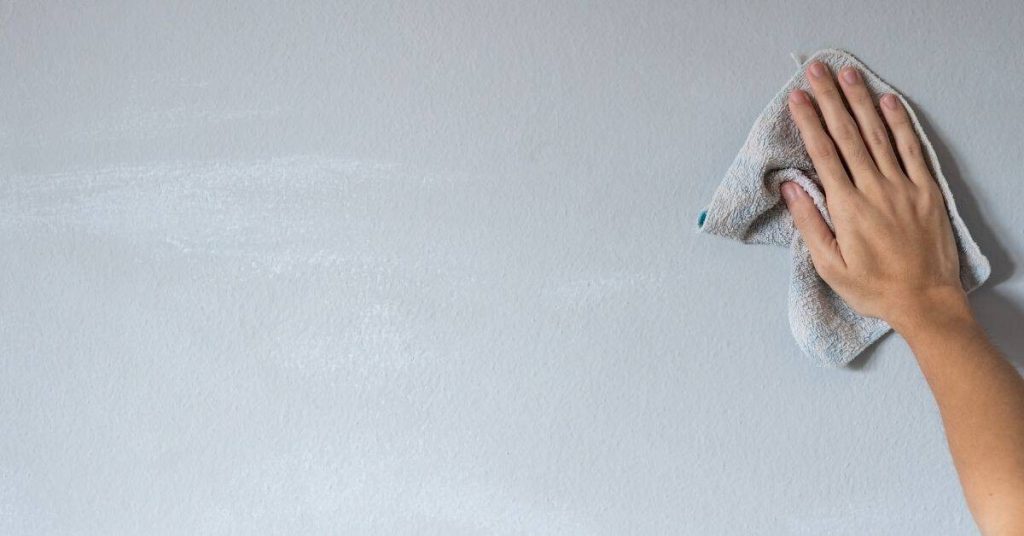
Hand wiping plaster wall with gray cleaning rag

Restoring Plaster After Smoke Damage: Cleaning, Sealing, and When Skims Won’t Bond

Introduction Restoring plaster after smoke damage means cleaning soot from surfaces, sealing with an appropriate primer, and addressing spots where skim coats won’t bond. This is a hands-on job you can tackle with basic tools, but you’ll need to verify suitability with product labels and local rules. Start with a gentle cleaning method that won’t

Restoring Plaster After Smoke Damage: Cleaning, Sealing, and When Skims Won’t Bond Read More »

Hands wearing gloves applying plaster with a trowel on wall

Lime Plaster Over Foam Indoors: Mechanical Keys, Mesh, and Fire-Safety Notes

Introduction Lime plaster over foam indoors is applying a breathable lime-based coating on foam insulation or foam boards inside a building. It needs proper keys, mesh, and surface prep so the plaster grips the foam. Work slowly, check that the foam is compatible with lime, and follow local rules. Use mechanical keys and mesh to

Lime Plaster Over Foam Indoors: Mechanical Keys, Mesh, and Fire-Safety Notes Read More »

Worker spraying wet stucco onto wall surface

Plaster Base Coats on Metal Lath: Thickness Targets and Scratch Patterns That Hold

Introduction A plaster base coat on metal lath is the first plaster layer that bonds to the lath and creates a solid surface. Apply it over clean, prepared metal lath and follow the guidance on the product label or manufacturer instructions. Keep the mix at a workable consistency and follow any local rules or instructions

Plaster Base Coats on Metal Lath: Thickness Targets and Scratch Patterns That Hold Read More »

Person applying plaster to wall with trowel and hawk

Plaster Timing vs Indoor Humidity: Avoiding Flashing, Soft Spots, and Patch Ghosting

Introduction Plaster timing vs indoor humidity is about when to plaster based on how damp the air and surfaces are. Doing it at the wrong moment can lead to flashing, soft spots, or patch ghosting that shows later. Check the product label and manufacturer instructions for open time and cure expectations, and adjust with airflow

Plaster Timing vs Indoor Humidity: Avoiding Flashing, Soft Spots, and Patch Ghosting Read More »

Gloved hand holding a metal trowel against a plaster wall

Hollow-Sounding Plaster Walls: Tap Maps, Key Failure Patterns, and Targeted Stabilization

Introduction Hollow-sounding plaster walls hide voids behind the plaster, so tapping sounds hollow. This usually means the lath or backing has failed or separated from the surface. Understanding this helps you map where stabilization work is needed. To map the problem, tap in several spots and note where the sound is the weakest. Look for

Hollow-Sounding Plaster Walls: Tap Maps, Key Failure Patterns, and Targeted Stabilization Read More »