
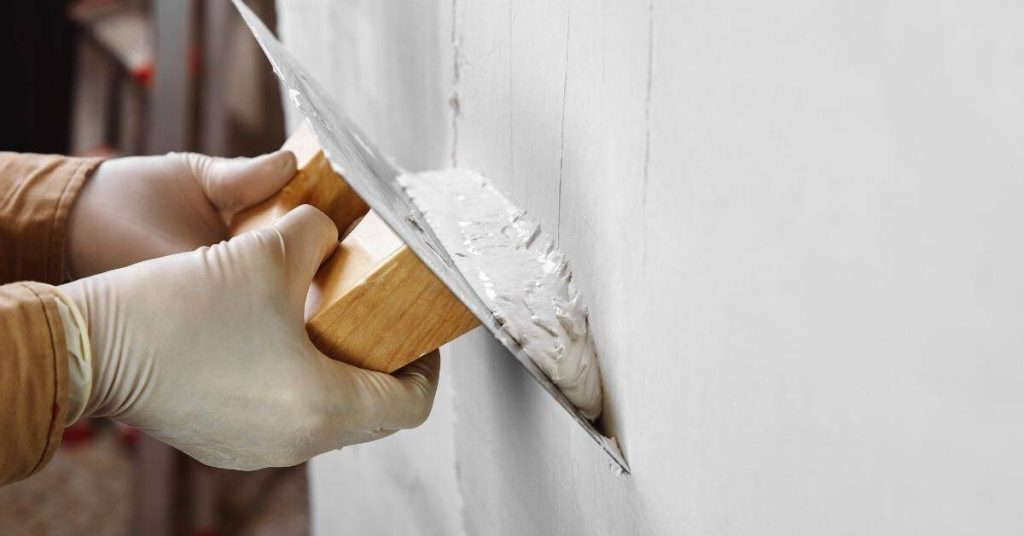
Introduction
Lime plaster over foam indoors is applying a breathable lime-based coating on foam insulation or foam boards inside a building.
It needs proper keys, mesh, and surface prep so the plaster grips the foam.
Work slowly, check that the foam is compatible with lime, and follow local rules.
Use mechanical keys and mesh to grip the plaster onto the foam and prevent debonding.
Keep fire-safety in mind by choosing materials and installation methods that meet local requirements, and verify with the label or code guidance.
If in doubt, check product labels, manufacturer instructions, and local rules for any limits on indoors application.
Key takeaways
- Confirm lime plaster is compatible with foam substrates and indoor conditions.
- Prepare substrate thoroughly: clean, dry, and abrasive-rough to accept keys.
- Mechanical keys and fasteners should avoid foam distortion and overloading.
- Reinforcement mesh goes where required, embed evenly, edge-clip, seal joints.
- Follow layered lime plaster workflow: base coat, keycoat, lime topcoat.
- Wear eye protection and gloves when mixing lime plaster indoors; maintain ventilation.
Table of Contents
- Introduction
- Key takeaways
- Why Choose Lime Plaster over Foam Substrates Indoors
- Substrate Assessment and Surface Preparation
- Mechanical Keys and Attachment Strategies
- Reinforcement Mesh: Materials, Placement, and Detailing
- Lime Plaster Mixes, Layers, and Application Workflow
- Moisture Control, Curing, and Indoor Climate Management
- Fire-Safety Notes, Tested Assemblies, and Regulatory Checks
- Tools and Materials Checklist, Visual Checkpoints, and Troubleshooting
- Conclusion
- FAQ
Why Choose Lime Plaster over Foam Substrates Indoors
Lime plaster on foam can offer breathable, natural finishing potential with a tactile and aesthetic look. It can also provide a durable, plastered surface that teams can repair. However, adhesion on foam and resistance to impact can be limitations to consider before starting.
Use this section to decide if the system fits your room and scope. Always check product labels, manufacturer instructions, and local rules to confirm suitability for your project.
Intended uses and performance expectations
Lime plaster is a versatile finish for indoor foam substrates. It’s commonly used on walls, ceilings, and decorative features like arches or niches.
Realistically, you can expect a lifespan of 10-20 years with proper maintenance. Lime plaster doesn’t crack easily but it can be damaged by impacts or moisture issues.
Note: It’s not suitable for wet areas like bathrooms without proper protection.
Compatibility overview of foam substrates
Foam substrates come in different types – polyiso, EPS, and XPS are common. Each has unique properties that affect lime plaster adhesion.
Before you start, check these:
– Surface smoothness: Foam should be smooth with no visible voids or bubbles.
– Moisture content: Foam shouldn’t be damp. If it is, let it dry out before applying lime plaster.
Substrate Assessment and Surface Preparation
Inspect the foam panels for damage, thickness consistency, and any exposed joints that may affect bonding. Identify surface contaminants such as dust, oil, or release agents that reduce adhesion. Plan a surface prep that protects insulation while promoting a solid key.
Prepare by following the product label or datasheet guidance for cleaning, priming, or abrading. If unsure, consult the manufacturer instructions and local building requirements.
Cleaning, leveling, and joint treatment
Start by inspecting your foam panels. Look for any dirt, grease, or other contaminants that could hinder adhesion.
Clean the surface using a mild detergent solution and water. Rinse thoroughly and let it dry completely.
Next, fill any seams or gaps between panels with a suitable foam joint compound. Ensure you create a smooth, uniform plane for plaster application.
Primers, adhesion promoters, and test patches
Before applying lime plaster, consider using a primer or adhesion promoter. These products enhance bond strength and prevent delamination.
When to use them? Apply if your foam substrate is porous, or if you’re unsure about the surface’s receptiveness to lime plaster.
Always do small test patches first. Apply the primer or promoter on a hidden area and let it dry. Then, apply a thin layer of lime plaster. Check for any signs of poor adhesion or incompatibility after 24 hours.
Mechanical Keys and Attachment Strategies
Mechanical keying creates a rough surface profile to improve plaster grip. Understand where a key, anchors, or a combination are appropriate for a durable indoor bond. Balance this with the need to protect foam insulation from over-stressing the panel.
When in doubt, review the instructions for each component and plan reinforcement for edges and joints. Verify fastener types and spacing with manufacturer guidance and local codes.
Types of mechanical keys and how they work
Mechanical keys are crucial for securing lime plaster to foam substrates. They create a physical interlock, resisting shear and peel forces.
Edge Keys: Cut into the foam’s surface, these keys provide resistance along the edges where stress is highest.
Bead/Edge Profiles: These are pre-formed strips with teeth that embed into the foam. They create a mechanical bond and distribute stress evenly.
Discrete Anchors: Screw-type anchors driven into the foam provide additional resistance at specific points, helping to prevent delamination.
Anchors, fastener selection, and performance checks
Selecting the right anchors is vital for a durable lime plaster finish on foam. Here’s what you need to know:
First, consider your foam’s density. Lighter foams require larger, more robust anchors.
Performance Checks: Always check an anchor’s pull-out or shear capacity before using it. Manufacturers provide this data, and testing can confirm it.
Remember, the key to successful anchoring is matching the right anchor to your foam density and ensuring its performance meets your needs.
Reinforcement Mesh: Materials, Placement, and Detailing
Reinforcement mesh options vary in material and mesh size; choose one that suits indoor lime plaster on foam. Place the mesh so it spans joints and provides crack control without creating sharp transitions. Align it to follow wall geometry and openings where possible.
Ensure proper embedment, adequate overlaps, and careful detailing at corners, openings, and control joints. Always check the mesh manufacturer guidance and project specifications for acceptable overlaps.
Mesh material choices and alkali resistance
The right mesh material is crucial for a durable, crack-free lime plaster finish. Alkali resistance is key when working with lime-based plasters.
- Alkali-resistant fiberglass: Inexpensive, lightweight, and easy to install. Look for mesh with alkali-resistance rating of 5 or higher. Avoid using in areas with high moisture content as it can degrade over time.
- Stainless steel: Premium option offering superior strength and durability. Ideal for areas prone to cracking or where extra reinforcement is needed. Spec stainless steel mesh with a minimum gauge of 20 (thinner wire).
- Galvanized steel: Affordable, strong, but susceptible to corrosion from alkalis in lime plaster. Use only if protected by a suitable primer and in dry areas.
- Plastic mesh: Lightweight, easy to install, but lacks the strength of fiberglass or metal meshes. Not recommended for critical reinforcement areas.
- Fiber-reinforced polymer (FRP) mesh: High-strength, lightweight, and resistant to alkalis. Expensive but offers excellent performance in demanding applications.
Mesh placement, embedment depth, and fastening
The mesh should be positioned within the middle third of your plaster build-up for optimal strength. Here’s how to secure it:
Embedment: Apply a thin layer of plaster (about 1/4″ thick) before placing the mesh. This ensures the mesh is well-embedded and surrounded by plaster on both sides.
Fastening: Use fasteners designed for your chosen mesh material to secure it in place. For fiberglass, use plastic or galvanized steel staples. For metal meshes, use self-drilling screws with washers. Space fasteners about 4″-6″ apart along the edges and 8″-12″ apart in the field.
Corners: At corners, embed mesh into both sides of the corner and secure with fasteners on both sides for added strength.
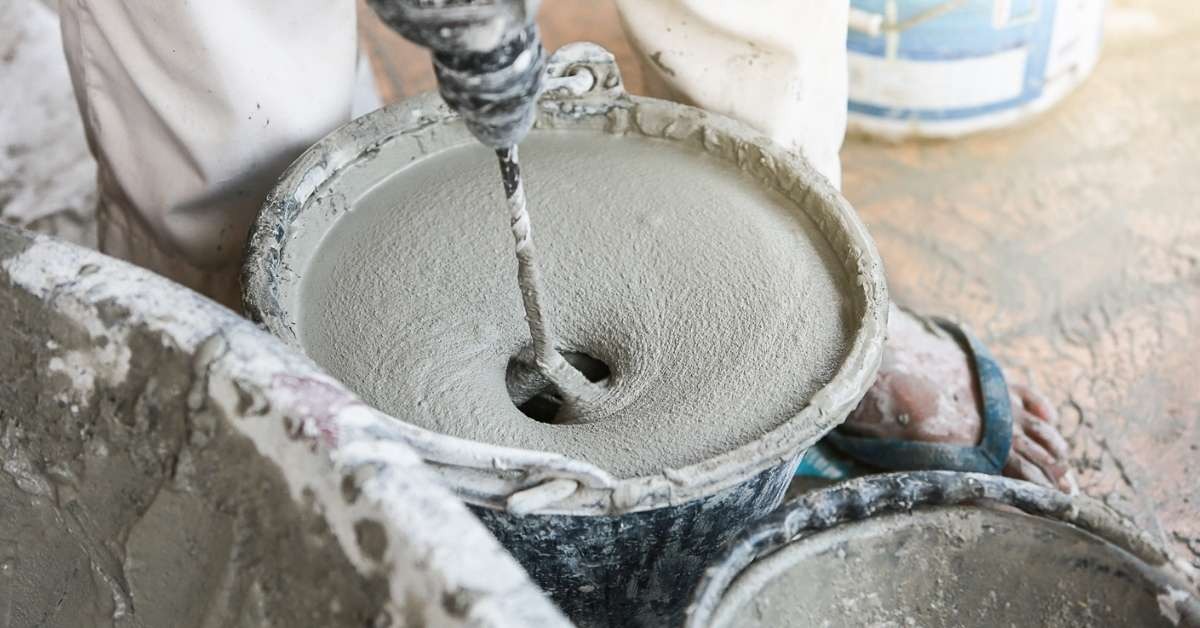
Lime Plaster Mixes, Layers, and Application Workflow
Indoor lime plaster workflows typically involve multiple coats with a scratch, brown, and finish layer sequence. Use mixes that are appropriate for interior use and compatible with foam substrates. Plan your steps to build a durable, even surface with acceptable texture.
Follow practical application tips for adhesion and finish quality, and verify the mix type, ratios, and curing expectations on the product label or manufacturer instructions. If you are unsure, consult the data sheet and local requirements before mixing.
Selecting lime type and optional additives
Lime plasters come in two main types: non-hydraulic (air-setting) and hydraulic (cementitious). Non-hydraulic limes are ideal for interior use, providing a traditional look and feel. They set by reacting with carbon dioxide in the air.
Hydraulic limes, on the other hand, set through a chemical reaction with water. They’re useful where faster setting is needed or when exposed to moisture. Always check product recommendations before adding any additives or pozzolans.
Layer thicknesses, timing, and intercoat bonding
The lime plaster application process involves three main layers: scratch, brown, and finish. The scratch coat is the first layer, applied to create a mechanical key for better adhesion. It’s typically 1/4″ to 3/8″ thick.
The brown coat follows, providing a smooth surface for the final finish. Applied at around 1/8″ to 1/4″, it should be allowed to dry until it’s slightly tacky before applying the finish coat.
The finish coat, usually applied at 1/16″ to 1/8″ thick, provides the final appearance. Timing between coats is crucial for strong intercoat bonds. Allow each layer to dry according to product recommendations before applying the next.
Moisture Control, Curing, and Indoor Climate Management
Indoor humidity, ventilation, and temperature directly affect lime plaster curing and long-term performance. Keep conditions steady enough to avoid rapid drying or trapped moisture. Consider how the foam backing interacts with the plaster during cure.
Outline practical methods to avoid moisture buildup between plaster and foam, such as managing airflow and avoiding sealant gaps. Check guidance from product labels, the manufacturer, or local building rules for best practices.
Avoiding moisture traps and vapor issues
Moisture trapped between your lime plaster and foam substrate can cause problems like mold, peeling, or weak adhesion. Here’s what to avoid:
- Vapor barriers: Don’t use them over foam. They trap moisture.
- Non-breathable primers: Av