
Introduction
Heat-resistant plaster finishes are durable coatings designed to survive nearby wood stoves without cracking or posing a fire risk.
Choose a plaster system that is non-combustible with a solid backing and proper joints, and follow the manufacturer’s instructions for installation and curing. For topcoats, look for options labeled for high-heat areas and apply them over a prepared, stable surface after confirming substrate readiness and local rules. Always check clearances, ventilation, and any local requirements before you start, and use non-combustible framing or backing where indicated by the product label.
Key takeaways
- Choose heat-resistant plasters tested for wood stove surrounds and mantels.
- Verify backing systems and substrates meet local code and manufacturer guidance.
- Prepare substrate with clean, dry, sound surfaces and proper thermal barriers.
- Follow thickness guidance and reinforcement methods from product labels and spec sheets.
- Ensure ventilation during application and curing to limit fumes indoors.
- Safety: maintain clearances, inspect for cracking, and perform timely repairs.
Table of Contents
- Introduction
- Key takeaways
- Why Heat-Resistant Plaster Matters for Wood-Stove Surrounds
- Types of Heat-Resistant Plasters and Backing Systems
- Material Specs, Standards, and Testing to Check
- Substrate Preparation and Thermal Barrier Requirements
- Application Methods, Thicknesses, and Reinforcement
- Topcoats and Surface Treatments That Withstand Heat and Smoke
- Safety, Clearances, and Installation Checklist
- Maintenance, Troubleshooting, and Repairs
- Conclusion
- FAQ
Why Heat-Resistant Plaster Matters for Wood-Stove Surrounds
Choosing the right plaster finish around a wood stove is about safety and durability. A proper finish helps manage heat transfer and reduces the risk of fire exposure to framing. It also matters for smoke staining and long-term maintenance.
Using the wrong material can create gaps, cracks, or weak spots where heat concentrates. The finish can affect clearances and how the wall ages with heat cycles. Always verify that the chosen system aligns with the stove and manufacturer recommendations.
Heat and ignition risks to finishes and substrates
Prolonged radiant heat from your wood stove can cause finishes to crack or spall over time. Hot embers or rolling logs could even ignite combustible materials.
Temperature cycles, as the stove heats up and cools down, also take a toll on plaster finishes. They expand and contract with heat, which can lead to stress fractures if not designed for it.
Properly rated heat-resistant plasters are formulated to withstand these conditions without failing or posing fire hazards.
Smoke, soot, and aesthetic durability
Wood smoke leaves behind soot and creosote that can stain your plaster finish over time. Some plasters are more porous than others, making them easier to clean but also more susceptible to staining.
Dark stains not only look unsightly but can also absorb heat, causing further damage to the finish. Heat-resistant plasters with smoke-sealing properties help minimize this issue.
Regular cleaning helps maintain appearance, but some finishes are easier to clean than others. Choose a plaster that balances durability and ease of maintenance for your needs.
When to consult manufacturer and local code
Always check your wood stove’s manufacturer installation instructions first. They’ll specify clearance requirements, approved materials, and other safety guidelines.
Local building codes may also have regulations regarding fire-resistant materials near heat sources like wood stoves. Check with your local authority having jurisdiction (AHJ) to ensure compliance.
Ignoring these guidelines could lead to voided warranties, unsafe conditions, or even legal issues down the line.
Types of Heat-Resistant Plasters and Backing Systems
Familiarize yourself with common families like refractory cementitious plasters, lime-based plasters, gypsum alternatives, and specialty high-temp mixes. Each type has its own heat tolerance, breathability, and workability. Consider the substrate and exposure when selecting a system.
Pros and cons matter: some finishes resist cracking better, some breathe more, and some are easier to finish. Check the product label or data sheet for recommended substrates and curing needs. Ask suppliers for guidance based on your setup and heat exposure.
Refractory/heat-resistant cementitious plasters
Refractory plasters are made with special aggregates and binders that can withstand high temperatures. The key is using materials like refractory cement, silica sand, and fireclay.
Best used: In areas with tight heat exposure, like directly behind or around your wood stove.
These plasters are great for backing systems and can take the heat of a wood stove. But they’re not as breathable as lime-based plasters.
Lime and mineral-based plasters
Lime and mineral-based plasters are made with natural materials like lime, sand, and minerals. They’re breathable, which helps control moisture.
Benefits: Breathability, stain resistance, and a beautiful finish.
However, they’re not as heat-resistant on their own. For areas near extreme heat, pair them with thermal barriers or use in combination with other materials.
Fire-rated boards and cement backings (substrates)
Fire-rated substrates like cement board, calcium silicate, or other fire-resistant panels provide a thermal barrier. They help protect your plaster finish from direct heat.
Role: Structural support and thermal protection for your plaster finish.
These substrates are great for backing systems. They can be used with both refractory and lime-based plasters, depending on the specific application and heat exposure.
Material Specs, Standards, and Testing to Check
Look for manufacturer datasheets and third-party certifications such as fire ratings or standardized test results. These documents indicate how a finish behaves under heat and its intended use. They also help you compare options side by side.
Learn to read labels and request test reports from suppliers. Ask for details on thermal conductivity, fire resistance, and any applicable regional standards. If in doubt, verify with the manufacturer or a local building authority before purchasing.
What UL, ASTM, and EN references mean for plaster and boards
When checking manufacturer datasheets, look out for these certifications:
UL (Underwriters Laboratories): Flame spread and smoke-developed index ratings. Lower numbers indicate better fire resistance.
ASTM (American Society for Testing and Materials): Maximum service temperature and thermal shock resistance tests. Higher numbers mean better heat resistance.
EN (European Norms): Similar to UL and ASTM, but follow European standards. Check for fire classification and maximum service temperature.
Lab testing for thermal cycling and adhesion
Ask suppliers about these lab tests:
Thermal Cycling: Repeated heating/cooling to mimic real-world conditions. Good results mean less cracking or delamination over time.
Adhesion Tests: Pull, peel, or shear tests on likely substrates (like concrete, brick, or drywall). Strong adhesion means better performance near heat sources.
These tests ensure your plaster can handle the heat and stick around.
Manufacturer installation and warranty limits
Check these factors before installing:
Maximum Recommended Temperature: Ensure it’s higher than your wood stove’s peak output.
Clearance Constraints: Follow manufacturer guidelines for minimum distances from heat sources to avoid warping or cracking.
Warranty Limits: Some warranties may be void if used near high-heat appliances. Always check before installing.
Substrate Preparation and Thermal Barrier Requirements
Prepare a clean, dry surface and create a mechanical key so the plaster grips well. Use the recommended backing or backing system for your chosen finish. Build a proper thermal barrier between the stove and combustible framing as directed by the product maker.
Always verify preparation steps with the stove and material manufacturers. Confirm acceptable substrate materials and any required spacers or sealants. Documentation from the product instructions helps keep installations compliant over time.
Surface prep by substrate type (masonry, drywall, board)
Prepping your surface right is key to a strong, safe finish. Here’s how:
Masonry: Clean and dampen the surface. Remove any loose material. Use a bonding agent if needed.
Drywall: Ensure it’s fire-rated (Type X). Prime with a heat-resistant primer. Sand smooth.
Cement Board/Painted Surfaces: Clean, sand, and prime to ensure adhesion.
Installing backing and insulation layers (mineral wool, air gaps)
Thermal barriers protect your framing. Here’s how to install them:
Use non-combustible boards like cement or plywood. Leave a 1/4″ gap for expansion.
Apply mineral wool batt behind the board, keeping it away from the stove.
Consider ventilated air gaps. But avoid combustible insulation.
Fastening, movement joints, and substrate reinforcement
Proper fasteners and joints keep your finish intact:
Use expansion screws for boards. Stagger rows.
Apply lath/mesh with stainless steel nails/screws. Keep them away from the stove.
Create movement joints every 4-6 feet to prevent cracking under heat cycles.
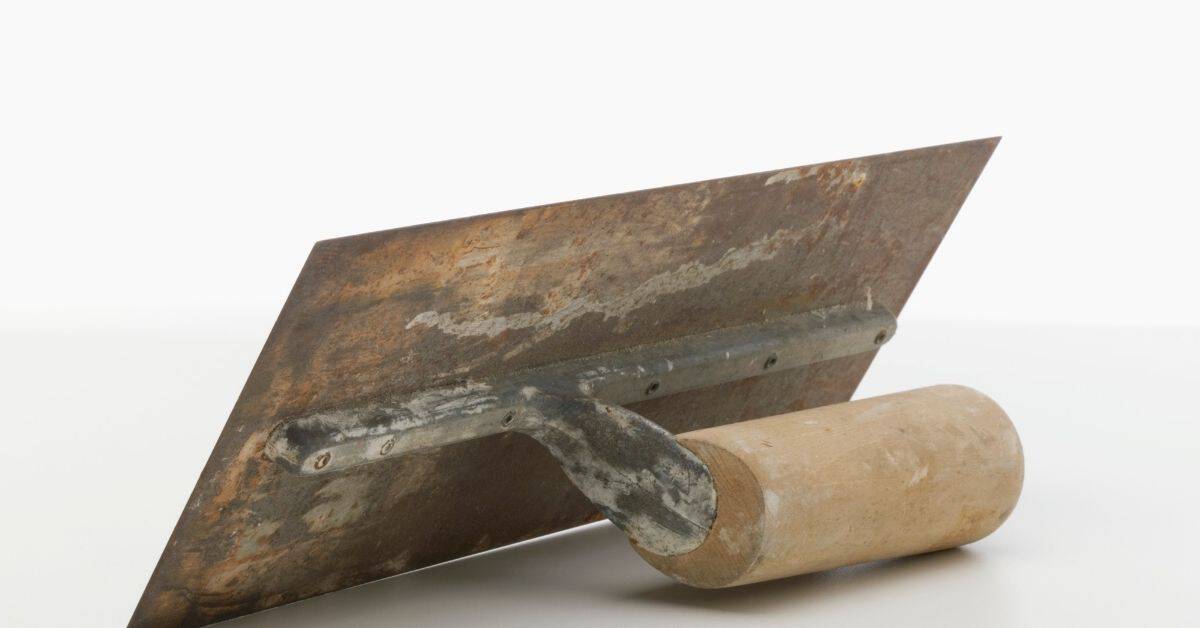
Application Methods, Thicknesses, and Reinforcement
Follow the mix and layering guidelines from the manufacturer. Apply in the correct sequence to avoid delamination. Allow adequate drying and curing per the product instructions.
Reinforcement like metal lath or fiberglass mesh is often used for durability. Avoid common mistakes such as over-building in one pass or trapping moisture. Confirm thickness recommendations with the product data sheet for your situation.
Mixing and curing best practices
Mix your plaster carefully, following the manufacturer’s guidelines. Too much water weakens it; too little makes it hard to apply. Aim for a consistency like thick yogurt.
Work quickly, as cementitious plasters set fast. Lime plasters have longer working times but still need attention.
Avoid mixing and applying in extreme temperatures or high humidity. Curing is crucial – keep the plaster damp for at least 7 days, misting it regularly. Cover it with plastic at night to retain moisture.
Layering, recommended build-up, and reinforcement
Refractory plasters are typically applied in three layers: scratch, float, and top. The first two embed the lath or mesh for strength. The final layer smooths it out.
Single-coat mixes can be used too, but they need careful application to avoid slumping. Follow manufacturer’s recommendations on build-up thickness; usually 3/8″ to 1/2″ per coat.
Embed lath or mesh in the first two coats, following the manufacturer’s guidelines. It should be centered within the plaster layer for best support.
Seams, corners, and transitions to non-combustible elements
Proper detailing at edges and openings maintains fire performance. Use metal corner beads in the first coat for strength. At seams, overlap the plaster slightly and feather it out.
Where plaster meets stove pipe, hearths, or trim, ensure a tight fit but don’t trap moisture. Use high-temperature silicone caulk if needed. Maintain a 1/8″ gap at walls to allow for expansion.
Avoid sharp corners. Round them off slightly to prevent cracking and maintain aesthetics.
Topcoats and Surface Treatments That Withstand Heat and Smoke
Compare high-temperature paints, breathable sealers, limewash, and polished plasters for both performance and appearance. Some finishes resist smoke staining better than others. Choose a decorative option that does not compromise heat resistance.
Assess how each topcoat interacts with the base layer and the stove area. Verify compatibility with your base plaster and any ventilation requirements. When in doubt, consult the manufacturer for finish compatibility notes.
High-temp paints and intumescent coatings
When it comes to protecting your plaster finish near a wood stove, high-temperature-rated paints or intumescent products are your best bet. These specialized coatings can withstand heat and even expand when exposed to fire, forming an insulating char layer.
Before use, always confirm the product’s temperature and service limits match your specific needs. Most high-temp paints can handle up to 1200°F (650°C), while intumescent coatings can reach 1800°F (980