Search Results for: match texture plaster

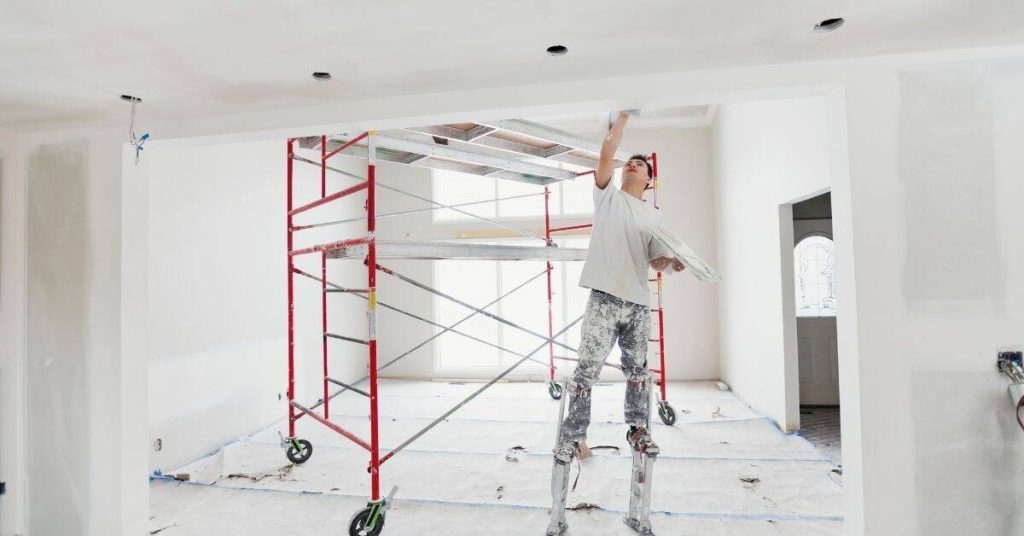
Worker on stilts applying plaster to ceiling near scaffolding

Plaster Ceiling Cracks Along Joists: Why They Return and How to Bridge Them

Introduction Cracks along ceiling plaster near joists happen when the ceiling system moves and the plaster loses grip. They often reopen because framing shifts or settling continues after repair. This is DIY-friendly but you must inspect joist movement and check for underlying causes. Bridge them by stabilizing the joint area and smoothing a patch over […]

Plaster Ceiling Cracks Along Joists: Why They Return and How to Bridge Them Read More »

Worker applying plaster to interior wall using trowel and hawk

Plaster Repairs Around HVAC Registers: Heat, Vibration, and Sharp Edges

Introduction Plaster repairs around HVAC registers are patches that seal gaps and restore a smooth surface where the duct opening meets the wall. These repairs must account for heat, vibration, and sharp edges created by the register. Keep it simple: assess the damage, choose appropriate patch materials, and plan a clean joint with the surrounding

Plaster Repairs Around HVAC Registers: Heat, Vibration, and Sharp Edges Read More »

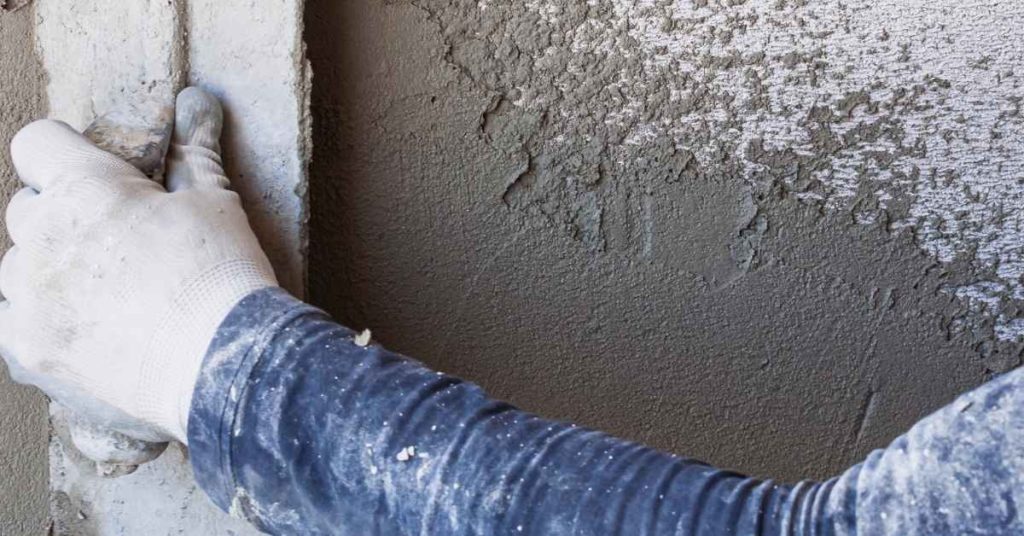
Man applying plaster on wall with a trowel

Heat-Resistant Plaster Finishes Near Wood Stoves: Safer Choices and Topcoats

Introduction Heat-resistant plaster finishes are durable coatings designed to survive nearby wood stoves without cracking or posing a fire risk. Choose a plaster system that is non-combustible with a solid backing and proper joints, and follow the manufacturer’s instructions for installation and curing. For topcoats, look for options labeled for high-heat areas and apply them

Heat-Resistant Plaster Finishes Near Wood Stoves: Safer Choices and Topcoats Read More »

Worker applying plaster to wall with trowel and hawk

Venetian Plaster Over Existing Tile: Prep, Bond Bridges, and Edge Detailing

Introduction Venetian plaster over existing tile is applying plaster onto a tile surface to create a seamless, stone-like finish. Prep and bond are critical, because you’re sticking plaster to a non-porous base. You’ll need to clean, roughen, and seal as needed, then choose a compatible bonding product and follow its directions. Start with careful prep,

Venetian Plaster Over Existing Tile: Prep, Bond Bridges, and Edge Detailing Read More »

Hand wiping plaster wall with gray cleaning rag

Restoring Plaster After Smoke Damage: Cleaning, Sealing, and When Skims Won’t Bond

Introduction Restoring plaster after smoke damage means cleaning soot from surfaces, sealing with an appropriate primer, and addressing spots where skim coats won’t bond. This is a hands-on job you can tackle with basic tools, but you’ll need to verify suitability with product labels and local rules. Start with a gentle cleaning method that won’t

Restoring Plaster After Smoke Damage: Cleaning, Sealing, and When Skims Won’t Bond Read More »

Hands wearing gloves applying plaster with a trowel on wall

Lime Plaster Over Foam Indoors: Mechanical Keys, Mesh, and Fire-Safety Notes

Introduction Lime plaster over foam indoors is applying a breathable lime-based coating on foam insulation or foam boards inside a building. It needs proper keys, mesh, and surface prep so the plaster grips the foam. Work slowly, check that the foam is compatible with lime, and follow local rules. Use mechanical keys and mesh to

Lime Plaster Over Foam Indoors: Mechanical Keys, Mesh, and Fire-Safety Notes Read More »

Close-up of patterned decorative plaster with floral design

Patterned Decorative Plaster Patches: Aligning Repeats and Hiding Seams

Introduction Patterned decorative plaster patches are small, repeatable designs applied to damaged plaster to create a seamless look. The goal is to line up the pattern so the patches blend with the surrounding wall and hide the seams. Work with the existing texture and color as a guide. Start by cleaning the area and roughing

Patterned Decorative Plaster Patches: Aligning Repeats and Hiding Seams Read More »

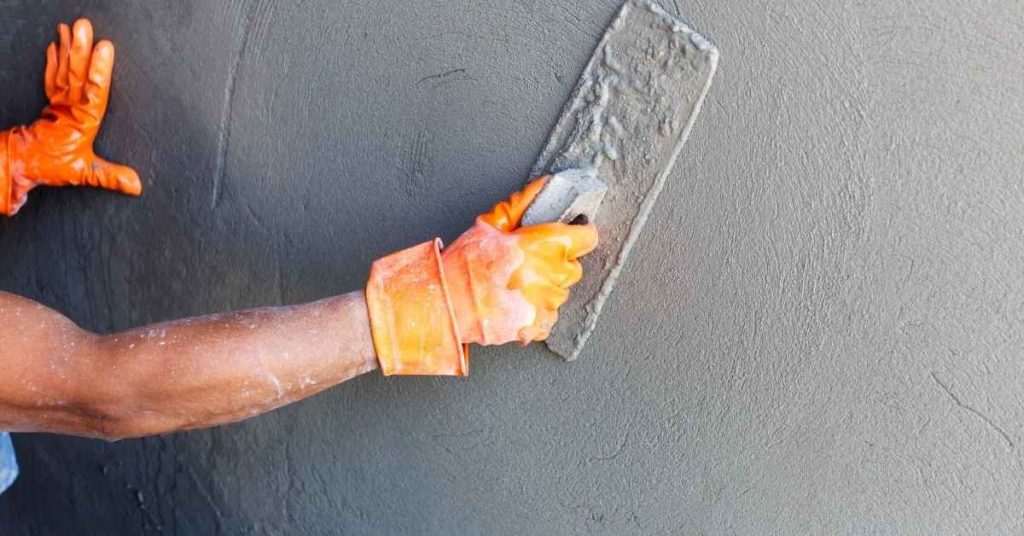
Worker smoothing wet plaster on wall with trowel wearing orange gloves

Plaster Blisters from Trapped Moisture: Drying Strategy Before You Re-Skim

Introduction Blisters in plaster happen when moisture is trapped behind the skim coat, causing bubbles. Before you re-skim, the goal is to dry out the area and reattach loose material. Check the plaster surface for loose edges and follow manufacturer instructions or local rules for drying. Give the area plenty of ventilation and use gentle

Plaster Blisters from Trapped Moisture: Drying Strategy Before You Re-Skim Read More »

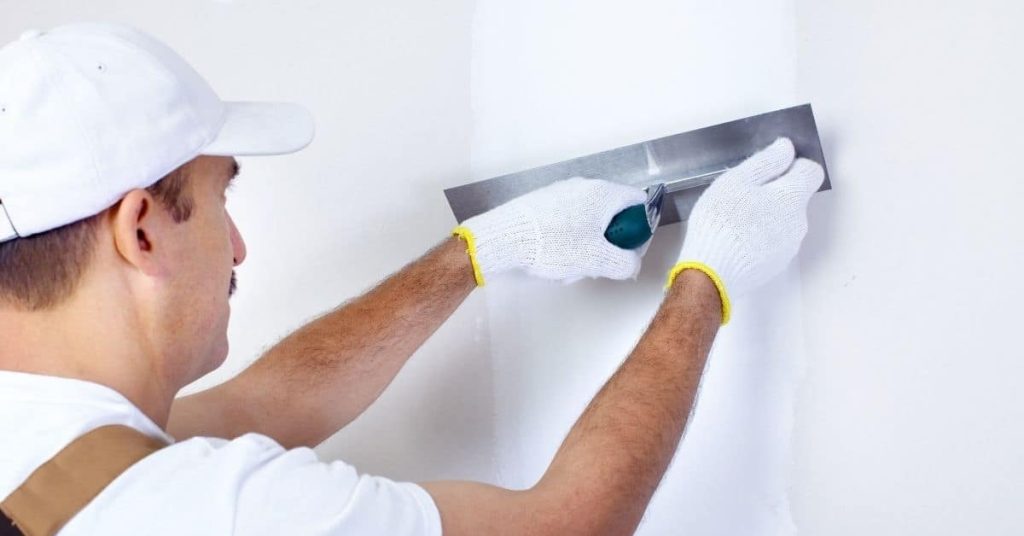
Worker smoothing white plaster wall with metal trowel

Plaster Returns at Deep Windows: Reinforcement That Doesn’t Bulge the Edge

Introduction Reinforcement for plaster returns at deep windows means adding solid edge support so the plaster won’t bulge. In practice you build up a stable, tight edge before the final coat. This keeps the plaster flush and reduces cracking. Use appropriate edging, furring, or metal lath as directed on the product label and by the

Plaster Returns at Deep Windows: Reinforcement That Doesn’t Bulge the Edge Read More »

Worker smoothing plaster on a wall with a trowel

Microcement Over Old Plaster: Bond Layers, Movement Risk, and Sealer Selection

Introduction Microcement over old plaster means applying a thin cement-based coating on top of a plaster substrate with careful surface prep. Start by cleaning the surface and repairing obvious flaws to give the new layer something to grip. Roughen or abrade slightly and use an appropriate bonding primer to improve adhesion. Movement risk comes from

Microcement Over Old Plaster: Bond Layers, Movement Risk, and Sealer Selection Read More »