Search Results for: heat resistant cement for high heat

Hand holding blue caulking gun near ceiling joint

Why Joint Sealant Bubbles: Offgassing, Moisture, and How to Prevent It

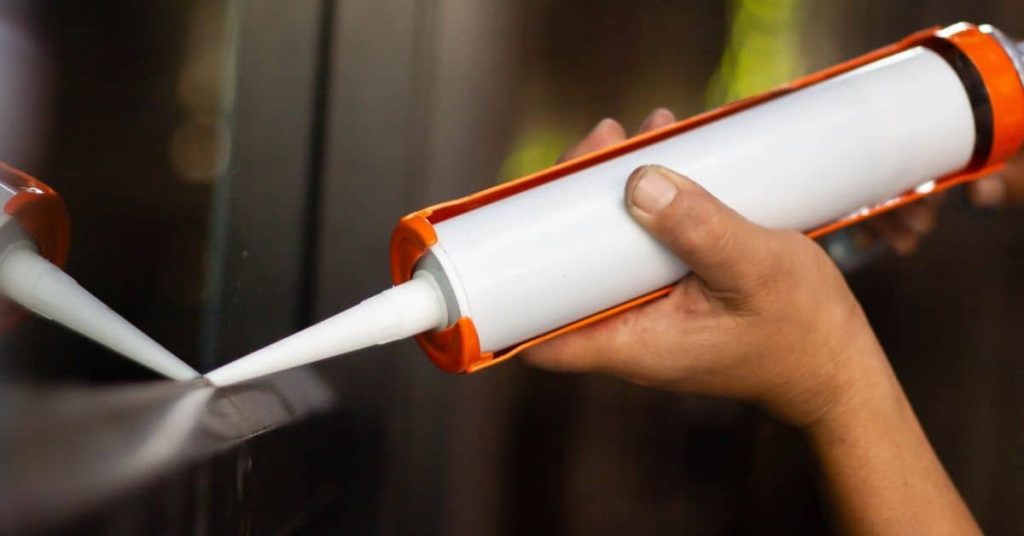
Introduction Bubbles in joint sealant are air pockets that form as the material cures, usually from offgassing or trapped moisture. In DIY work, you may see these as foamy spots or gaps that weaken the seal. Check the label and manufacturer guidance to know what conditions or temps are allowed. Prevention comes from clean joints, […]

Why Joint Sealant Bubbles: Offgassing, Moisture, and How to Prevent It Read More »

Concrete pouring into wooden formwork on construction site

How to Repair a Failed Joint Sealant Bead: Cutback, Primer, and Reseal Steps

Introduction A failed joint sealant bead needs to be cut back, primed, and resealed. This article walks you through the cutback, primer, and reseal steps so you can fix it yourself. You’ll assess the joint, remove old material, and prep the surface for a new bead. Carefully trim back the old sealant according to what

How to Repair a Failed Joint Sealant Bead: Cutback, Primer, and Reseal Steps Read More »

Hand applying white caulk from a caulking gun onto a surface

How to Seal Form Joints to Stop ‘Fins’: Tape vs Caulk vs Foam Strategies

Introduction Sealing form joints means choosing a method to close gaps in the formwork so fins don’t form. Tape, caulk, and foam are common options, each with its own pros and limits. Look at the product label and the concrete conditions to decide what to use. Tape works best for clean, straight joints, caulk fills

How to Seal Form Joints to Stop ‘Fins’: Tape vs Caulk vs Foam Strategies Read More »

Clean decorative concrete driveway with landscaping

Concrete Deicer Alternatives: What’s Safer for Decorative Concrete in Winter

Introduction Safer deicer options for decorative concrete are milder chemicals and methods that reduce staining and damage. Choose products with clear labeling and follow the manufacturer’s directions, and always check local rules or requirements before use. For a DIY approach, prioritize methods that minimize surface impact while keeping things safe on contact with your finish.

Concrete Deicer Alternatives: What’s Safer for Decorative Concrete in Winter Read More »

Worker spraying brown stucco on white wall

Adding Blocking Behind Stucco for Mounts: Finding Studs and Keeping Drainage Paths

Introduction Blocking behind stucco provides a solid mount point that the hardware can bite into. To find studs behind stucco, look for the interior framing and intended anchor points, and test suspected areas with a stud finder or by tapping and listening. Check manufacturer instructions and local rules for acceptable methods, and proceed only after

Adding Blocking Behind Stucco for Mounts: Finding Studs and Keeping Drainage Paths Read More »

Hand wearing white glove installing brown plastic anchor on foam board

Installing a New Vent Through Stucco: Sleeves, Slope, and Sealant Geometry

Introduction Installing a new vent through stucco means creating a weather-tight opening in stucco siding to run a vent sleeve and sealant geometry. This keeps airflow functional while protecting the wall from water penetration. You’ll want to plan the sleeve, slope, and seal around the opening so the vent directs moisture away from the home.

Installing a New Vent Through Stucco: Sleeves, Slope, and Sealant Geometry Read More »

blue stucco wall with textured surface and corner detail

Stucco Around Hose Bibs: Repairing Cracked Sealant and Adding a Proper Sleeve

Introduction This article shows you how to repair cracked stucco around a hose bib and add a proper water sleeve when you replace the sealant. You’ll remove the old cracked sealant, inspect the bib, and install a sleeve before the new stucco and sealant go in. It’s a hands-on, practical repair you can tackle with

Stucco Around Hose Bibs: Repairing Cracked Sealant and Adding a Proper Sleeve Read More »

Person applying plaster over blue mesh on wall

Clay Plaster Over Plywood: Movement Joints and Mesh Choices That Reduce Cracking

Introduction Clay plaster over plywood is a breathable, clay-based wall finish bonded to a plywood base. If you’re DIYing, expect a more flexible layer that can absorb minor movement without cracking. Plan for movement joints and appropriate reinforcement to guide cracks where you want them. Placement of joints and the right mesh help the plaster

Clay Plaster Over Plywood: Movement Joints and Mesh Choices That Reduce Cracking Read More »

Workers applying fresh stucco to exterior house wall

Limewash on Exterior Stucco: When It Lasts and When It Chalks Off Fast

Introduction Limewash is a breathable coating made from lime putty and water that you apply to exterior stucco. It can darken or chalk as it ages, and how long it lasts depends on weather and how it’s applied. You should check the manufacturer’s guidance and local rules for reapplication and maintenance. On stucco, limewash lets

Limewash on Exterior Stucco: When It Lasts and When It Chalks Off Fast Read More »

white textured tile shower with niche and glass door

Tadelakt on Shower Niches: Edge Details That Keep Water Out of Transitions

Introduction Tadelakt on shower niches is applying a polished lime-plaster finish to the niche with well-planned edge details to keep water from leaking into transitions. This is a hands-on DIY job, so you’ll be shaping and sealing the edges as you plaster and tile. Focus on edge trim profiles and how they meet the wall

Tadelakt on Shower Niches: Edge Details That Keep Water Out of Transitions Read More »