
Introduction
Sealing form joints means choosing a method to close gaps in the formwork so fins don’t form. Tape, caulk, and foam are common options, each with its own pros and limits. Look at the product label and the concrete conditions to decide what to use.
Tape works best for clean, straight joints, caulk fills irregular gaps, and foam can cover larger spaces. Apply the material following the manufacturer instructions and your local rules, and check for gaps, squeeze-out, and adhesion. For best results, test a small section first and document any issues with durability or weather exposure.
Key takeaways
- Tape, caulk, or foam each behave differently; choose by joint size and movement.
- Apply tape before pour for smooth edges; caulk or foam afterward as needed.
- Foam expands to fill gaps but requires careful trim and curing time.
- Common mistakes include overfilling joints, incomplete backing, and skipping edge prep.
- Sealant choice impacts durability; verify compatibility with concrete, weather, and finishing.
- Safety: ventilate, wear gloves, follow label instructions and curing guidelines.
Table of Contents
- Introduction
- Key takeaways
- Why Sealing Form Joints Matters and What Causes ‘Fins’
- Tools and Materials Checklist
- Material Types — Tape Vs Caulk Vs Foam (When to Choose Each)
- Material Specs, Standards, and Selection Criteria
- Step-by-Step Application: Tape, Caulk, and Foam Techniques
- Preventing Fins During Pour and Finishing After Strip
- Common Mistakes, Troubleshooting, and Repair Strategies
- Cost, Durability, Safety, and Environmental Considerations
- Conclusion
- FAQ
Why Sealing Form Joints Matters and What Causes ‘Fins’
Concrete fins are thin, elongated protrusions that often form along form joints. They appear when moisture, bleed water, or insufficient sealing escape through gaps during pours. Understanding fins helps you plan better finishes and reduce rework.
Costly patching, safety concerns from sharp edges, and finish inconsistencies all stem from fins. Improper joint sealing, form strip gaps, and misaligned molds can intensify the problem. Plan for prevention by checking for potential leakage points before you pour.
What are fins and how they form
Concrete ‘fins’ are unwanted ridges that form at joints when wet concrete leaks through gaps or weak points in the formwork. They’re called fins due to their thin, blade-like appearance.
Here’s how they happen:
Leakage occurs at seams where forms aren’t properly sealed or aligned. Under pressure, wet concrete paste escapes through these gaps. As the water in the paste evaporates, it leaves behind a solidified ridge – a fin.
The common weak points on forms include:
– Gaps between form boards
– Inadequate sealing at joint faces
– Misaligned or improperly braced forms
Consequences of leaving fins unaddressed
Leaving fins untreated causes more than just cosmetic issues. Here’s what you’re up against:
– Finish defects: Fins disrupt the smooth surface, making it difficult to apply paint or other finishes evenly.
– Increased labor: Grinding and patching fins takes time and effort, adding to your project cost.
– Potential corrosion exposure: If fins are not removed, they can trap moisture, leading to steel reinforcement corrosion if present.
– Safety hazards: Sharp fins pose a risk to workers and anyone using the structure. They can cause cuts or trips, leading to injuries.
Tools and Materials Checklist
Core tools include a putty knife, caulking gun, utility knife, tape measure, straightedge, mixing tray, and a damp sponge for cleanup. Have a few backup blades and rags ready. Keep a small trash bin on site for debris.
For tapes, caulks, and foams, stock butyl tape, acrylic latex caulk, polyurethane caulk, backer rods, and compatible spray foams. Bring color-matching samples and a few test patches to verify adhesion. Include surface prep and primer options as needed.
Tools you need
Before you start, make sure you have all the necessary tools to ensure a smooth and efficient process.
- Caulking gun: Essential for applying sealants. Check it works smoothly before starting.
- Foam gun (if using foam): Ensure it’s compatible with your chosen foam type and in good working order.
- Utility knife: Sharp blades are crucial for clean cuts. Test it on scrap material.
- Putty knife: Have various sizes ready for different joint widths. Check they’re not bent or damaged.
- Brushes (for cleaning): Stiff-bristled brushes work best. Inspect them for wear.
- Rags: For cleanup. Make sure they’re clean and in good condition.
- Inspection lights: Help spot hard-to-see gaps or imperfections. Test them before starting.
Quick rule: Always inspect your tools before starting to avoid delays and poor results.
Materials and consumables
Having the right materials is key to a successful job. Here’s what you’ll need:
- Tapes (butyl, acrylic): Check they’re compatible with your chosen sealer or adhesive.
- Sealants/caulks (latex, polyurethane): Ensure they match the joint size and are suitable for your project. Test them on a small area first.
- Backer rods: Different sizes may be needed. Check they’re in good condition before use.
- Foams (low or high expansion): Ensure they’re compatible with your chosen sealer or adhesive and within their usable lifespan.
- Primers/cleaners: Choose the right one for your surface type. Test them on a small area first.
- Temporary clamps/shims: Essential for keeping joints tight while sealing. Check they’re in good working order.
Quick rule: Always test materials on a small, hidden area first to ensure compatibility and performance.
Material Types — Tape Vs Caulk Vs Foam (When to Choose Each)
Tape, caulk, and foam each have a niche in form joints. Tape works best where movement is minimal and joints are tight. Caulk handles moderate movement and provides better waterproofing. Foam fills larger gaps and accommodates greater movement, with careful application.
Prepare by assessing joint width, exposure, and planned finishes. Tools and prep steps vary by material, so follow product instructions and verify compatibility with the concrete surface. Use a quick decision guide to pick the right option for the job at hand.
Tape (butyl, butyl-backed, flashing)
Tapes are quick and easy to apply, making them a favorite among foremen. They’re reusable too – just roll it back up after use. But they’re not perfect. Edge lift can happen if not applied properly.
Ideal uses: Short joints or as a secondary seal. They work great on small control joints (1/8″ to 3/16″) and where movement is minimal.
Prep the surface, clean it well. Apply tape firmly, use a roller for best results. No priming needed. Cure time? Instant – you’re good to go as soon as it’s on.
Caulk/sealant (polyurethane, acrylic, silicone, butyl)
Caulks are versatile. They can fill irregular gaps and accommodate movement. But choose wisely – incompatible chemistries can cause issues.
Advantages: Can handle medium movement (1/16″ to 1/4″) and provide better waterproofing than tapes. Good for mid-size expansion joints.
Prep the surface, clean it well. Prime if needed, especially on porous surfaces. Tool it smooth with a damp sponge or finger. Cure time varies – check product specs.
Foam (low-expansion vs high-expansion polyurethane)
Foams are great for filling deep or irregular gaps. But be careful – too much expansion can displace your forms.
Strengths: Can fill large structural gaps (1″ to 6″) and handle high movement situations. Good for both low- and high-expansion needs.
Prep the surface, clean it well. Prime if needed. Apply foam, tool it smooth immediately. Cure time varies – check product specs. And remember, always check product suitability before use.
Material Specs, Standards, and Selection Criteria
Key properties to verify include adhesion to concrete, elasticity, service temperature range, and VOC content. Check manufacturer datasheets for minimums and targets. Do not guess the specs; confirm them before buying.
Standards and codes matter, such as elastomeric sealant references and substrate adhesion tests. Note local rules that may affect material choices. Always consider substrate type, movement, and exposure when selecting a system.
Key specs to verify before buying
Before you buy, check these key specs. They’ll ensure your sealant or tape does its job right.
Adhesion: Check it’s good on concrete and form material. Some work better than others.
Movement capability: Joints move. Make sure your sealant can handle it without cracking.
Cure conditions: Some need warm temps to cure right. Cold weather might mean a longer wait.
Flammability: Safety first. Check if it’s flame-retardant, especially in high-risk areas.
Manufacturer application limits: Follow their guidelines. They know best how far you can stretch their product.
Matching materials to substrate and environment
Choosing the right material for your form’s surface and conditions is crucial. It affects how well it seals, cures, and lasts.
- Metal forms: Use tapes or caulks designed for metal. They stick better and won’t rust.
- Timber forms: Opt for products that work on wood. Some may need a primer first to help adhesion.
- Coated forms: Check your sealant’s compatibility with the coating. Some might react badly.
- Cold conditions: Choose products rated for low temps. They’ll cure and perform better in the cold.
- Hot conditions: High heat can affect some materials. Pick one that can handle it.
- Wet conditions: Moisture-resistant options are key here. Some may need a primer to help with adhesion.
- Form release agents: Make sure your material is compatible with the release agent you’re using. Some might interfere with adhesion.

Step-by-Step Application: Tape, Caulk, and Foam Techniques
Start with thorough prep: remove debris, dry the joint, and mask surrounding surfaces. Verify dimensions align with form-release and curing requirements. This prevents fins from forming later.
Then apply the material following its specific steps. Tape requires edge bonding; caulk needs proper tooling and backer rod where appropriate; foam demands controlled dispensing. End with a clean finish and a plan for curing and inspection.
Step-by-Step Process
Follow these practical steps to effectively seal form joints using tape, caulk, and foam techniques. This will ensure a smooth finish and prevent ‘fins’ from forming.
- Preparation: Remove debris, dry the joint area, mask surrounding surfaces, and verify joint dimensions meet form-release and curing requirements.
- Material Selection: Choose the right material – tape, caulk, or foam – based on joint width, movement allowance, moisture exposure, and concrete pour sequence.
- Tape Application: Apply tape with even tension, overlap seams, press to ensure full contact, and seal leading/trailing edges.
- Caulk Application: Use a backing rod if needed, run a consistent bead, tool to ensure contact and profile, and allow for proper cure time.
- Foam Application: Set up the gun, apply controlled passes with low-expansion product where displacement is a risk, trim cured foam, and seal or cover foam to protect it.
- Inspection & Rework: Post-application checks for adhesion, joints free of fins, re-taping or resealing steps if issues are found after masking or form removal, and document curing times.
Tape application technique
Proper tape application is crucial for preventing fins. Here’s how to do it right:
Start by cleaning the joint area to ensure good adhesion. Apply the tape with even tension, overlapping seams by at least 1 inch to prevent concrete from bleeding through.
Press the tape firmly along its entire length to ensure full contact with the form faces. Seal leading and trailing edges by folding the tape over itself or using a separate piece of tape to create a tight seal.
Before pouring, check for any bridging or air pockets under the tape. If found, reapply or use additional tape to ensure a solid seal.
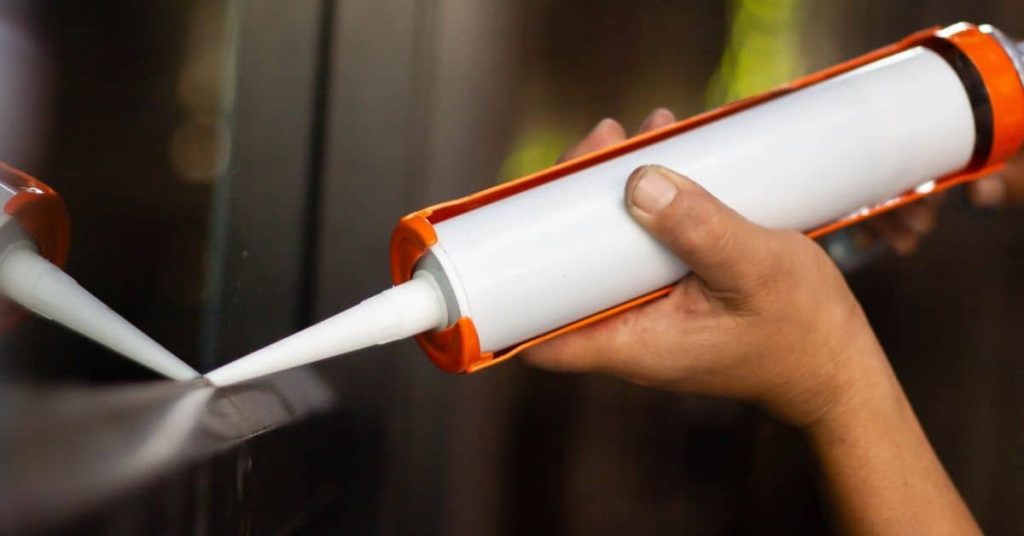
Caulk application technique
Applying c