Search Results for: contractor cement

Chimney Stucco Failures: Heat

Chimney Stucco Failures: Heat – Timeline & Duration of Repairs

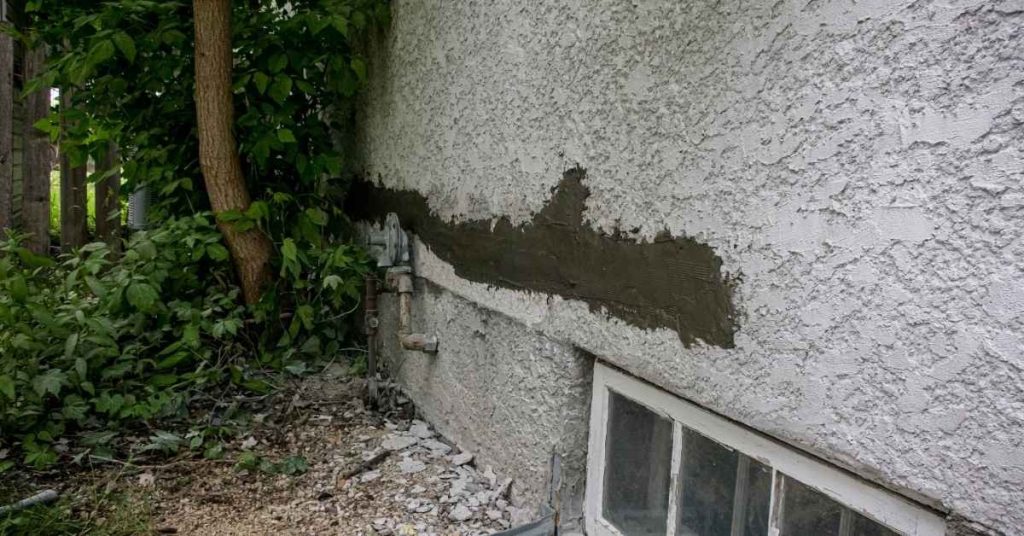
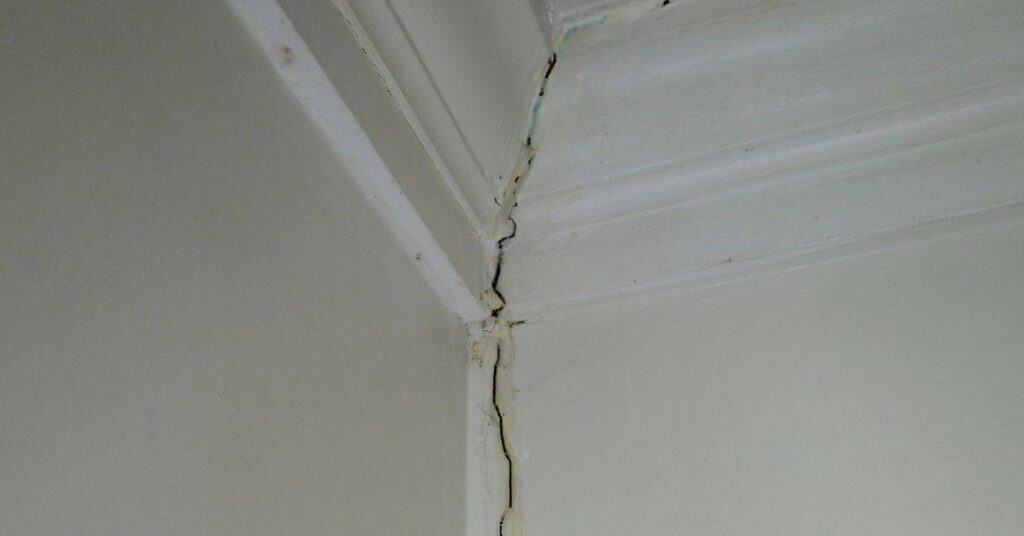
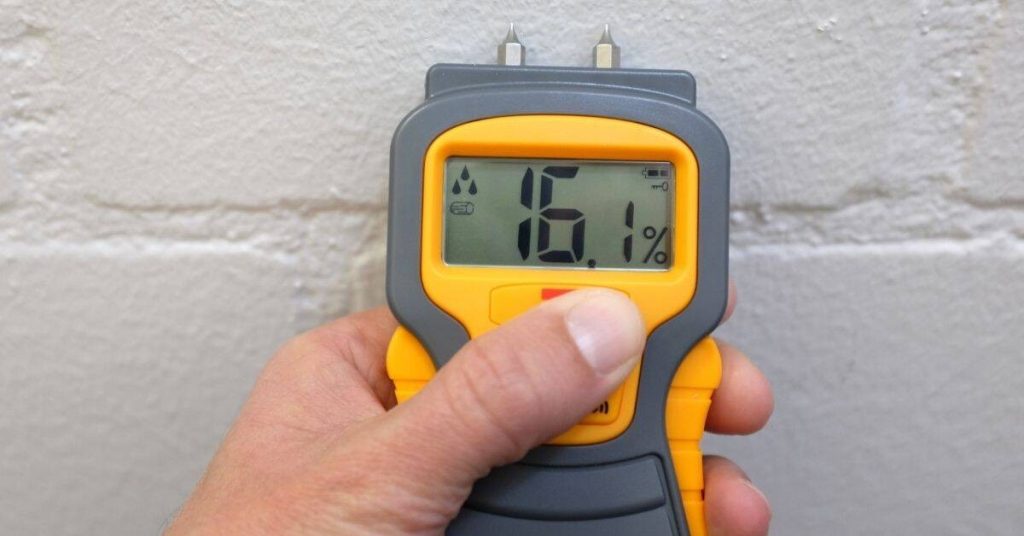
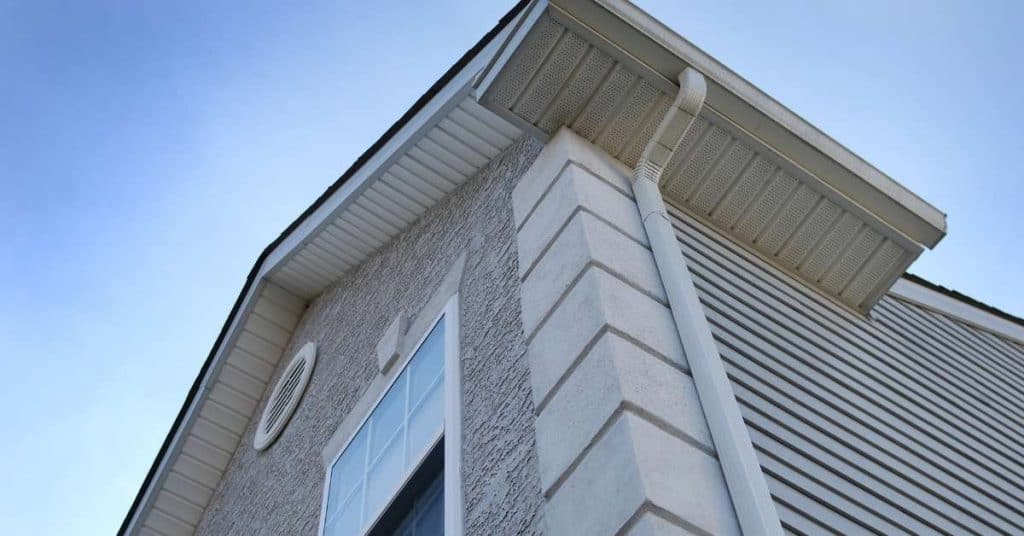
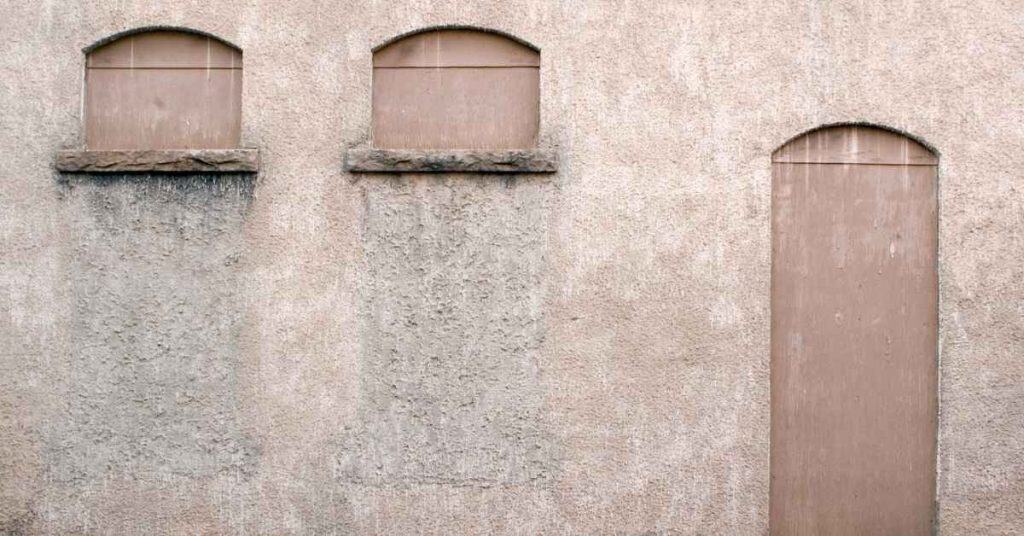
Introduction The timeline and duration of chimney stucco repairs can vary greatly depending on the extent of heat damage. Understanding this timeline helps you plan your project effectively. In this guide, we’ll walk you through the step-by-step process of repairing heat-damaged chimney stucco, focusing on how long each stage takes and what affects the overall […]

Chimney Stucco Failures: Heat – Timeline & Duration of Repairs Read More »

Stucco Texture Options That Hide Repairs: Sand Float Vs Lace Vs Dash Vs Skip Trowel

Stucco Repair Timeline: Step-by-Step Guide to Hiding Repairs with Sand Float, Lace, Dash, and Skip Trowel Textures

Introduction Embarking on a stucco repair project? Understanding the timeline is crucial for planning your work efficiently. This guide walks you through the step-by-step process of hiding repairs using sand float, lace, dash, and skip trowel textures, ensuring you complete each task within the right timeframe. Whether you’re a seasoned DIYer or a first-timer, this

Stucco Repair Timeline: Step-by-Step Guide to Hiding Repairs with Sand Float, Lace, Dash, and Skip Trowel Textures Read More »

Stucco Patch Curing Stains: How to Reduce “Dark Rings” Around Repairs

Stucco Patch Curing Stains: How to Reduce “Dark Rings” Around Repairs

Introduction Dark rings around stucco repairs are staining caused by moisture during the curing process. This article calls out a practical, hands-on approach to reduce those stains while you patch. What you do and when you do it matters for a cleaner, longer-lasting repair. Plan ahead for weather, especially in Eugene, and keep the surface

Stucco Patch Curing Stains: How to Reduce “Dark Rings” Around Repairs Read More »

Repairing Rusted Corner Bead: How to Cut Back and Rebuild Without Chasing Cracks Forever

Repairing Rusted Corner Bead: How to Cut Back and Rebuild Without Chasing Cracks Forever

Introduction Rusted corner bead damage is when the metal trim at the wall corner has corroded and risks cracking the drywall. You’ll see rust stains, flaky edge metal, or bent corners that don’t sit square. This article walks you through a practical, hands-on repair plan. First, identify the damaged metal and assess if the drywall

Repairing Rusted Corner Bead: How to Cut Back and Rebuild Without Chasing Cracks Forever Read More »

Bulging Stucco Diagnosis: How to Tell Moisture Issues from Lath Failure

Bulging Stucco Diagnosis: How to Tell Moisture Issues from Lath Failure

Introduction Bulging stucco usually signals moisture intrusion or lath failure and should be treated as a warning sign. You’ll learn how to tell the difference between moisture-related swelling and lath failure through simple visual checks and non-invasive assessments, plus practical steps to evaluate exterior walls. The guide outlines common causes, practical maintenance habits, and how

Bulging Stucco Diagnosis: How to Tell Moisture Issues from Lath Failure Read More »

Head Flashing Vs “just Caulk”: What’s Actually Protecting the Opening

Head Flashing Vs “Just Caulk”: What’s Actually Protecting the Opening

Introduction Head flashing is the primary shield against water around an opening, and caulk alone cannot provide lasting protection. This matters because proper flashing directs water away and prevents leaks, while improper gaps can lead to rot and interior damage. The guide walks through how to assess openings, distinguish flashing from caulk, and apply practical

Head Flashing Vs “Just Caulk”: What’s Actually Protecting the Opening Read More »

Exterior view of house with stucco finish and brown tile roof

Kickout Flashing Integration with Stucco: What to Verify Before You Patch Cracks

Introduction Verify kickout flashing integration with stucco before patching cracks to prevent moisture intrusion. The guide explains what to check in practical terms and why these checks matter for durability. It also outlines how to approach inspection, sequencing, and alignment of flashing, stucco, and sealants before patching cracks. Key takeaways Verify proper kickout flashing location

Kickout Flashing Integration with Stucco: What to Verify Before You Patch Cracks Read More »

Roof-to-Wall Clearances: How Close Is Too Close for Stucco

Roof-to-Wall Clearances: A Step-by-Step Timeline for Stucco Installation and Maintenance

Introduction Installing or maintaining stucco on your home’s walls requires careful planning, especially when it comes to roof-to-wall clearances. Understanding the timeline of these processes helps ensure you allocate sufficient time and resources. This guide walks you through a step-by-step timeline for assessing, installing, and maintaining proper roof-to-wall clearances for stucco, helping you stay on

Roof-to-Wall Clearances: A Step-by-Step Timeline for Stucco Installation and Maintenance Read More »

Deck Attachments Through Stucco: a Safe Detail That Doesn’t Trap Water

Deck Attachments Through Stucco: a Safe Detail That Doesn’t Trap Water

Introduction Deck attachments through stucco can be installed in a way that prevents water from being trapped. You’ll learn practical steps and guidelines for planning, installing, and inspecting connections that stay watertight without compromising the stucco. Key takeaways Use continuous flashing with weep screed to channel water away from stucco joints. Avoid embedding deck fasteners

Deck Attachments Through Stucco: a Safe Detail That Doesn’t Trap Water Read More »