Search Results for: contractor cement

Cracked and peeling plaster near ceiling and crown molding

Repairing Water-Damaged Plaster: Drying Steps and What Must Be Cut Out

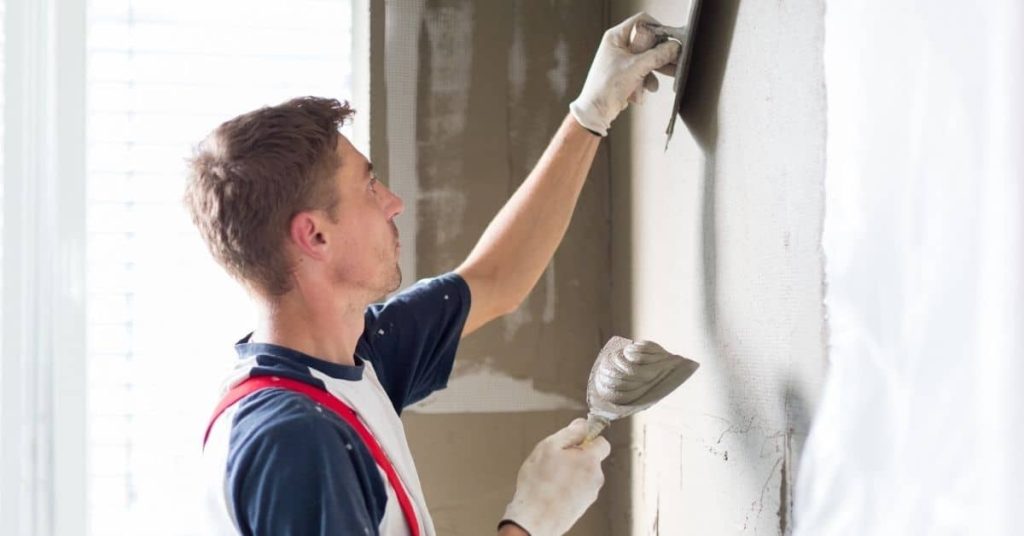
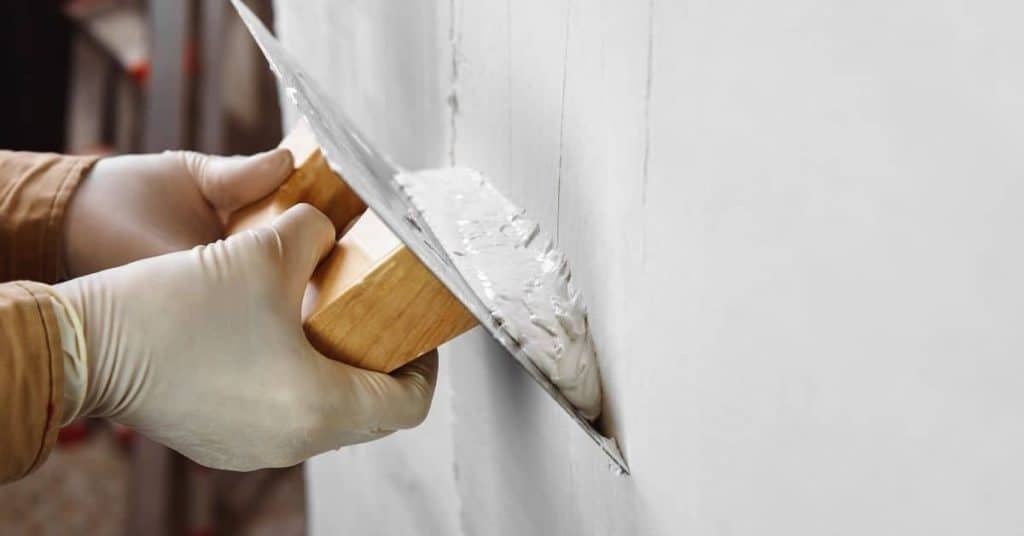
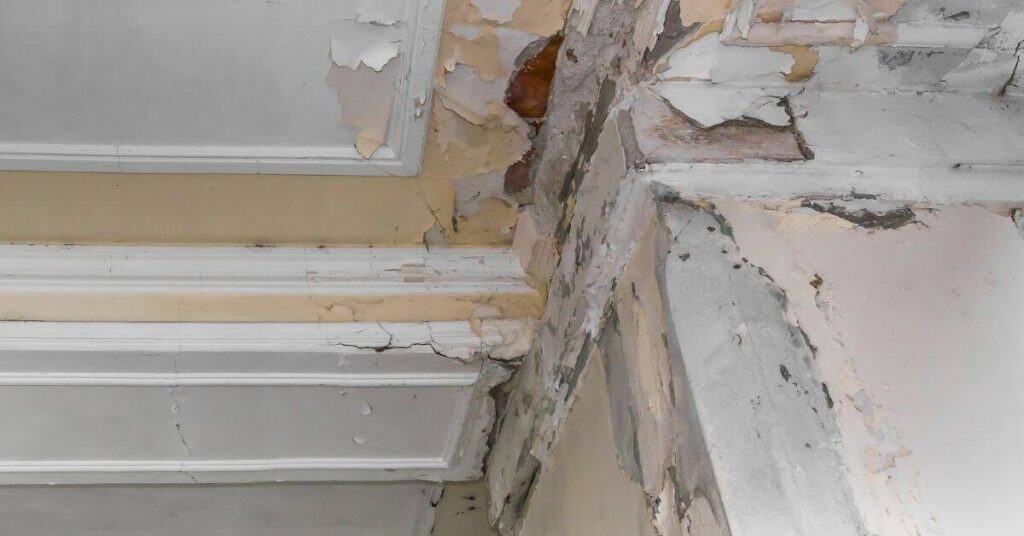
Introduction Repairing water-damaged plaster means removing the wet, compromised material and drying the area before patching. You should cut out all obviously damaged plaster and lath, and then dry the wall cavity with ventilation and heat as needed. Stay alert for mold, structural clues, and electrical hazards, and follow safe practices on the job site. […]

Repairing Water-Damaged Plaster: Drying Steps and What Must Be Cut Out Read More »

Man applying plaster to interior wall with trowel

Plaster Repairs in High Humidity Rooms: How to Prevent Powdery Finishes

Introduction Plaster repairs in high humidity rooms require moisture-aware prep and material choices to stop powdery finishes. Start by preparing the walls carefully, removing loose material and cleaning the surface before patching. Choose materials and patching methods suited for humid conditions, and verify any limits on use with the product label or manufacturer instructions. Mix

Plaster Repairs in High Humidity Rooms: How to Prevent Powdery Finishes Read More »

Hands in gloves applying plaster with a flat trowel

Lime Vs Gypsum Patching: Why Mismatched Materials Cause Future Failure

Introduction Mismatched patching materials can fail later due to incompatible chemistry. Lime and gypsum set and breathe differently, so using the wrong combo can lead to cracks, dusting, or damp spots. Stick to a patching mix that matches what’s already on the wall for best results. When patching, verify that the material is compatible with

Lime Vs Gypsum Patching: Why Mismatched Materials Cause Future Failure Read More »

curbless glass shower with marble tile walls and bench

Curbless Shower Slope: How to Check Slope and Fix “Birdbaths” Before Tile

Introduction A curbless shower slope is the gradually sloped floor that drains toward the drain without a raised curb. This intro shows how to check that slope and spot birdbaths before you tile. You’ll use simple tools like a level and straightedge to judge the surface as you work. To fix an incorrect slope, identify

Curbless Shower Slope: How to Check Slope and Fix “Birdbaths” Before Tile Read More »

Modern bathroom with glass shower and marble tiles

Shower Curb Waterproofing: Common Failure Points and How to Build It Right

Introduction Shower curb waterproofing is the process of sealing the edges and top of the curb to keep water from entering walls and floors. Common failure points include gaps at corners, improper flashing, and neglecting the top edge where shower water can splash. In this article, we’ll cover how to build it right with basic,

Shower Curb Waterproofing: Common Failure Points and How to Build It Right Read More »

Hand holding grout float over tiled wall surface

Fixing Pinholes in Grout: Why They Happen and How to Repair Without Regrouting Everything

Introduction Pinhole grout gaps are tiny holes in the grout that can let moisture seep behind tiles. They happen when the grout didn’t seal properly, or when movement, wear, or improper mixing weakened it. They’re most noticeable in areas that get routine use or wetting, and they can spread if left unaddressed. You can fix

Fixing Pinholes in Grout: Why They Happen and How to Repair Without Regrouting Everything Read More »

Hand with white glove spreading grout on floor tiles

Tile on Plywood: the Right Build-up so You Don’t Get Cracked Grout Lines

Introduction Tile on plywood is a build-up method that stabilizes a tile surface on a plywood base to prevent cracking. Prep the plywood by cleaning it, dulling any slick spots, and making sure the panel is firmly fastened. Choose an adhesive and any underlayment per the label and local rules, and follow the manufacturer’s prep

Tile on Plywood: the Right Build-up so You Don’t Get Cracked Grout Lines Read More »

Hand applying white grout to ceramic tiles with a grout float

Tile over Tile: When It’s Acceptable and the Surface Prep That Makes It Work

Introduction Tile over tile is acceptable when the existing tile surface is sound, clean, and properly stabilized. If the current tile is loose or cracked, or the surface is delaminating, you’ll want to address that first. This article walks you through what to check and why, in plain DIY language. First, inspect the substrate for

Tile over Tile: When It’s Acceptable and the Surface Prep That Makes It Work Read More »

Parapet Caps and Stucco: Where Water Gets in and How to Detail the Top Edge

Parapet Caps and Stucco: A Step-by-Step Timeline for Installation and Top-Edge Detailing

Introduction The installation of parapet caps is a critical step in protecting your building’s exterior from water intrusion. But how long does it take, and what are the key steps involved? In this guide, we’ll walk you through a detailed timeline for installing stucco parapet caps, ensuring that each stage is completed efficiently and effectively.

Parapet Caps and Stucco: A Step-by-Step Timeline for Installation and Top-Edge Detailing Read More »