Search Results for: bonding agent plaster

Stone fireplace surrounded by plaster walls and large windows

Clay Plaster in Entryways: Scuff Resistance, Touch-Ups, and Protective Finishes

Introduction Clay plaster in entryways is a clay-based finish applied to walls to create a durable, breathable surface. In busy entry spots you’ll want to understand how it resists scuffs and how touch-ups go when scuffs happen. Check product labels and local rules for any limits on sealing or indoor use before you start. Touch-ups […]

Clay Plaster in Entryways: Scuff Resistance, Touch-Ups, and Protective Finishes Read More »
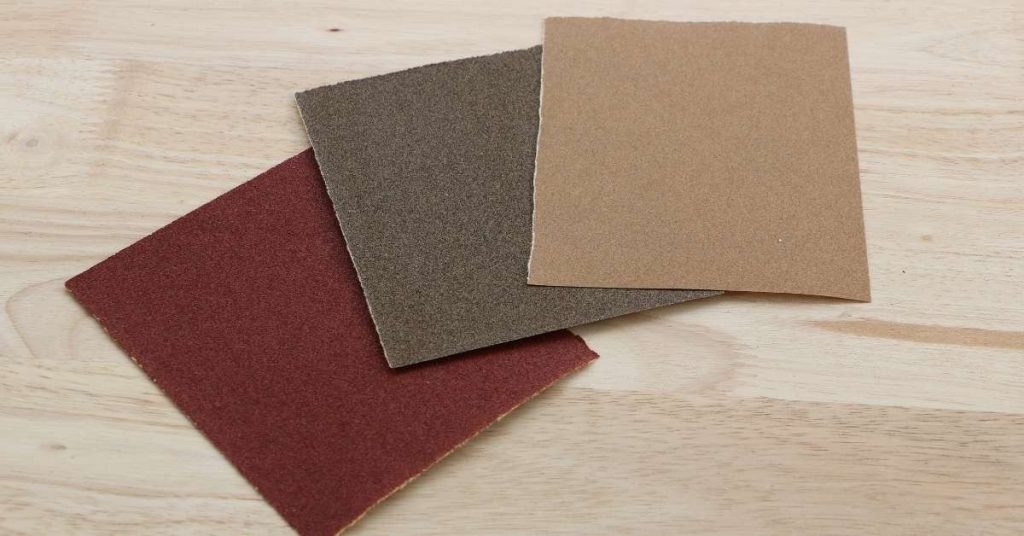
Three sheets of sandpaper in red brown and beige on wood

Venetian Plaster Touch-Ups: Avoiding Shiny Spots and Burnish Lines

Introduction Venetian plaster touch-ups are about repairing shine and burnish lines to restore an even, mirror-like finish. This hands-on guide walks you through practical steps and what to watch for on a DIY job. Check the product label and manufacturer instructions for any limitations and recommended mixing or application notes. There are several finishes you

Venetian Plaster Touch-Ups: Avoiding Shiny Spots and Burnish Lines Read More »

Closeup of white paint roller applying paint on wall

Feathering Plaster Repairs: Avoiding a ‘Picture Frame’ Ridge Under Paint

Introduction Feathering plaster repairs means blending new patch material into the surrounding plaster so there’s no raised ridge under paint. It’s a hands-on fix that helps avoid a visible edge where paint can lift. The goal is a smooth transition that you can sand and feather with basic tools. Start by assessing cracks and holes

Feathering Plaster Repairs: Avoiding a ‘Picture Frame’ Ridge Under Paint Read More »

Gloved hand painting metal structure with red paintbrush

Plaster Delamination After Painting: Diagnosing Bad Primer vs Moisture vs Salt

Introduction Plaster delamination after painting is when the painted surface loses adhesion and the plaster layer peels or flakes away from the wall. It often points to issues with the primer, the presence of moisture, or salt-related damage behind the paint. Look for peeling edges, bubbling, or a chalky feel as you inspect the area.

Plaster Delamination After Painting: Diagnosing Bad Primer vs Moisture vs Salt Read More »

Hand applying plaster to damaged wall with trowel

Repairing Plaster Keys From the Back Side: When Access Exists and How to Lock It In

Introduction Repairing plaster keys from the back side means fixing the hidden anchors behind the plaster when you can reach them. You work from the cavity side, not the face, and you aim to reattach loose plaster to the lath or keys. This approach relies on solid access and careful placement to lock the repair

Repairing Plaster Keys From the Back Side: When Access Exists and How to Lock It In Read More »

Person applying joint compound near window on drywall corner

Setting-Type Compound on Plaster: When Hot Mud Beats Topping Compound

Introduction Setting-Type Compound on Plaster is a fast-setting patching material that cures through a chemical reaction, not just by drying. On plaster walls, it can provide a hard, sandable surface and may cut touch-up time compared to traditional topping compounds. Check label instructions and local rules for mix ratios, open time, and ventilation before starting.

Setting-Type Compound on Plaster: When Hot Mud Beats Topping Compound Read More »

Man in red cap applying joint compound to drywall ceiling

Plaster vs Joint Compound for Repairs: Where Each Cracks and How to Combine Them

Introduction Plaster and joint compound are traditional wall repair options that serve different purposes. Plaster gives a hard, durable finish when applied over lath or backing, while joint compound is a softer patch material for seams and small repairs. Your choice depends on the location, the surface, and the level of patch you need. In

Plaster vs Joint Compound for Repairs: Where Each Cracks and How to Combine Them Read More »

Hands using pliers to pull wire from wall socket opening

Repairing Plaster After Removing Tile: Flattening, Bonding, and Preventing Future Cracks

Introduction Repairing plaster after removing tile means leveling the wall, applying a bonding layer, and getting it ready for plaster. Start by cleaning the surface, removing tile film, and filling any gouges or ridges to create a flat base. Then identify high spots and plan to flatten them with gentle passes and proper feathering of

Repairing Plaster After Removing Tile: Flattening, Bonding, and Preventing Future Cracks Read More »

White decorative plaster molding on wall and ceiling corners

Repairing Plaster at Crown Molding Lines: Keeping Shadow Lines Sharp

Introduction Repairing plaster at crown molding lines means restoring damaged plaster so the shadow line stays sharp. You’ll look for cracks, chips, or loose edges where the molding meets the wall. Addressing these spots carefully keeps the line from looking soft or uneven. Start by cleaning and dampening the area, then remove loose material and

Repairing Plaster at Crown Molding Lines: Keeping Shadow Lines Sharp Read More »

Decorative plaster floral relief with visible cracks

Fixing Plaster Cracks Above Doorways: Stress Relief Cuts and Reinforcement Choices

Introduction Stress-relief cuts and reinforcement help fix plaster cracks above doorways by reducing tension and adding support. I’ll show you how to identify the crack pattern and decide if you need cuts, mesh, or patching compound. This is a hands-on job you can do with common tools, but check your plaster type and any local

Fixing Plaster Cracks Above Doorways: Stress Relief Cuts and Reinforcement Choices Read More »