
Introduction
Tackling form tie holes on concrete walls doesn’t have to be a time-consuming project. With the right techniques and materials, you can clean, fill, and seal these pesky halos in under three hours.
Let’s break down the process into manageable steps, ensuring you stay within your schedule without compromising quality.
For the full guide, see Form Tie Holes on Concrete Walls: Clean Fill Techniques That Don’t Halo After Sealing.
Step-by-Step Clean Fill Technique to Avoid Haloing in Under 3 Hours
Follow this time-efficient guide to clean and fill form tie holes on concrete walls, minimizing halos and staying within your schedule:
- Inspection and Preparation (15 minutes): Identify all form tie holes, assess surrounding damage, and gather necessary tools and materials.
- Cleaning the Holes (20 minutes): Use appropriate solvents and brushes to remove dust and residual slurry from each hole. Ensure they are completely dry before proceeding.
- Choosing the Right Fill Material (10 minutes): Select a compatible fill material that matches the surface profile and bonds well with the concrete and sealant.
- Filling the Holes (45 minutes): Apply the fill material using a clean, dry trowel or putty knife. Pack from bottom to reduce voids and ensure an even surface.
- Sealing and Finishing (60 minutes): Allow the fill material to cure according to manufacturer instructions, then apply sealant in stages to minimize halo formation. Verify no halos with mock-ups and field inspections after sealing and finishing.
By following this timeline and dedicating focused time slots for each step, you can complete the project efficiently while maintaining a high-quality outcome.
Key takeaways
The preparation stage is crucial as it sets the foundation for the entire process. Taking the time to inspect and gather materials ensures that you won’t encounter any unexpected delays later on in your timeline.
- Identify form tie hole locations and halo risk before filling or sealing.
- Clean holes with appropriate solvents and brushes, removing dust and residual slurry.
- Dry completely and test for dust-free surface before applying fill material.
- Choose compatible fill material and bonding approach matched to concrete and sealant.
- Use sealant sealer or finish after cure to minimize halo formation and reveal flaws.
- Verify no halo with mock-ups and field inspections after sealing and finish.
- Wear PPE and follow ventilation when cleaning with solvents to protect breathing.
Table of Contents
- Introduction
- Key takeaways
- What Form Tie Holes Are and Why Halos Form
- Tools and Materials Checklist
- Inspecting and Diagnosing Each Hole Before Repair
- Surface Preparation and Cleaning Techniques to Minimize Halos
- Choosing the Right Fill Material and Bonding Approach
- Sealing, Finishing, and Mock-Ups to Verify no-Halo Outcome
- Quality Control, Monitoring, and Troubleshooting Common Failures
- Conclusion
- FAQ
What Form Tie Holes Are and Why Halos Form
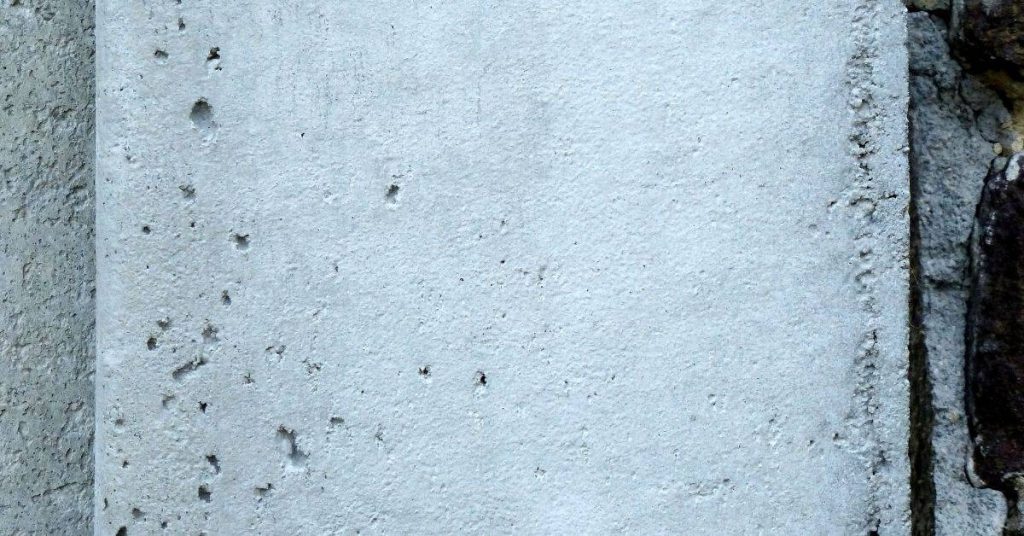
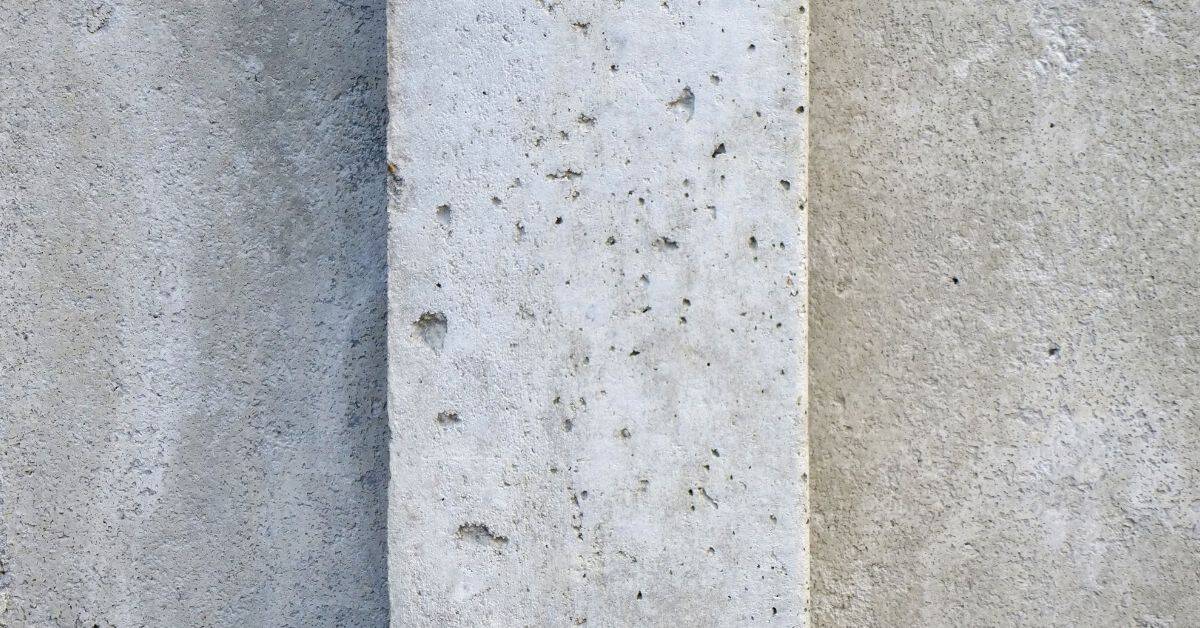
Form tie holes are the voids left when the temporary hardware that held concrete formwork apart is removed; they interrupt the surface and expose the concrete’s internal texture. Identify them by size, shape, and location so you treat them, not just cover them.
Halos are the discoloration rings or lighter/darker zones that can appear around fills after a sealer or coating is applied; they come from differences at the patch perimeter. Common causes include differential porosity between patch and parent concrete, residual contaminants or salts, rust from embedded hardware, and poor bonding at the repair interface.
Anatomy of a form tie hole
The typical form tie hole is like a mini crater on your concrete wall. It’s got three main parts:
Void: That’s the empty space left behind when you remove the form tie. It can be irregular, depending on how well the tie was set.
Surrounding crust/laitance: This is a weak layer that forms around the hole during curing. It’s porous and can soak up water like a sponge.
You might also find embedded metal or remnants from the tie itself, which can rust over time if not properly treated.
Common causes of haloing after sealing
Halos form when something under your sealer doesn’t play nice with the top layer. Here’s why:
Moisture transport: If moisture gets trapped under the sealer, it can’t escape and forms a halo.
Salt migration: Salts from the concrete or environment can move to the surface, especially in humid conditions, creating a white ring.
Different substrate porosity between the patch and the surrounding concrete can also cause halos. The sealer might not penetrate evenly, leading to a visible difference.
Incompatible patch/sealer systems can also lead to halos. If your patch and sealer aren’t designed to work together, they won’t bond properly and a halo will form.
Tools and Materials Checklist
Gather hand tools like chisels, grinders, wire brushes, putty knives, and mixing buckets along with a small hammer and shop vacuum to keep the area clean. Include safe power tools such as angle grinders with cup wheels or diamond blades and a rotary hammer if enlarging holes or removing unsound concrete.
Prepare safety gear (eye protection, gloves, respirator, hearing protection), and have repair material categories ready: bonding agents/primers, patch mortars, epoxy/urethane fillers, hydrophobic plugs or inserts, and compatible sealers. Also have cleaning supplies—degreasers, potable water, rust converters if needed—and material-specific mixing and application tools; check each product’s instructions before use.
Essential tools and PPE
Before you start cleaning and patching tie holes, ensure you have the right gear to keep yourself safe and work efficiently.
- Hard hat: Protects from falling debris. Wear when working under or near overhead hazards.
- Safety glasses: Shields eyes from dust and small particles. Essential for eye safety during grinding and cleaning.
- Ear protection: Reduces noise exposure from power tools. Use when operating grinders, drills, or other loud equipment.
- Dust mask or respirator: Filters out harmful dust particles. Wear when grinding, chipping, or cleaning to prevent inhalation.
- Work gloves: Protects hands from cuts, scrapes, and chemical exposure. Choose a pair that fits well for better grip and dexterity.
- Trowel (1/2″ – 3/4″) and margin trowel: Needed for applying repair mortar or epoxy. A good trowel ensures even application and smooth finish.
- Grinder with diamond blade (4-1/2″ – 5″): Used for cleaning out tie holes and preparing surfaces for patching. Ensure the blade is in good condition to avoid damaging the concrete.
- Vacuum or shop vac: Helps keep the work area clean by removing dust and debris. Use with a HEPA filter to capture fine particles efficiently.
Quick rule: Always prioritize safety gear before starting any task. It’s your first line of defense against job site hazards.
Material categories to have on hand
Having the right repair materials ensures a durable, long-lasting patch that won’t halo after sealing. Here’s what you need and why:
- Cementitious repair mortars: Used for filling deep or large tie holes. They provide good strength and adhesion to concrete surfaces.
- Epoxies: Ideal for shallow or narrow tie holes, epoxies offer excellent bond strength and resistance to chemicals and moisture.
- Bonding agents: Applied before patching, bonding agents improve the adhesion between the repair material and the existing concrete surface.
- Colorants: Match the color of your concrete to maintain a uniform appearance after patching. Choose from liquid or powder form based on your preferred application method.
- Plugs (plastic, metal, or composite): Used for filling small tie holes, plugs provide a quick and easy solution with minimal preparation required.
Quick rule: Always choose repair materials that are compatible with your concrete’s composition and the specific challenges posed by the tie hole you’re patching.
Inspecting and Diagnosing Each Hole Before Repair
Start with a systematic inspection: note hole diameter and depth, surrounding concrete soundness, presence of laitance or delamination, and any exposed steel. Tap around the hole, probe with a screwdriver, and remove loose material to determine the substrate condition.
Look for salts, efflorescence, or rust stains and test for soluble salts or active corrosion per product guidance if you suspect contamination. When unsure how a repair will behave under a chosen sealer, plan a small mock-up on a representative area to confirm appearance and adhesion before committing to all patches.
Visual and tactile checks
Start by giving each hole a good once-over. Look for:
Crumbling edges: This could mean the concrete’s weak or there’s hidden damage.
Laitance: That’s the grayish, powdery stuff on top. It’s just excess cement and needs to be removed before filling.
Feel around too. Efflorescence, that white, chalky deposit, feels gritty. And if it’s damp, that’s a problem – could be water trapped inside or moisture coming from outside.
Simple on-site tests and what to record
Next, do some quick checks. Record your findings:
Feel for moisture. If it’s damp, note that down. You might need to wait for it to dry out before filling.
Look for visible salts. They can cause halos too. If you see any, make a note.
Check if the surrounding finish matches what you’re planning to use. If not, consider doing a mock-up first – test your fill material in a small, hidden area.
If you find anything unexpected or don’t know what’s causing it, don’t hesitate to consult the manufacturer or an engineer. They might recommend lab tests.
Surface Preparation and Cleaning Techniques to Minimize Halos
Clean from the perimeter inward: remove loose concrete, dust, oil, curing compounds, and any contaminants that affect bonding using mechanical or chemical means appropriate for the surface. Use progressively finer cleaning—wire brush, compressed air or vacuum, then water washing or detergent—so you don’t embed contaminants deeper or feather the profile incorrectly.
Avoid over-aggressive grinding that changes the surrounding concrete porosity; the goal is to equalize absorbency, not to create a visible edge. If salts or efflorescence are present, follow product guidance for soluble-salt mitigation and verify the surface is dry and compatible with the repair material before filling.
Mechanical cleaning methods
Before you start, ensure the area is dry and clear of any debris. Here are some mechanical methods to clean form tie holes:
Wire Brushing: Use a stiff wire brush to scrub away loose material and rust from the hole’s surface. It’s ideal for small holes and light contamination.
Grinding: For deeper or larger holes, use a grinding tool with a suitable attachment. This method is aggressive but effective in removing heavy buildup.
Air Blasting: Sandblasting or compressed air blasting can be used to clean hard-to-reach areas. Be cautious not to damage the surrounding concrete.
Low-Pressure Power Washing: Use a low-pressure washer with a suitable nozzle to remove dirt and residue. It’s gentle on the surface but may not be enough for heavily contaminated holes.
Chemical cleaning and salt remediation
Sometimes, mechanical methods aren’t enough. Here are some chemical treatments to help:
Dilute Acid Wash: Use a mild acid solution (like muriatic acid) to remove mineral deposits and rust. Always wear appropriate PPE and follow safety guidelines. Rinse thoroughly afterwards.
Desalination Rinses: If your holes are suffering from efflorescence (white salt deposits), use a desalination rinse to dissolve and remove the salts. Again, rinse well after application.
Poultices: For stubborn stains or contaminants, consider using a poultice. These pasty substances draw out impurities as they dry. Follow the product’s instructions carefully and ensure thorough rinsing afterwards.
Choosing the Right Fill Material and Bonding Approach
Select the fill based on hole size, structural demands, and final appearance: polymer-modified repair mortars for larger cosmetic holes, epoxy or urethane for thin-section, non-shrink fills, hydrophobic plugs for through-ties, and preformed inserts where feasible. Consider load, movement, and exposure when matching material properties to the repair location.
Use an appropriate bonding agent or primer recommended for the chosen filler and follow the manufacturer’s surface preparation and application instructions. If uncertain which product is best, consult product data sheets or the manufacturer and test a small mock-up to confirm compatibility and finish blending.
Matching porosity and color to avoid halos
To minimize the risk of halos, it’s crucial to match the patch’s porosity and color with your existing concrete. Here are some common mistakes to avoid:
- Not matching porosity: Different porosities cause moisture migration issues, leading to halos. Use a fill material with similar permeability as your concrete.
- Ignoring color variation: Visible color differences create halos. Consider tinting your repair mortar or using a surface treatment to match the surrounding concrete.
- Using incompatible materials: Ensure your chosen fill material is compatible with your existing concrete to avoid reactions that cause discoloration.
- Skipping surface preparation: Properly prepare the surface to ensure good adhesion and minimize color variation.
Matching porosity and color takes extra effort, but it’s worth it to prevent halos after sealing.
When to use bonding agents or primers
A bonding agent or primer can significantly improve the bond between your fill material and the existing concrete, reducing the risk of halos. Here’s when to consider using them:
Old or weathered surfaces: Bonding agents help create a strong bond on aged, worn, or dusty surfaces where adhesion might be compromised.
Moisture present: Primers can seal the surface and prevent moisture from migrating into the fill material, reducing the risk of halos caused by moisture movement.
Incompatible materials: If you’re using a repair mortar or epoxy that’s not fully compatible with your existing concrete, applying a bonding agent or primer can help bridge the gap and improve adhesion.
Always check product compatibility and follow application guidance to ensure optimal results. Using the wrong product or applying it incorrectly can lead to more problems than solutions.
Sealing, Finishing, and Mock-Ups to Verify no-Halo Outcome
Finish repairs to match adjacent profile—tooling, rubbing, or light grinding—then allow the repair material to achieve the manufacturer-stated condition for sealing; do not rely on assumed cure times. Apply sealers or coatings in the sequence and method the product instructions specify to reduce differential absorption and visual edge effects.
Always run a small mock-up: replicate a typical hole repair and full sealer application so you can judge halo risk and adjust material or prep methods if the mock-up shows contrast. If the mock-up reveals haloing, change the filler, primer, or surface prep and re-test rather than proceeding across the entire wall.
Sealer selection and application strategies
A good sealer is breathable, stain-resistant, and matches your concrete’s color. It should let moisture escape while keeping liquids out.
Apply sealers evenly, following the manufacturer’s instructions. Work in small sections to avoid differential uptake, which can cause halos.
Tip: Use a sprayer for even coverage. Rollers or brushes can leave streaks and miss spots.
Mock-up and acceptance criteria
Before sealing the entire wall, create a small test patch to check for halos. Mix your fill material and sealer in the same ratio you’ll use on the rest of the wall.
Inspect the mock-up for edge blending, sheen differences, and salt bleed. These can indicate haloing issues that need addressing before sealing the whole wall.
Acceptance criteria: The test patch should match the surrounding concrete in color and sheen, with no signs of halos or salt bleed.
Quality Control, Monitoring, and Troubleshooting Common Failures
Establish visual checkpoints: patch color and texture match, absence of lifting or shadowing after sealer application, and no visible staining or haloing once the sealer has set per product guidance. Keep simple performance checks—adhesion pull tests if required, and periodic visual inspections during early service—to catch issues while remedies are still practical.
If you see haloing, first review surface prep and verify no residual contaminants or salts remain; re-clean and run another mock-up before extensive rework. For adhesion failures or staining, check manufacturer instructions for remediation steps and consider changing filler type or primer; if you’re unsure, consult the product technical data sheet or manufacturer for recommended corrective actions.
Visual checkpoints and documentation
Use this checklist after repairs to ensure a successful outcome. It’s best done before sealing.
- Flush repair: Check that the fill material is level with the wall surface. A depression or protrusion can trap moisture, leading to further damage.
- No annular discoloration: Ensure there’s no visible color difference between the repaired area and the surrounding concrete. Discoloration may indicate improper cleaning or incompatible materials.
- Consistent sheen: The repair should have a similar gloss to the rest of the wall. A dull or shiny spot could signal inadequate bonding or contamination.
- No cracks or voids: Inspect for hairline cracks or empty spaces, which can allow water intrusion and worsen over time.
- Edges well-defined: Sharp edges indicate proper cutting and filling. Blurry edges might hint at contamination or improper mixing.
- No efflorescence: White powdery deposits could signify excess moisture or salt, which can lead to further issues after sealing.
- Photograph and log: Document the conditions of each repair for future reference. This helps track performance over time and aids in diagnosing any recurring problems.
Quick rule: If anything looks amiss, recheck your work or consult a professional before sealing.
Fixes for haloing or recurrence
If haloing appears after sealing, don’t panic. Here are some corrective options:
Strip and re-prepare: If the problem is severe, you may need to remove the sealant and start over. Thoroughly clean the area and ensure proper surface preparation this time.
Salt mitigation: If efflorescence or salt deposits are causing haloing, consider using a salt-mitigating sealer or applying a salt-blasting treatment before re-sealing.
Use compatible capcoat: Some sealers may not be suitable for your specific concrete mix. Consult product data to find a low-absorbency capcoat that’s compatible with your fill material and surface preparation methods.
If in doubt, consult the manufacturer: They can provide guidance tailored to their products and help you avoid common pitfalls.
Conclusion
Finish with a durable, clean look by applying the proven fill and seal steps only after you’ve verified each hole is clean, dry, and prepped. Safety and measured work protect the wall from extra halos and prevent costly fixes later.
Proceed with a simple check routine: verify all holes are dry and free of loose material, test a small area with your chosen fill and bonding method, then seal and finish in a controlled sequence, pausing to inspect before moving on. If a hole doesn’t take the fill as expected, re-clean and re-prep before retrying, and mock up a test panel to confirm the no-halo outcome.
Common mistakes to avoid: rushing the cleaning or skipping surface prep, using the wrong bond or fill for the concrete mix, and skipping a full cure and seal test. Always wear proper PPE, work in well-ventilated areas, and keep to small, recoverable sections so you can spot problems early and fix them without damage.
If any step feels beyond your comfort or you’re seeing persistent halos after several attempts, call in a pro for a quick assessment. Stay focused, document what you changed, and you’ll finish confident that the result will last and look right.
FAQ
What should I check on the filler and bonding products to avoid halos?
Read the label for concrete compatibility and bonding instructions. Do a small test patch on a discreet spot before full repair. If unsure, follow the manufacturer’s directions or local guidance.
How do weather and curing affect halo risk?
Extreme heat, cold, or humidity can cause uneven curing. Look up cure times and conditions on the product label and plan repairs for favorable conditions. If in doubt, wait for better conditions or choose a product suited to your climate.
What’s the best way to handle a stubborn halo that sanding didn’t fix?
Back up with a compatible bonding agent or primer as recommended. Apply in thin passes and recheck after each cure; don’t pile on thick layers. If halos persist, consult the product instructions or seek practical guidance from the manufacturer.
How do I finish and seal to keep halos from showing after sealing?
Seal after the repair has fully cured per the product’s instructions. Feather the edges to blend with the surrounding surface and test with a mock-up before final sealing. If the sealant or finish isn’t matching, verify the correct product type and application method on the label or instructions.