Worker applying plaster to wall with trowel

Smoothing Interior Concrete Block Walls: Skim Coats, Bonding, and Moisture Concerns

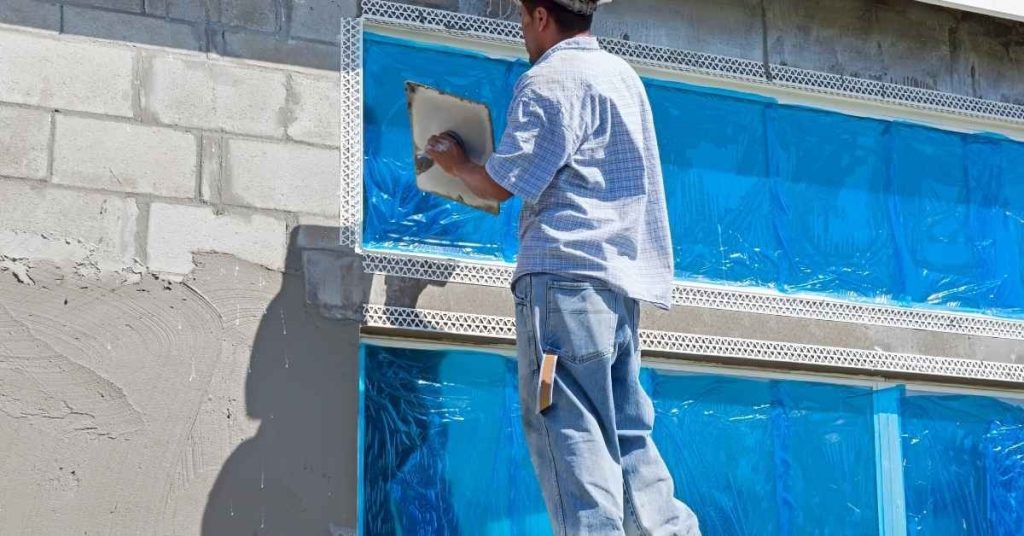
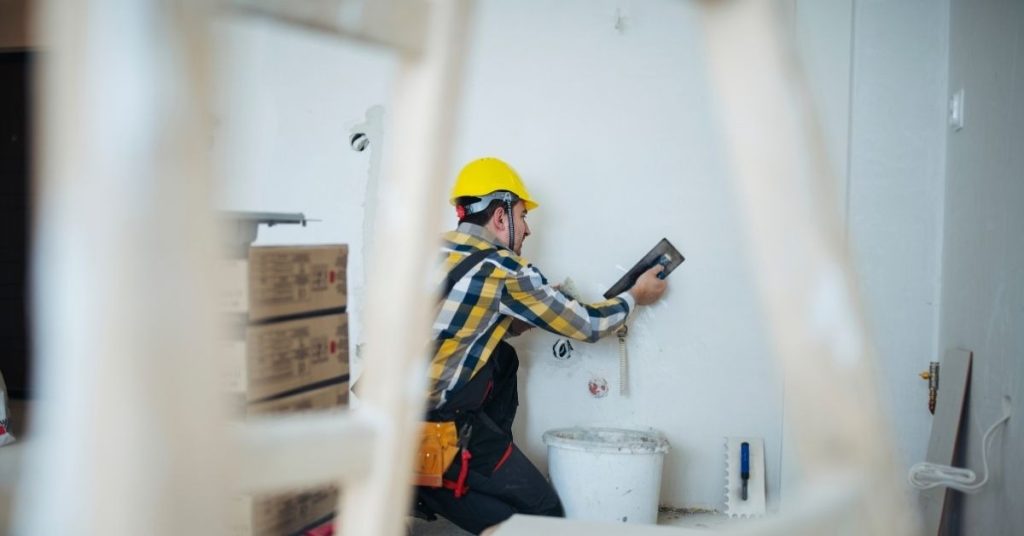
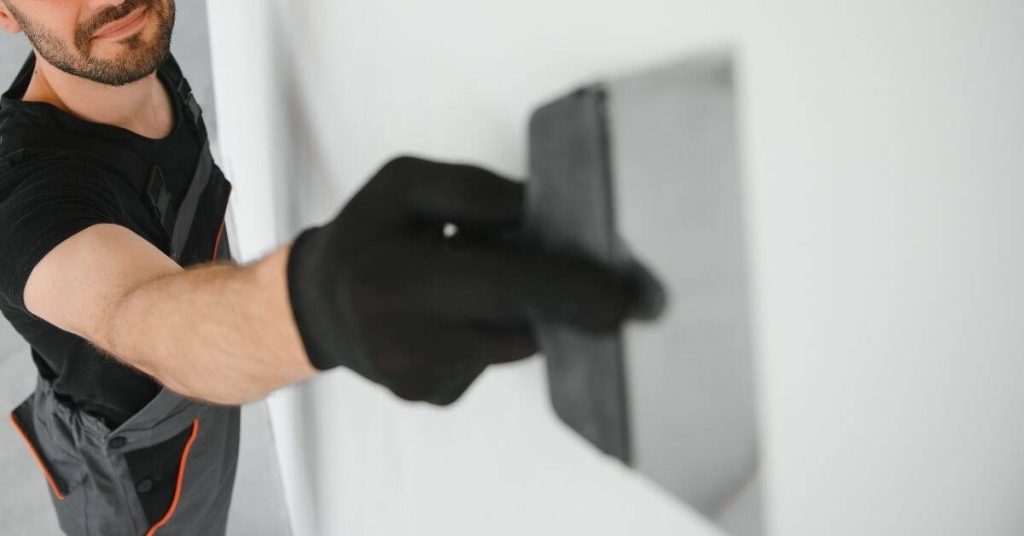
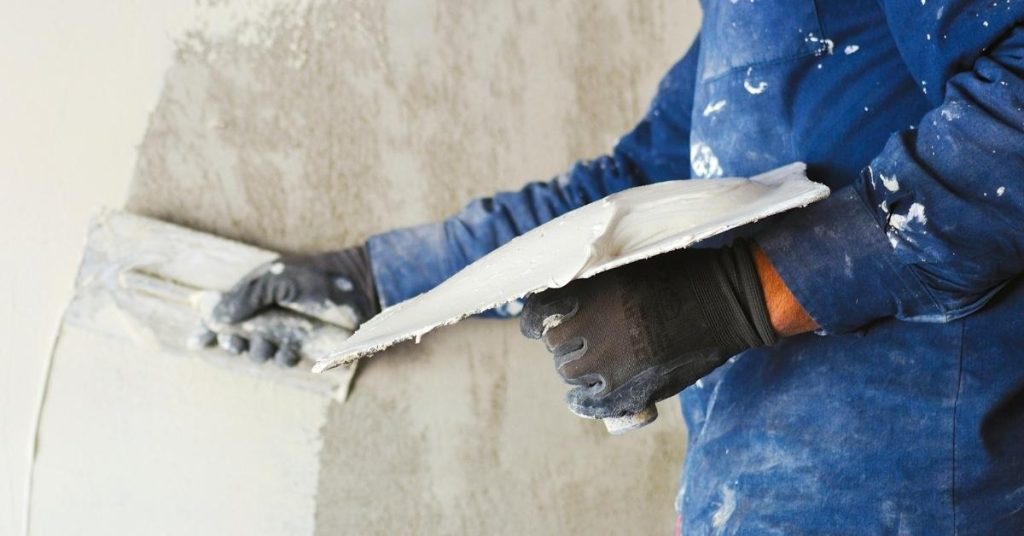
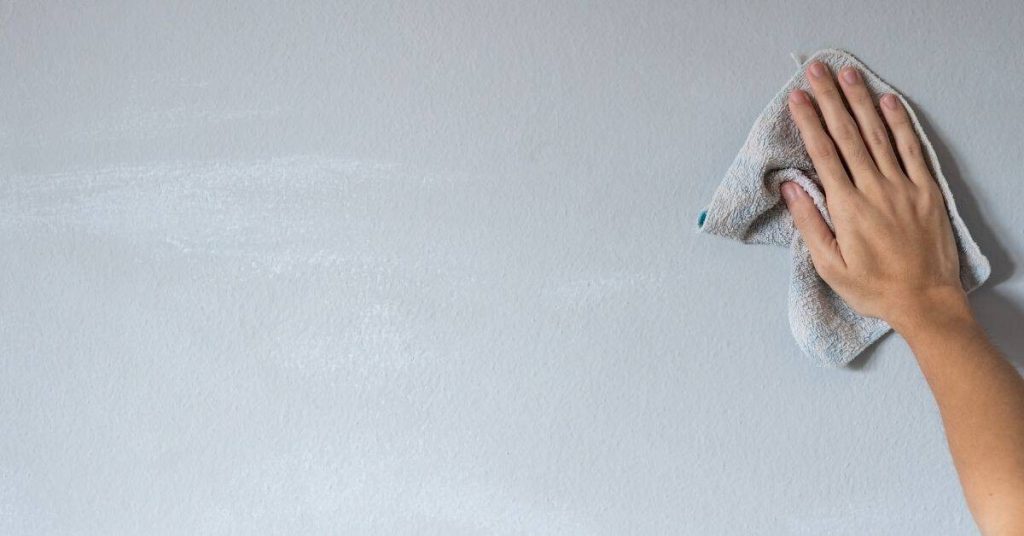
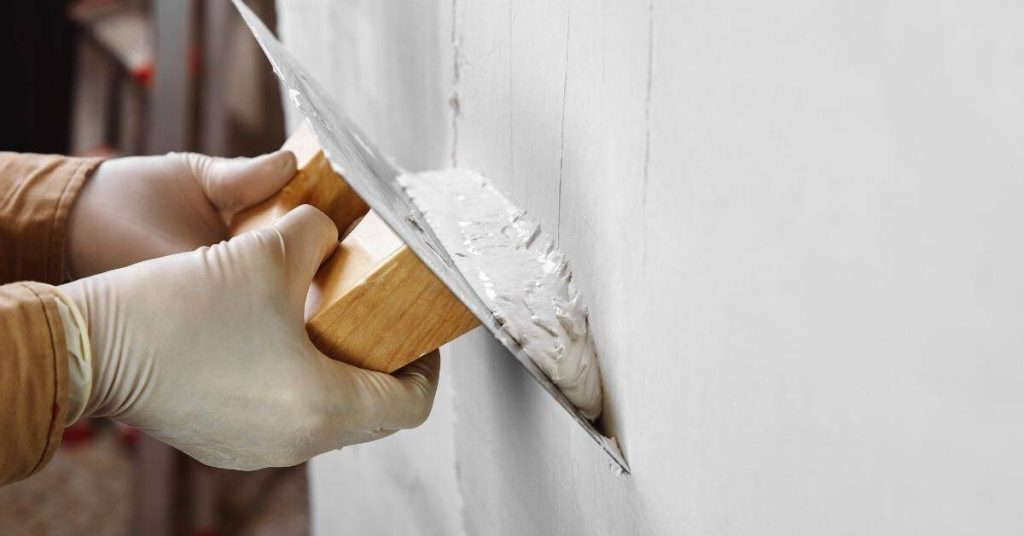
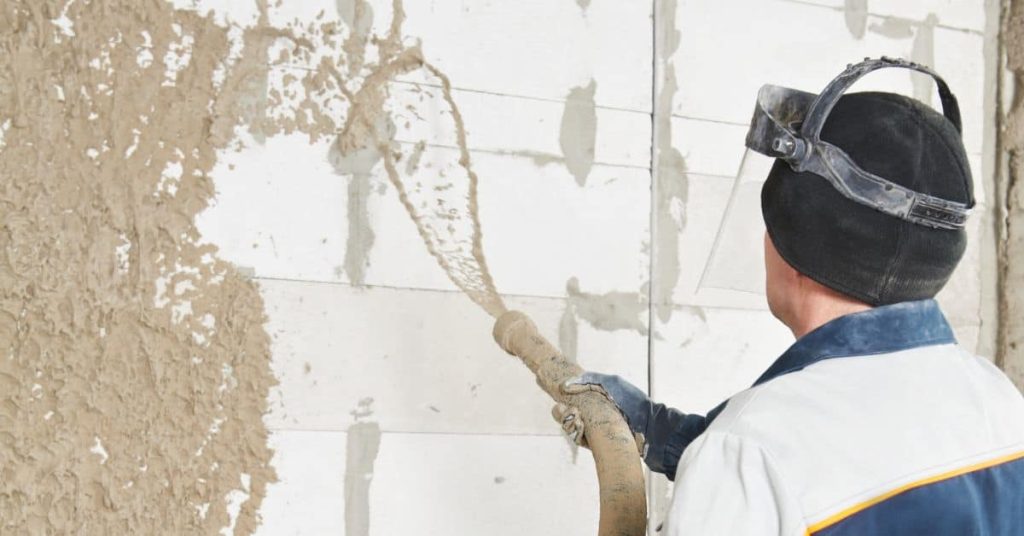
Introduction Smoothing interior concrete block walls means applying a skim coat to create a flat, paint-ready surface. It’s a light, even layer that fills small voids and helps the wall accept finish coats. The key is good bonding and proper moisture handling before you start. Lean on simple steps: clean and rough up the surface, […]

Smoothing Interior Concrete Block Walls: Skim Coats, Bonding, and Moisture Concerns Read More »

Worker applying stucco over concrete block wall near blue covered windows

Stucco Over Painted Concrete Block: Adhesion Tests and Prep That Prevents Delamination

Introduction Stucco over painted concrete block requires proper surface prep and adhesion testing to prevent delamination. We’ll walk through simple checks you can do with basic tools to judge if the old paint will hold and what to rough up or clean. This is a hands-on, DIY-friendly overview, not a full contractor guide. You’ll start

Stucco Over Painted Concrete Block: Adhesion Tests and Prep That Prevents Delamination Read More »

Close-up of a rough gray concrete surface

Concrete Block Retaining Walls for DIY: Drainage Rock, Fabric, and Failure Warning Signs

Introduction A concrete block retaining wall is a simple, built-up wall made from durable blocks that holds back soil. For DIY installations, drainage rock behind the wall and landscape fabric help water escape and keep pressure in check. Always read product labels and manufacturer instructions, and follow local rules for materials and installation where applicable.

Concrete Block Retaining Walls for DIY: Drainage Rock, Fabric, and Failure Warning Signs Read More »

Worker wearing yellow helmet applying plaster to a wall

Plaster After Flooring Changes: Baseboard Edges, Gaps, and Crack Isolation

Introduction Plaster after flooring changes is about finishing edges where the wall meets the new floor to keep things smooth and crack-free. This topic covers baseboard edges, gaps, and how plaster behaves around different floor heights. Stay practical and honest about what you can patch and what might need more follow-up. Start by inspecting the

Plaster After Flooring Changes: Baseboard Edges, Gaps, and Crack Isolation Read More »

Man applying plaster on wall with a trowel

Heat-Resistant Plaster Finishes Near Wood Stoves: Safer Choices and Topcoats

Introduction Heat-resistant plaster finishes are durable coatings designed to survive nearby wood stoves without cracking or posing a fire risk. Choose a plaster system that is non-combustible with a solid backing and proper joints, and follow the manufacturer’s instructions for installation and curing. For topcoats, look for options labeled for high-heat areas and apply them

Heat-Resistant Plaster Finishes Near Wood Stoves: Safer Choices and Topcoats Read More »

Paint brush next to green color swatch cards on wooden surface

Marmorino Color Layering: Building Depth Without Blotches or Lap Marks

Introduction Marmorino Color Layering is a plaster technique that builds depth by layering pigments and lime plaster to avoid blotches. You’ll apply thin coats, blend colors wet-on-wet, and smooth to keep it even. Work in small areas and test a patch first to learn how your mix behaves. Start with a clean, damp surface and

Marmorino Color Layering: Building Depth Without Blotches or Lap Marks Read More »

Worker applying plaster to wall with trowel and hawk

Venetian Plaster Over Existing Tile: Prep, Bond Bridges, and Edge Detailing

Introduction Venetian plaster over existing tile is applying plaster onto a tile surface to create a seamless, stone-like finish. Prep and bond are critical, because you’re sticking plaster to a non-porous base. You’ll need to clean, roughen, and seal as needed, then choose a compatible bonding product and follow its directions. Start with careful prep,

Venetian Plaster Over Existing Tile: Prep, Bond Bridges, and Edge Detailing Read More »

Hand wiping plaster wall with gray cleaning rag

Restoring Plaster After Smoke Damage: Cleaning, Sealing, and When Skims Won’t Bond

Introduction Restoring plaster after smoke damage means cleaning soot from surfaces, sealing with an appropriate primer, and addressing spots where skim coats won’t bond. This is a hands-on job you can tackle with basic tools, but you’ll need to verify suitability with product labels and local rules. Start with a gentle cleaning method that won’t

Restoring Plaster After Smoke Damage: Cleaning, Sealing, and When Skims Won’t Bond Read More »

Hands wearing gloves applying plaster with a trowel on wall

Lime Plaster Over Foam Indoors: Mechanical Keys, Mesh, and Fire-Safety Notes

Introduction Lime plaster over foam indoors is applying a breathable lime-based coating on foam insulation or foam boards inside a building. It needs proper keys, mesh, and surface prep so the plaster grips the foam. Work slowly, check that the foam is compatible with lime, and follow local rules. Use mechanical keys and mesh to

Lime Plaster Over Foam Indoors: Mechanical Keys, Mesh, and Fire-Safety Notes Read More »

Worker spraying wet stucco onto wall surface

Plaster Base Coats on Metal Lath: Thickness Targets and Scratch Patterns That Hold

Introduction A plaster base coat on metal lath is the first plaster layer that bonds to the lath and creates a solid surface. Apply it over clean, prepared metal lath and follow the guidance on the product label or manufacturer instructions. Keep the mix at a workable consistency and follow any local rules or instructions

Plaster Base Coats on Metal Lath: Thickness Targets and Scratch Patterns That Hold Read More »