
Introduction
Apron flashing is a waterproof strip installed at roof interfaces to divert water away from walls and openings.
The guide explains where apron flashing works and how to tell when it needs replacement or adjustment.
You’ll learn practical DIY tips, step-by-step considerations, and common-sense checks to install or inspect apron flashing correctly.
Key takeaways
- Apron flashing sits at roof-to-wall joints to shed water downward efficiently.
- It uses metal, vinyl, or aluminum profiles shaped to overlap siding.
- Inspect flashing for gaps, loose nails, or rust staining along edges.
- DIY installation requires proper underlayment, sealant, and matching profile to roof.
- Tools and materials: caulk gun, tin snips, metal flashing, ladder, level.
- Cots vary by material, complexity, and home height; plan for weather delays.
Table of Contents
- Introduction
- Key takeaways
- Definition and purpose of apron flashing
- Materials and profiles used for apron flashing
- How to inspect and identify apron flashing issues
- DIY apron flashing installation overview
- Tools and materials checklist for DIYers
- Step-by-step DIY repair guide with troubleshooting tips
- Cost, time estimates, and when to hire a pro
- Alternatives, upgrades, and long-term maintenance
- Conclusion
- FAQ
Definition and purpose of apron flashing
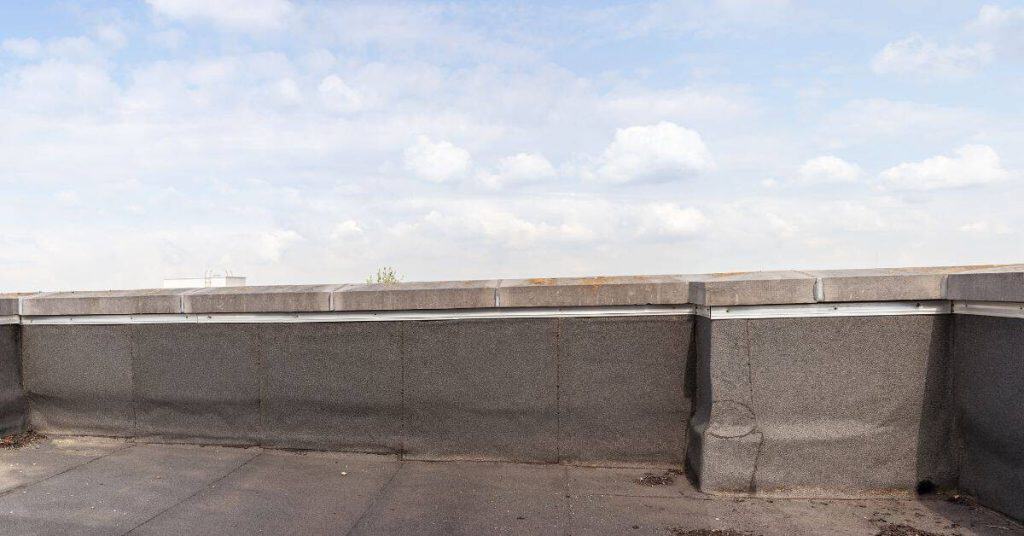
Apron flashing is a strip of metal or waterproofing material placed where a roof meets a wall. It directs water away from the joint and helps seal the transition so leaks don’t get in. This flashing sits at the edge where the roof and wall intersect, acting as a shield against water intrusion.
If you skip it or install it wrong, you’ll pay for it with leaks and rot. Doing it right makes the roof system last longer and keeps your interior dry even in heavy rain. Use the right type and install it properly, and check the product label for any specific instructions.
How apron flashing differs from other flashings (step, counter, drip)
Apron flashing is a specific type of metal or rubber barrier that sits below the roof edge and extends down the wall. It’s different from step flashing, which interlocks with shingles to cover vertical surfaces like walls. Unlike counterflashing, apron flashing doesn’t overlap another piece of flashing; instead, it lies flat against the wall surface.
Step flashing is often used at roof-to-wall intersections where water can easily seep in between materials. Counterflashing covers step flashing and provides an extra layer of protection by overlapping it with masonry or siding. Drip edges are simple metal strips that sit along the edge of a roof to direct water away from walls, but they don’t cover as much area as apron flashing.
Apron flashing is unique because it’s designed to protect large areas where water can pool and cause damage. It’s typically used in conjunction with other types of flashings for maximum protection against leaks at critical points like roof-to-wall junctions, chimneys, dormers, and valleys.
Where apron flashing is most effective
Apron flashing shines where water tends to accumulate and run down walls. It’s commonly used at roof-to-wall junctions, chimneys, dormers, and valleys—areas prone to leaks if not properly sealed.
At roof-to-wall intersections, apron flashing sits below the shingles and extends down the wall, creating a continuous barrier against water intrusion. This is crucial because these areas are often where wind-driven rain can get in.
Chimneys also benefit from apron flashing since they create large vertical surfaces that need protection from roof runoff. The same goes for dormers, which have complex angles and edges that can trap water if not properly flashed.
In valleys—where two sloping roofs meet—the apron flashing helps direct water away from the intersection where it’s most likely to accumulate. This is especially important during heavy rains when water can pool in these low spots.
Materials and profiles used for apron flashing
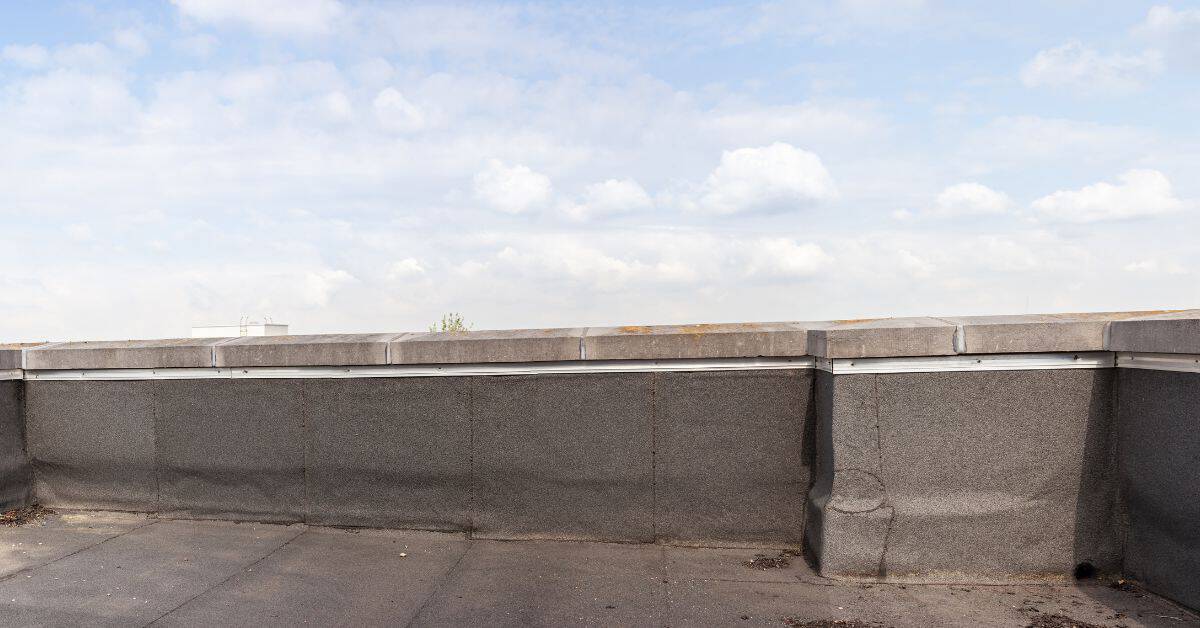
This section covers the common apron flashing materials you’re likely to see—galvanized steel, aluminum, lead, copper, and PVC—and what they do well or poorly for DIY projects. You’ll get a quick read on durability, ease of work, and long-term performance without wading through a pile of numbers. Each material has trade-offs you should know before you pick one.
Choosing the right metal or PVC matters because it affects how well your flashing keeps water out and how easy it is to install without damaging the wall or roof. The material you pick should fit your climate, your skills, and how you plan to seal and integrate with surrounding details. If you’re unsure, check the product label or datasheet for specifics and follow local guidance for safe handling and compatibility.
Thicknesses and profiles (L-shape, pan, custom bends)
The thickness of apron flashing depends on the roof pitch and type of siding. For a standard pitched roof with wood or vinyl siding, an L-shaped profile is usually sufficient. It’s easy to install and provides good water protection.
For steeper roofs or when dealing with brick or stone facades, consider using a pan profile. This deeper design helps channel water away from the wall more effectively. Custom bends are also available for tricky corners or unusual rooflines.
A common mistake is choosing too thin of material. A thicker gauge will resist bending and wear better over time. For most projects, 24-gauge galvanized steel works well. Thinner materials like aluminum can work but may need more maintenance to prevent warping.
Material specs and standards explained
The material you choose for apron flashing impacts durability, longevity, and overall performance. Each has its pros and cons based on local climate and building codes.
- Durability: Copper is highly durable but expensive. Look for 16-ounce per square foot thickness to ensure it lasts decades without corrosion.
- Corrosion resistance: Galvanized steel resists rust better than bare metal, especially in humid climates. Check the zinc coating percentage—more zinc means better protection against moisture.
- Local codes: Always check local building regulations before selecting materials. Some areas require specific types of flashing for fire safety or structural integrity reasons.
- Maintenance: PVC is lightweight and easy to install but can crack in extreme cold. Ensure it’s rated for your area’s temperature range to avoid issues later on.
- Bonding strength: Lead flashing is very flexible and adheres well to rough surfaces, making it ideal for complex rooflines. However, improper installation can lead to leaks due to its softness.
How to inspect and identify apron flashing issues
Inspect apron flashing by looking for obvious trouble signs. Check for rust, gaps, nail pull-out, and detachments that show water can get behind the siding. If you see any of these, plan for repair before water damage gets worse.
This matters because small flash-guard problems quickly lead to leaks and rot in the wall. Early detection lets you fix it with solid sealing or replacement before bigger, messier work is needed. Don’t ignore loosened nails or loose edges—address them now and keep the roofline dry.
Step-by-Step Process
This sequence helps you methodically inspect and identify apron flashing issues, ensuring safety and accuracy.
- Put on gloves and a mask. Check for loose nails or rust that could cause injury.
- Inspect the roof edge where the apron flashing meets the wall. Look for gaps or signs of water damage.
- Check under the siding near the flashing to see if there’s any moisture or staining, indicating leaks.
- Look at the nails securing the flashing. If they’re loose or missing, replace them immediately.
- Clean around the flashing with a wire brush and apply sealant in any gaps you find.
When to Repair Versus Replace
If damage is minor, like small rust spots or loose nails, repair it yourself. If the flashing is old and showing significant wear, consider replacing it.
For partial replacement, if only a section of the apron flashing is damaged, cut out the bad part and install new flashing. This saves time and materials compared to full replacement.
If you notice large gaps or extensive rusting across most of the flashing, it’s best to replace the entire piece to prevent further water damage.
Common Failure Causes (Installation, Settling, Weather)
Improper installation is a major cause of flashing failures. If laps are too short or not sealed properly, water can easily seep through.
Rapid temperature changes and thermal movement can also lead to cracks in the flashing over time. This happens when materials expand and contract differently.
Poor fastening methods, like using nails that aren’t long enough, can cause the flashing to pull away from the wall or roof during settling of the building structure.
DIY apron flashing installation overview
This section covers the full DIY workflow for a roof-to-wall apron. You start with planning and measuring, then move to fitting, sealing, and finishing. The goal is a watertight, neat apron that lasts.
You’ll see why careful planning saves mess and leaks later. Doing it step by step avoids backtracking and costly mistakes. Rely on good materials, follow the product label, and don’t rush bad joints.
Measuring, templating, and bending flashing
To start your apron flashing project, you need to measure the area where it will go. Use a tape measure to get precise dimensions of the wall and roof intersections. Mark these measurements clearly on paper or directly onto metal sheets.
Create templates from cardboard or thin plywood based on your measurements. These templates help ensure accuracy when cutting and bending the flashing material. Place them over the metal sheet, trace around them with a marker, then cut out using tin snips.
For bending the metal to fit properly, use hand tools like pliers or a brake if you have one. A brake is ideal for making clean bends at specific angles. If using hand tools, bend slowly and carefully until it fits snugly against the wall and roof edges.
Integration with shingles, siding, and underlayment
The key to a watertight assembly is proper layering of materials. Start by installing the underlayment over the roof deck before placing any flashing or shingles.
Next, position your apron flashing so it sits below the roofing material but above the siding on the wall. This ensures water flows down and away from both surfaces without seeping in.
When attaching flashing to the wall, make sure it overlaps the bottom edge of the siding by at least an inch or two. Use galvanized nails or screws to secure it firmly into place.
Tools and materials checklist for DIYers
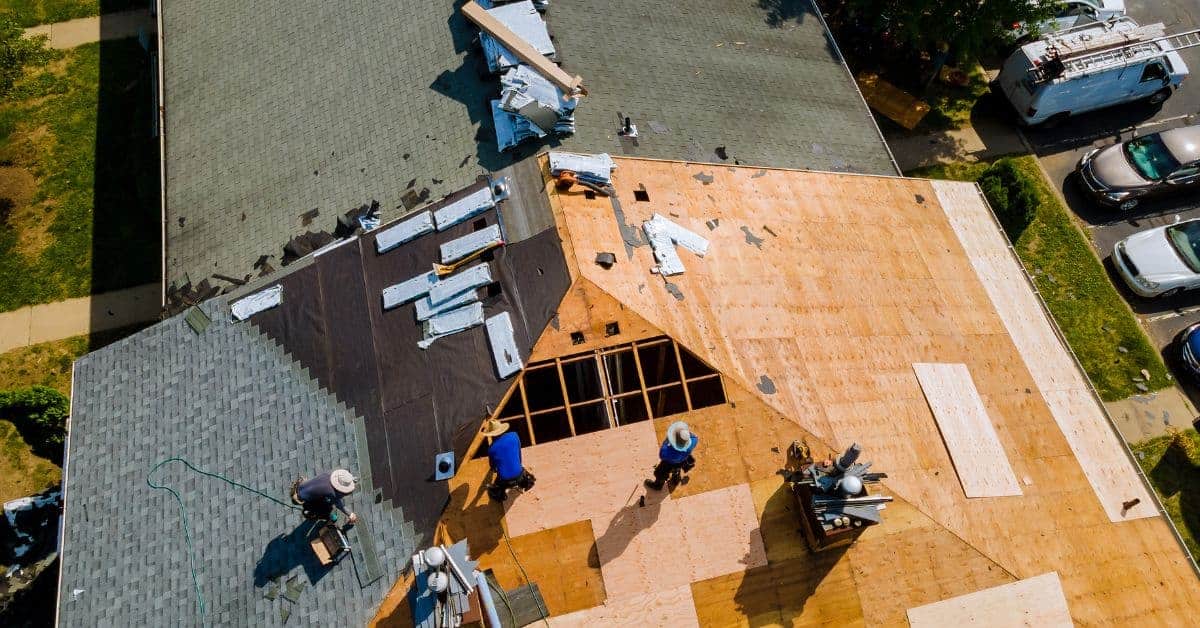
This section gives a concise checklist of the tools, fasteners, sealants, and safety gear you need for common apron flashing jobs. It keeps to practical, ready-to-use items so you don’t miss basics on site. Follow the list and you’ll work cleaner and safer.
Having the right tools and materials matters because poor prep leads to leaks, rust, or visible flaws you’ll regret later. The notes below explain what each item does and why it’s worth having before you start. If you’re unsure about a product specification, check the label or datasheet for guidance