
Introduction
The process of applying stucco to concrete slabs involves careful planning, including understanding the timeline and duration for each step. This guide walks you through the entire process, breaking down the time required for each task.
Whether you’re a DIY enthusiast or a professional contractor, knowing how long each stage takes helps you plan your project more effectively and avoid common pitfalls.
For the full guide, see Stucco at Concrete Slabs: Proper Gap, Sealant Joint, and How to Fix a Tight Termination.
The Complete Stucco-to-Concrete Slab Timeline
From preparation to final inspection, here’s a detailed timeline outlining the duration of each step in applying stucco to concrete slabs:
- Preparation (1-3 days): Cleaning the slab surface, addressing any repairs, and setting up safety measures.
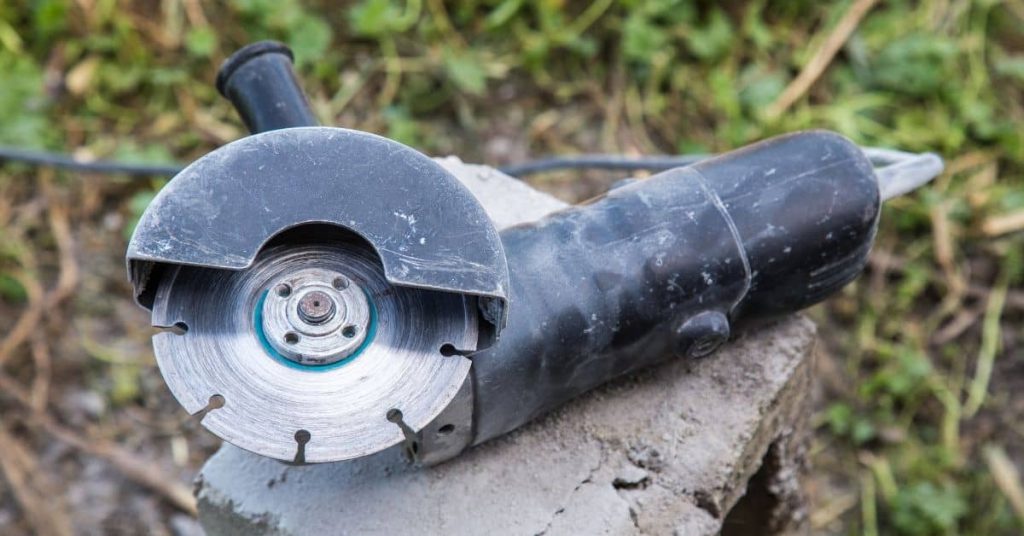
- Gap Creation (1 day): Marking and cutting the gap between the stucco and the slab using a grinder or other appropriate tool.
- Backer Rod Installation (0.5-1 day): Installing backer rods to create a proper joint and support the sealant.
- Sealant Application (2-4 hours): Applying the chosen sealant, ensuring it’s compatible with both stucco and concrete, following manufacturer guidelines for prep and cure times.
- Termination Inspection and Adjustment (1 day): Checking termination points for tight contacts, opening joints if necessary, and re-sealing as needed.
- Final Inspection and Documentation (0.5-1 day): Ensuring the job meets quality standards, documenting maintenance intervals, and noting warranty terms in writing.
Total estimated duration: 4 to 8 days, depending on project size, complexity, and weather conditions.
Key takeaways
The time spent on preparation directly impacts the overall timeline of your stucco application project. Ensuring a clean, dry surface before applying any sealant joint is crucial for a successful outcome.
- Ensure a clean, dry slab surface before applying any stucco sealant joint.
- Maintain an appropriately sized gap between stucco and slab per guidance.
- Choose sealant material compatible with movement, substrate, and climate exposure.
- Inspect termination edges for tight stops; adjust with proper detailing.
- Document maintenance intervals and warranty terms in writing for future claims.
- Wear eye protection and gloves when mixing or applying sealants.
Table of Contents
- Introduction
- Key takeaways
- Why the Stucco-to-Slab Gap Matters
- Determining the Proper Gap Size
- Sealant Joint Design and Material Selection
- Creating a Proper Termination: Installation Details
- Diagnosing a Tight Termination: Inspection Checklist
- Repair Strategies for a Tight Termination
- Tools, Materials Checklist and Jobsite Safety
- Maintenance, Inspection Intervals, and Warranty Considerations
- Conclusion
- FAQ
Why the Stucco-to-Slab Gap Matters
Leave a separation at the stucco/slab interface to let the wall and slab move independently without cracking the finish. This gap also prevents direct capillary contact that can draw slab moisture up into the wall assembly.
Moisture control and drainage depend on that space working with flashing and weep details, not just sealant. When in doubt, check product labels and manufacturer instructions for how the system expects the termination to be detailed.
Common failure modes at tight terminations
The biggest issue with a tight termination between stucco and concrete slabs is that it restricts movement. This can lead to several problems:
Cracking: As the slab expands and contracts with temperature changes, the rigid stucco can’t accommodate this movement, causing cracks in both the stucco and the sealant joint.
Bond loss: The constant stress from restricted movement can cause the stucco to lose its bond with the substrate, leading to delamination.
Moisture intrusion is another major concern. When the sealant joint fails due to these stresses, water can wick into the wall system, causing damage and encouraging mold growth.
How movement, moisture, and freeze/thaw affect the junction
The junction between stucco and concrete slabs is a critical area that’s subjected to various stresses:
Movement: Concrete slabs expand and contract due to temperature changes. A gap allows for this movement without putting excessive stress on the stucco or sealant joint.
Moisture migration: Water can travel through capillary action, especially in porous materials like concrete. A gap prevents water from wicking into the wall system, where it can cause damage and encourage mold growth.
Freeze/thaw cycles: In cold climates, water trapped in the junction can freeze and thaw, causing damage to both the stucco and the sealant joint. A gap allows for drainage, preventing this cycle of damage.
Determining the Proper Gap Size
Choosing the right gap size means checking applicable codes, the stucco system manufacturer’s recommendations, and sealant manufacturer joint-width guidance. Different systems and sealants have required minimum and maximum joint dimensions you must follow.
On the job, measure anticipated movement and select a gap that allows the sealant to operate in its recommended range; if uncertain, consult the product data sheet or technical rep. Practical installers also account for tolerances, flares, and finishing thickness when setting the gap at rough-in.
Factors that control gap width
The size of the gap between your stucco and concrete slab isn’t one-size-fits-all. Here’s what you need to consider:
Expected movement: The bigger the expected expansion and contraction, the wider the gap needs to be.
Sealant type and depth: Different sealants have different application depths. Check your sealant’s data sheet to ensure the gap is wide enough for proper application and adhesion.
Drainage needs: A wider gap can help with water drainage, but it also exposes more of the slab to weathering. Balance this with your local climate and aesthetics.
What to check: codes, manufacturer data, and engineer input
Before you start measuring, consult these resources to ensure your gap size is up to code and safe:
- Building codes: Check local building codes for minimum and maximum gap sizes. Ignoring this can lead to inspection failures.
- Stucco manufacturer data: Follow the manufacturer’s recommendations for gap size, sealant type, and application depth.
- Sealant manufacturer data: Ensure your chosen sealant is compatible with your stucco and slab, and that it can be applied effectively within your planned gap size.
- Engineer input (if applicable): For complex projects or unique materials, consult a structural/roofing professional to ensure your gap size accommodates all necessary movements and loads.
- Climate considerations: Check if your local climate has specific requirements for gap size to account for freeze/thaw cycles or other weather conditions.
- Aesthetic constraints: While not a safety concern, consider the visual impact of your chosen gap size on the overall appearance of your project.
- Sealant lifespan: Ensure your sealant can last the expected lifetime of your stucco without needing replacement due to improper gap sizing.
Quick rule: Always consult these resources before starting work. Skipping this step could lead to costly rework or even structural issues down the line.
Sealant Joint Design and Material Selection
A durable joint pairs a compatible sealant chemistry with the correct joint geometry and a suitable backing material to control depth and bond pattern. Use backer rod sizes and joint shapes that let the sealant cure with the ideal cross-section and avoid three-sided adhesion.
Match sealant choice to expected movement, UV exposure, and substrate compatibility, and confirm adhesion and primer needs per manufacturer instructions. If compatibility is unclear, test adhesion to the prepared substrates or ask the sealant maker for guidance.
Choosing sealant chemistries and verifying compatibility
Selecting the right sealant is crucial for a durable joint. Common options include polyurethane, silicone, and hybrid sealants.
Each has its pros and cons. Polyurethanes are tough and abrasion-resistant but can be sensitive to moisture. Silicones offer excellent elasticity but may not perform well in high heat. Hybrids combine properties of both.
Always check manufacturer data or create test panels to confirm adhesion and compatibility with both your stucco and concrete surfaces.
Backer rods, bond breakers, and joint profile best practices
Backer rods and bond breakers play a vital role in creating an effective sealant joint. They control the depth of the sealant and prevent adhesion to the substrate.
A backer rod is inserted into the joint before applying the sealant. It provides support and helps maintain the joint’s width. A bond breaker, often a tape or liquid applied material, prevents the sealant from sticking to the substrate, allowing for easy removal when it’s time to replace the sealant.
Follow manufacturer recommendations for the width-to-depth proportions of your backer rod. This ensures you’re using the right size for your joint and provides the best support for your sealant.
Creating a Proper Termination: Installation Details
Install the termination screed or weep screed, integrate flashing under the WRB, prepare the slab edge clean and free of laitance, and set the separation before finishing the stucco. Work from the substrate out: flash, backer rod, sealant, then finish coat, keeping the gap consistent through the finish process.
Protect flashing laps and ensure the stucco stop is secured without bridging the gap; check product installation instructions for fastener locations and clearances. If you need to alter the slab edge, verify structural or code implications before cutting or grinding.
Using termination/weep screed and mechanical terminations
The first step in creating a proper termination is installing the weep screed or termination screed. This is a small, horizontal ledge above your concrete slab that allows water to drain off.
For mechanical terminations, use metal or plastic termination bars. They should be installed on top of the weep screed, with their bottom edge level with the top of the slab. This creates a secure, serviceable edge for your stucco application.
Pro tip: Make sure to install these components before you start applying your base coat of stucco. It’s much easier to do it right the first time than to try and fix mistakes later.
Integrating flashing and the drainage plane
Flashing is crucial for directing water away from your wall assembly. Start by routing your flashing up to the termination area, then continue it over the top of the weep screed or termination bar.
The water-resistive barrier (WRB) should also be routed through this area. Make sure it’s lapped properly under the flashing and continues up the wall. This creates a continuous drainage plane that keeps moisture out of your walls.
Remember: The key here is to maintain a continuous path for water to drain off, both at the slab edge and up the wall.

Diagnosing a Tight Termination: Inspection Checklist
Look for surface clues first: cracking at the termination, staining, efflorescence, or the stucco sitting directly on the slab edge without a visible joint. Probe for trapped moisture, poor flashing laps, or back-dammed sealant that shows compression rather than a proper seal.
Open a small test inspection if needed to verify hidden conditions—confirm flashing termination, WRB continuity, and substrate soundness per manufacturer guidance. If structural or waterproofing concerns appear, stop and consult the relevant product data sheet or a building professional.
Visual checkpoints and signs to photograph
Before you start any work, use this checklist to visually inspect your termination. It’s crucial to document the current state with photos and notes for future ref