Search Results for: seal brick

Hand applying plaster on wall with metal trowel

Clay Plaster Dent Repairs: Spot Blends, Burnish Timing, and Invisible Touch-Ups

Introduction Clay plaster dent repairs are about filling dents with clay plaster, blending the patch to the surrounding wall, and keeping the finish invisible. This is a hands-on, small-mesh job you can tackle with basic tools and careful timing. You’ll spot blend by feathering edges and adjusting texture until the repaired area matches the wall. […]

Clay Plaster Dent Repairs: Spot Blends, Burnish Timing, and Invisible Touch-Ups Read More »
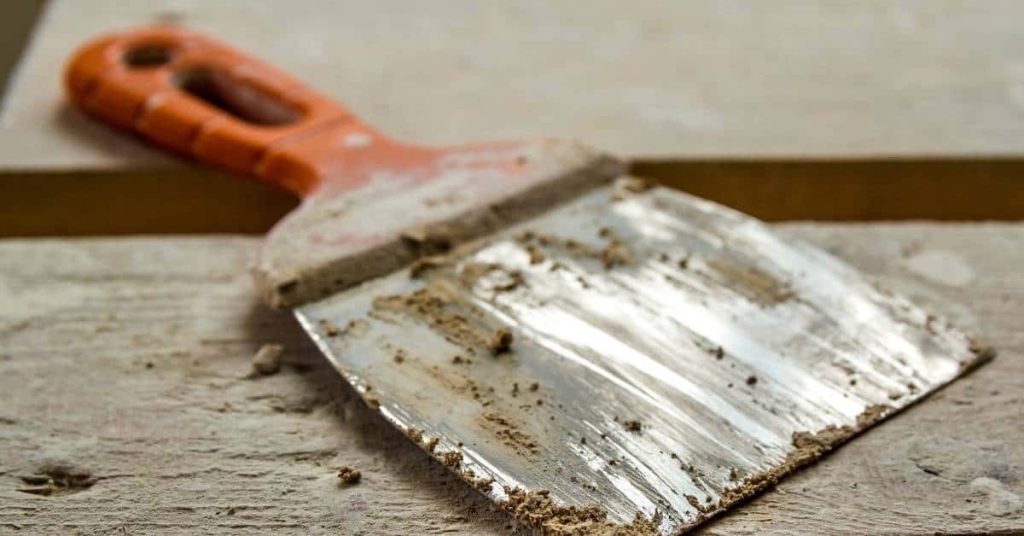
Putty knife with dried plaster on wooden surface

Leveling Wavy Lath Before Plastering: Shimming, Tension, and Straightedge Control

Introduction Leveling wavy lath before plastering means making the wall lath flat and true so the plaster can set evenly. Start by mapping high and low spots and use thin shims or temporary battens to bring the lath into line. Always refer to the lath type’s instructions and local rules to choose the right method.

Leveling Wavy Lath Before Plastering: Shimming, Tension, and Straightedge Control Read More »

Hand applying plaster to wall with trowel wearing glove

Fixing Plaster After Water Stains: Salts, Stain Blocking, and When to Cut Out

Introduction Water stains on plaster indicate moisture and mineral salts that have bled into the surface. Address the source and let the area dry before patching, and remove any loose or damaged plaster you can see. Choose a stain-blocking product and patch material based on the area, and always check the label for compatibility and

Fixing Plaster After Water Stains: Salts, Stain Blocking, and When to Cut Out Read More »

Close-up of blue painted stucco wall texture

Patch “Picture Framing” on Painted Stucco: Prime Zones and Feathered Coating Steps

Introduction Patch “Picture Framing” on painted stucco means touching up small areas so the patch blends with the surrounding paint while keeping the texture. This guide introduces how to spot the framing, choose basic tools, and apply a feathered coat with primer over patches. Keep it practical and straightforward, like a real hands-on repair. Before

Patch “Picture Framing” on Painted Stucco: Prime Zones and Feathered Coating Steps Read More »

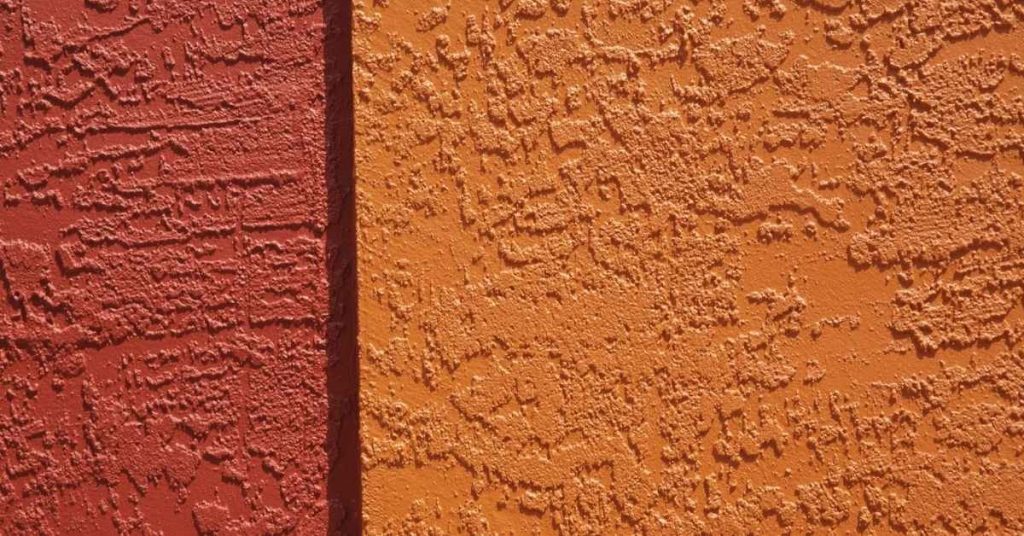
Close-up of two-tone orange and red textured stucco wall

Two-Tone Stucco Bands Without Cracks: Movement Joints and Sequencing

Introduction Two-tone stucco bands without cracks are achieved by using deliberate movement joints and proper sequencing to control where cracks form. This approach keeps the color bands crisp and the surface durable during temperature changes and settling. Avoid guessing—check labels and manufacturer guidance for allowable joint spacing and material compatibility. Identify crack types as they

Two-Tone Stucco Bands Without Cracks: Movement Joints and Sequencing Read More »

Man holding plastering hawk with fresh plaster

Sagging Plaster Ceilings: When Washers Help—and When Strapping Is Smarter

Introduction Sagging plaster ceilings can be stabilized temporarily by using washers under fasteners to pull the plaster back up. This is a short-term fix that can buy time while you plan a more permanent repair. Make sure you’re hitting solid framing, not just flaky plaster. Strapping is usually the smarter long-term approach when the ceiling

Sagging Plaster Ceilings: When Washers Help—and When Strapping Is Smarter Read More »

Closeup of a large crack in white stucco wall

Stucco Too Close to Grade: Fix Options Short of Full Tear-Down

Introduction Stucco too close to grade means the stucco base sits near soil and splash zones, which can trap moisture and invite damage. Common signs include cracking, staining, or peeling where the wall meets the ground, plus any bubbling or powdery finish. Watch for moisture staining, plant growth against the wall, and gaps that let

Stucco Too Close to Grade: Fix Options Short of Full Tear-Down Read More »

Stucco exterior walls of beige house with visible horizontal control joints

Stucco Control Joint Layout for Big Walls: Spacing That Prevents Map Cracking

Introduction Control joints are designed gaps in stucco that allow movement and prevent cracks on big walls. They give the plaster somewhere to flex instead of tearing apart as the wall expands and contracts. If you skip them on a large surface, you’re inviting map cracking and uneven textures. Plan joint placement based on wall

Stucco Control Joint Layout for Big Walls: Spacing That Prevents Map Cracking Read More »

Worker wearing yellow helmet applying plaster to a wall

Plaster After Flooring Changes: Baseboard Edges, Gaps, and Crack Isolation

Introduction Plaster after flooring changes is about finishing edges where the wall meets the new floor to keep things smooth and crack-free. This topic covers baseboard edges, gaps, and how plaster behaves around different floor heights. Stay practical and honest about what you can patch and what might need more follow-up. Start by inspecting the

Plaster After Flooring Changes: Baseboard Edges, Gaps, and Crack Isolation Read More »

Man applying plaster on wall with a trowel

Heat-Resistant Plaster Finishes Near Wood Stoves: Safer Choices and Topcoats

Introduction Heat-resistant plaster finishes are durable coatings designed to survive nearby wood stoves without cracking or posing a fire risk. Choose a plaster system that is non-combustible with a solid backing and proper joints, and follow the manufacturer’s instructions for installation and curing. For topcoats, look for options labeled for high-heat areas and apply them

Heat-Resistant Plaster Finishes Near Wood Stoves: Safer Choices and Topcoats Read More »