Search Results for: lime plaster gypsum

Person applying plaster to wall with putty knife

Adding Fibers to Plaster: Hemp, Cellulose, and Horsehair Alternatives Compared

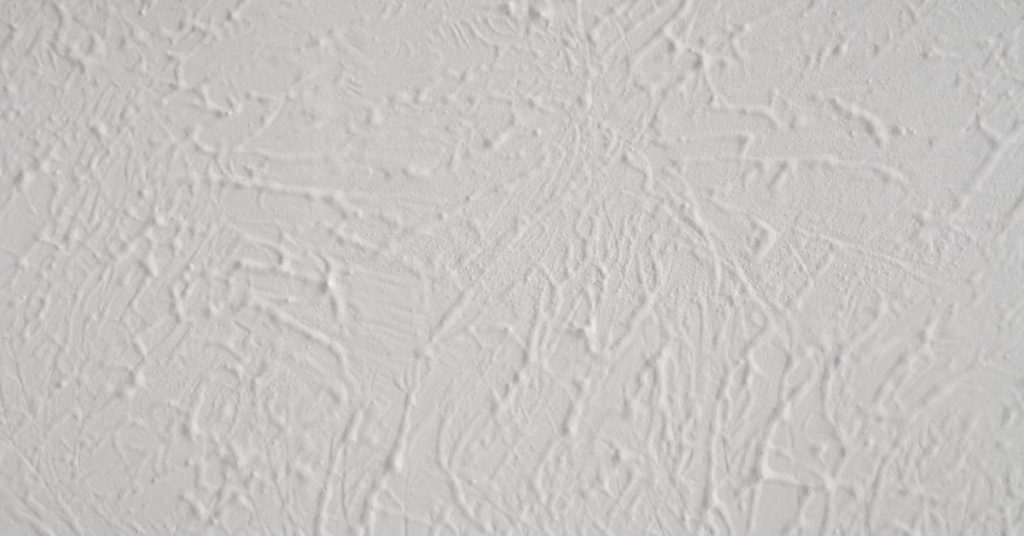
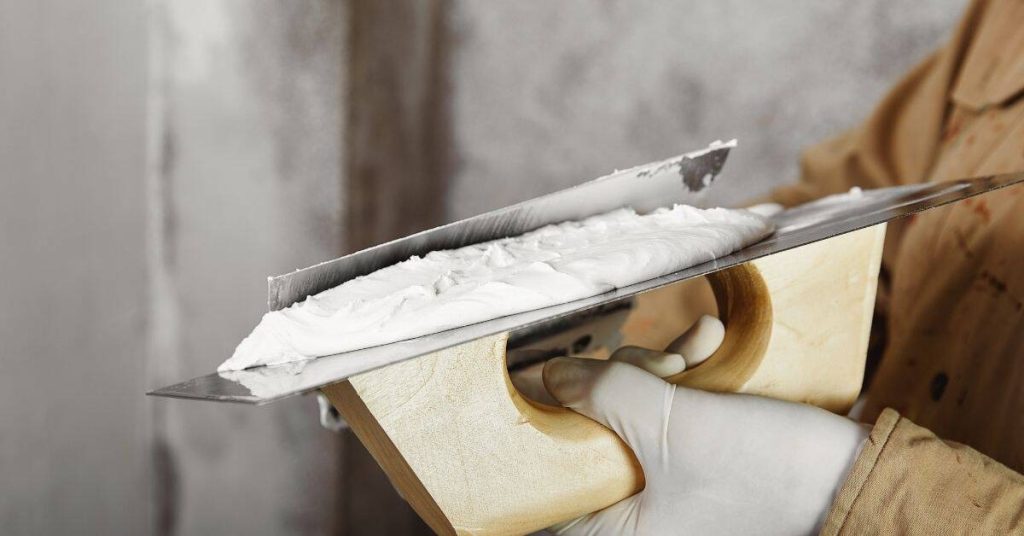
Introduction Adding fibers to plaster means mixing natural fibers like hemp, cellulose, or horsehair into a lime or clay binder to improve crack resistance and tensile strength; choose the fiber type and preparation based on the binder and final exposure. From a DIY foreman’s view, hemp is strong and long fibers need chopping, cellulose is […]

Adding Fibers to Plaster: Hemp, Cellulose, and Horsehair Alternatives Compared Read More »

Hand with glove smoothing lime plaster on wall with straightedge

Microcracks in Lime Plaster: Normal Crazing vs Movement and How to Decide

Introduction Microcracks in lime plaster are usually small surface crazing that forms as the plaster dries and shrinks; they are often cosmetic and not a structural failure. Look at crack width, depth, and whether it goes into the substrate to decide; if unsure, check the product label or manufacturer guidance for allowed hairline cracking. In

Microcracks in Lime Plaster: Normal Crazing vs Movement and How to Decide Read More »

Green paint roller applying green paint on white wall

Plastering Over Old Calcimine Paint: Identification Tests and Bonding Fixes

Introduction Plastering over old calcimine paint means confirming the paint is the flaky, powdery lime-based finish that repels new plaster and then removing or treating it so plaster can bond. I’ll show simple tests to identify calcimine and practical fixes for adhesion problems you can do with common tools. If a product or spec matters,

Plastering Over Old Calcimine Paint: Identification Tests and Bonding Fixes Read More »

Close-up of textured white plaster wall finish

Plaster Feather Edges That Don’t Flake: Keying, Wetting, and Finish Timing

Introduction Plaster feather edges that don’t flake are thin finish edges keyed and bonded to the existing surface, wetted and timed correctly so the new plaster grabs without lifting. Check whether the area needs repair by tapping or scraping loose material and by checking for movement; if substrate is dusty, crumbling, or contaminated you must

Plaster Feather Edges That Don’t Flake: Keying, Wetting, and Finish Timing Read More »

Construction worker smoothing plaster on wall wearing blue helmet

Repairing Polished Plaster Chips: Patch Blending Without Visible ‘Halos’

Introduction Repairing polished plaster chips means filling and feathering the damaged area so the patch matches surrounding sheen and texture without a visible ring. Start by cleaning and undercutting loose edges, use compatible repair material, and build thin layers that are troweled and polished to blend into the existing finish. Check product labels and manufacturer

Repairing Polished Plaster Chips: Patch Blending Without Visible ‘Halos’ Read More »

white plaster wall with uneven textured surface

Venetian Plaster Over Existing Texture: When to Skim, When to Sand, and When to Remove

Introduction Venetian plaster over existing textured walls means deciding whether to skim, sand, or remove that texture so the final finish looks smooth and bonds properly. In plain jobsite terms: skim if the texture is shallow and solid, sand if it’s flaky or slightly high, and remove if it’s loose, highly uneven, or has adhesion

Venetian Plaster Over Existing Texture: When to Skim, When to Sand, and When to Remove Read More »

Hand painting wooden cabinet door with blue paint roller

Painting Over Old Limewash: Identification, Neutralization, and Best Primers

Introduction Painting over old limewash can be a challenge due to its unique composition and properties. This guide will help you identify, neutralize, and prime your limewashed surfaces for successful painting. Key takeaways Identify limewash by chalky finish, mineral content, and matte, breathable film. Test adhesion with scrape and moisture penetration before priming. Contain dust,

Painting Over Old Limewash: Identification, Neutralization, and Best Primers Read More »

Hand holding plastering trowel with fresh white plaster

Clay Plaster in Bathrooms: Timeline & Duration – Step-by-Step Guide

Introduction Installing clay plaster in your bathroom can transform the space into a warm, inviting haven. But how long does it take? Let’s break down the timeline and duration of this DIY project step by step. From surface preparation to final sealing, understanding the time commitment helps you plan effectively and ensures a successful outcome.

Clay Plaster in Bathrooms: Timeline & Duration – Step-by-Step Guide Read More »

Person holding plaster on hawk and applying with trowel

Restoring Plaster Picture Rails: A Step-by-Step Timeline to Preserve Shadow Lines

Introduction Preserving the original character of your home’s plaster picture rails involves careful repair and restoration. Understanding the timeline for this project helps you plan effectively, ensuring a successful outcome that maintains the shadow lines. From initial assessment to final touches, let’s break down the process into manageable steps, focusing on how long each task

Restoring Plaster Picture Rails: A Step-by-Step Timeline to Preserve Shadow Lines Read More »

Ornate plaster ceiling medallion with floral and scrollwork design

Fixing Plaster Cracks at Ceiling Medallions: A Step-by-Step Timeline

Introduction Tackling plaster cracks around ceiling medallions can seem daunting, but breaking down the process into a clear timeline makes it manageable. This step-by-step guide walks you through fixing these issues efficiently, from initial inspection to final touch-ups. Understanding how long each stage takes helps you plan your project effectively and ensures you allocate enough

Fixing Plaster Cracks at Ceiling Medallions: A Step-by-Step Timeline Read More »