Search Results for: lime plaster gypsum

Person applying plaster to brick oven dome with trowel

Plaster Repairs Over Masonry Fireplaces: Managing Heat Cycles and Soot Staining

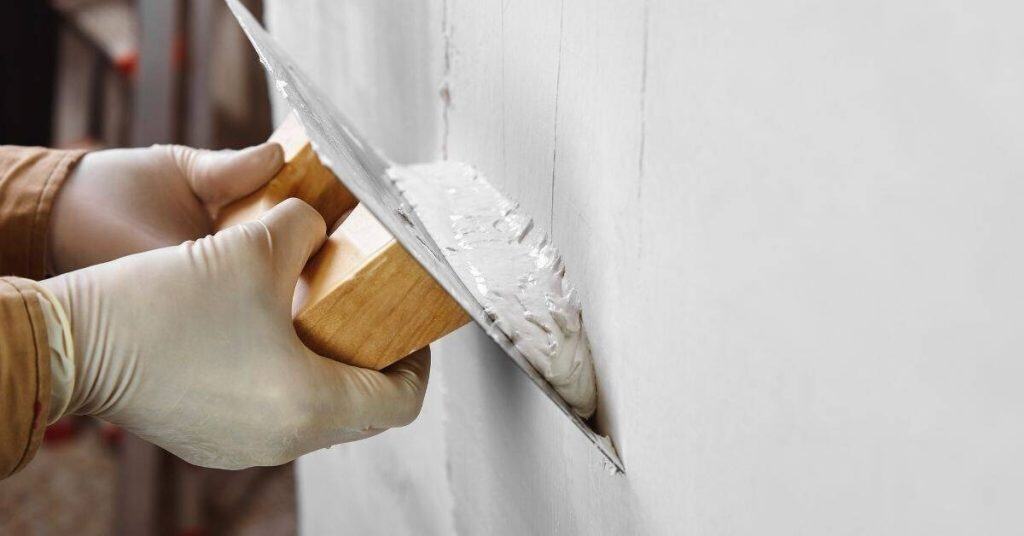
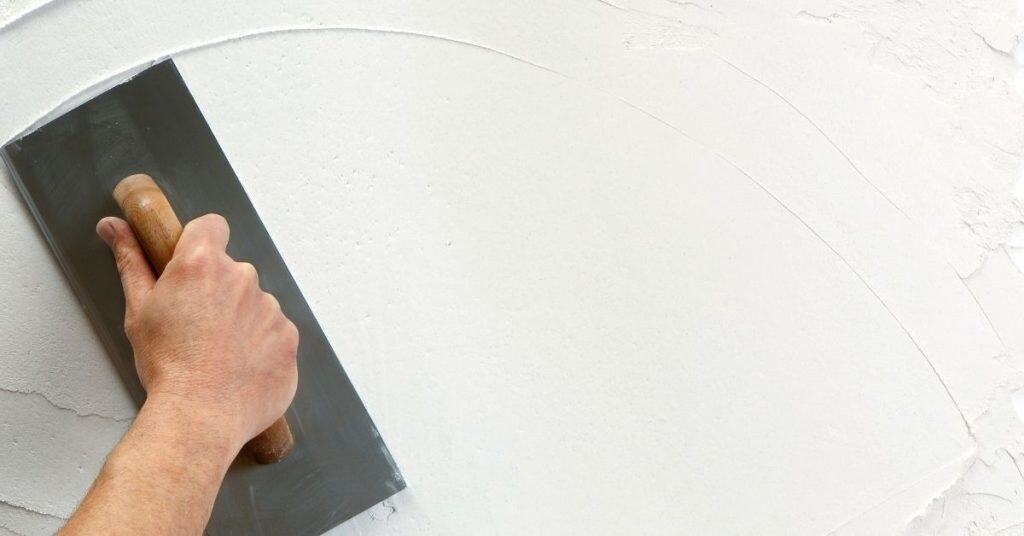
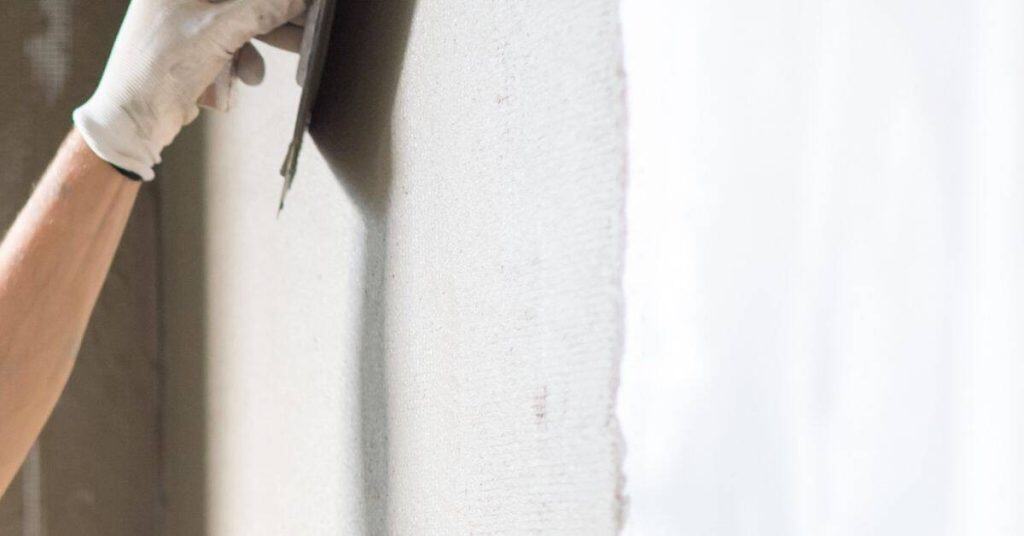
Introduction Plaster repairs over masonry fireplaces are patches of plaster applied to brick or stone around the firebox to restore a smooth, protected surface. Heat cycles and soot staining can crack and discolor the area, so you approach it in layers and blend with the surrounding texture. Keep an eye on existing cracks and smoke […]

Plaster Repairs Over Masonry Fireplaces: Managing Heat Cycles and Soot Staining Read More »

Close up of cracked and peeling plaster on wall

Repairing Plaster After Recessed Lighting Install: Keeping the Patch Flush and Crack-Free

Introduction Repairing plaster after recessed lighting install means restoring the wall or ceiling so the patch sits flush with surrounding plaster and hides the cut edges. Start by cleaning the area and inspecting for cracks or loose material. Check product labels and local rules for recommended patching methods and drying times. Apply a patching compound

Repairing Plaster After Recessed Lighting Install: Keeping the Patch Flush and Crack-Free Read More »

Hands applying plaster with a trowel on wall

Clay Plaster Basics for Homeowners: Mixing, Application, and Crack Control

Introduction Clay plaster is a traditional, breathable finish made from clay and water that you apply to walls. It’s forgiving and doable for DIY projects when you work in small, manageable steps. Check the bag or supplier instructions for how to blend, the right water amount, and any additives. Apply in thin coats, letting each

Clay Plaster Basics for Homeowners: Mixing, Application, and Crack Control Read More »

Hand applying textured plaster on wall with trowel

Marmorino Lime Plaster Finish: Step-by-Step to a Soft Stone Look (Beginner Friendly)

Introduction Marmorino lime plaster is a traditional decorative plaster that creates a soft, stone-like finish. This article walks beginners through the basics, from materials to technique, in plain language. You’ll learn what to check on product labels and manufacturer instructions before you start. Expect a hands-on, step-by-step method you can adapt to walls you already

Marmorino Lime Plaster Finish: Step-by-Step to a Soft Stone Look (Beginner Friendly) Read More »

Worker applying textured plaster to wall with roller

Soft Dusty Plaster Surfaces: Consolidants, Re-Skim Options, and Stop Rules

Introduction Soft dusty plaster surfaces are fragile, powdery walls that crumble when touched. That dustiness means you’re dealing with a coating that has lost binding and needs careful treatment. This article walks you through consolidants, re-skim options, and practical stop rules for a safe, workable repair. We’ll keep things practical with real-world steps you can

Soft Dusty Plaster Surfaces: Consolidants, Re-Skim Options, and Stop Rules Read More »

Hand sanding a plaster wall with a sanding sponge

Plaster Sanding Mistakes: When Sanding Ruins the Finish and What to Do Instead

Introduction Sanding plaster can ruin the finish if you over-sand or use the wrong grit for the surface. This article explains how to spot the signs and what to do instead. You’ll learn practical, hands-on steps you can take without turning a simple job into a bigger mess. Start by avoiding heavy, broad motions and

Plaster Sanding Mistakes: When Sanding Ruins the Finish and What to Do Instead Read More »

Hand holding trowel smoothing plaster on wall

Plaster Crack Repair That Lasts: Stabilize Movement Before You Patch

Introduction Stabilizing movement before patching means stopping the wall from shifting so the patch can stick. This is a hands-on job, not a quick cover-up. You’ll address the underlying cause first, then patch. Start by locating what’s moving in the wall and take steps to stop it. Secure loose framing with basic fixes and let

Plaster Crack Repair That Lasts: Stabilize Movement Before You Patch Read More »

Worker in blue helmet painting wall yellow with roller

Painting Plaster the Right Way: Dry Time, Primers, and Sheen Control

Introduction Painting plaster correctly means choosing the right primer, letting it dry properly, and applying coats with the right sheen. This article walks you through the practical steps so your wall texture doesn’t show through or peel. Keep in mind you should read product labels for exact instructions. Dry time depends on temperature and humidity,

Painting Plaster the Right Way: Dry Time, Primers, and Sheen Control Read More »