Search Results for: large hole repair kit drywall

Worker spraying foam insulation on interior wall studs

Thermal Bridging: Simple Fixes for Cold Studs and Condensation

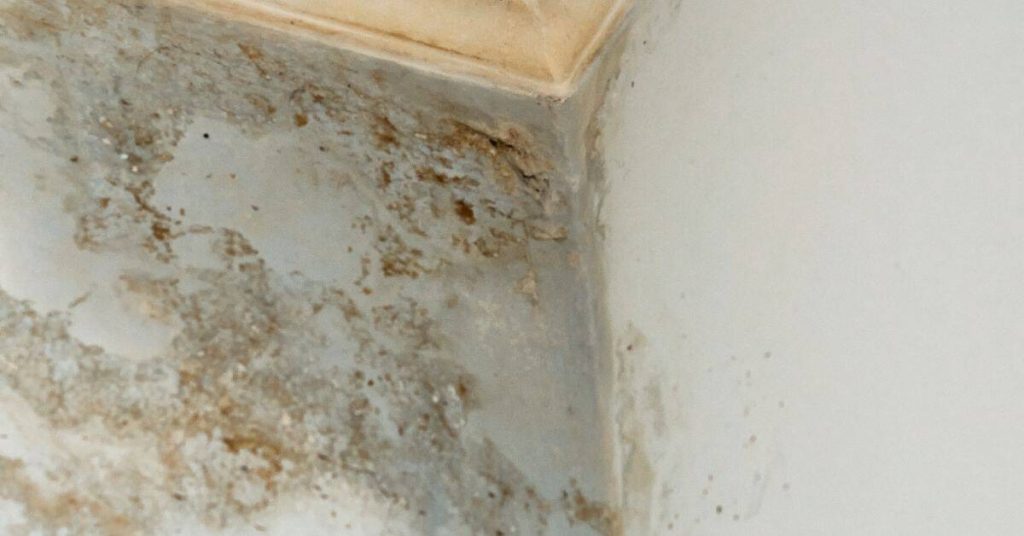
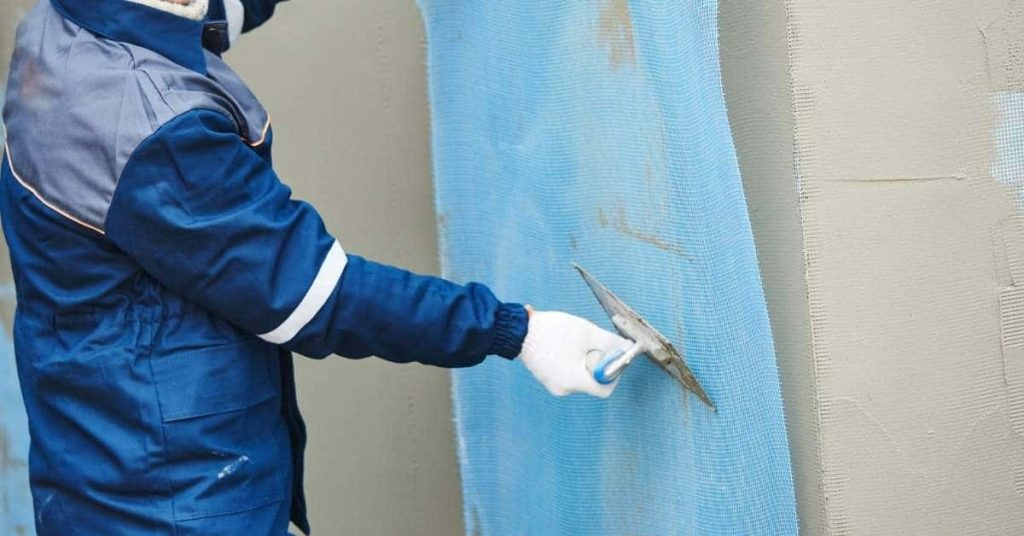
Introduction Thermal bridging happens when heat leaks through studs and framing, creating cold spots and condensation. This article shows simple, practical fixes you can do on a typical wall. You’ll learn how to spot problem areas and choose safe, non-technical approaches. Start by inspecting where framing meets insulation and looking for gaps or compression that […]

Thermal Bridging: Simple Fixes for Cold Studs and Condensation Read More »

modern concrete apartment building with glass balconies

Concrete Penetrating Sealer Coverage: Realistic Rates and How to Test Absorption

Introduction Concrete penetrating sealer coverage is the amount of sealer that soaks into concrete per unit area and how far it can travel from the surface. The actual coverage depends on the concrete’s porosity, age, and surface condition, as well as how you apply it. Plan for different spots on the same job and be

Concrete Penetrating Sealer Coverage: Realistic Rates and How to Test Absorption Read More »

Wooden lath exposed through broken plaster wall

Plaster Key Failure on Wood Lath: Diagnosing, Re-Keying, and When to Add Mesh

Introduction Plaster key failure on wood lath happens when the plaster pulls away from or loses grip on the lath, leaving loose or hollow areas that will crack or fall out. This write-up shows practical ways to diagnose where keys failed, how to re-key small patches, and when adding mesh or repairing lath is the

Plaster Key Failure on Wood Lath: Diagnosing, Re-Keying, and When to Add Mesh Read More »

Person applying plaster to wall with trowel and hawk

Plaster Baseboard Dings and Gouges: Fast Patch Options That Don’t Shrink Back

Introduction Plaster baseboard dings and gouges are shallow to moderate damages along the plaster or drywall near the floor that you can tack quickly without later sinking or cracking. In plain terms: pick a stable, shrink-resistant patch material, prepare the area, and feather it to the surrounding surface so the repair bonds and stays flat.

Plaster Baseboard Dings and Gouges: Fast Patch Options That Don’t Shrink Back Read More »

white plaster wall with uneven textured surface

Venetian Plaster Over Existing Texture: When to Skim, When to Sand, and When to Remove

Introduction Venetian plaster over existing textured walls means deciding whether to skim, sand, or remove that texture so the final finish looks smooth and bonds properly. In plain jobsite terms: skim if the texture is shallow and solid, sand if it’s flaky or slightly high, and remove if it’s loose, highly uneven, or has adhesion

Venetian Plaster Over Existing Texture: When to Skim, When to Sand, and When to Remove Read More »

Three paintbrushes and a paint roller on plastic sheet

How to Paint in Shoulder Seasons: Cold Nights, Warm Days, and Dry-Time Reality

Introduction Painting in shoulder seasons means working when days can be warm enough for paint to cure but nights drop cold enough to slow or stop drying; it’s about timing coats around daily temperature swings and humidity. In plain terms: plan for shorter workable windows, watch overnight lows, and choose products that tolerate those swings

How to Paint in Shoulder Seasons: Cold Nights, Warm Days, and Dry-Time Reality Read More »

Wall corner with visible mold and water damage stains

Repainting After Mold Remediation: Drying Targets, Primers, and Mildew-Resistant Topcoats

Introduction Repainting after mold remediation means waiting until the surface is fully dry, priming any repaired or stained areas, and finishing with a mildew-resistant topcoat chosen for the substrate. Do the drying check yourself and follow product label instructions for primer and paint compatibility. Treat it like a site repair: clean, dry, prime, then topcoat.

Repainting After Mold Remediation: Drying Targets, Primers, and Mildew-Resistant Topcoats Read More »

Worker applying plaster over blue reinforcing mesh on wall

Reinforcing Plaster at Material Transitions: A Step-by-Step Timeline to Avoid Telegraphing

Introduction Embarking on a DIY plaster reinforcement project? Understanding the timeline is crucial for successful results. Reinforcing plaster at material transitions involves careful planning and execution, with each step building upon the last. To avoid common mistakes and ensure your finished surfaces don’t telegraph through, follow this comprehensive step-by-step timeline tailored to your specific transition

Reinforcing Plaster at Material Transitions: A Step-by-Step Timeline to Avoid Telegraphing Read More »

Close-up of a pointed metal scratch tool tip wrapped in paper

Plaster Over Cement Board: Step-by-Step Timeline and Duration Guide

Introduction The process of plastering over cement board involves several steps that require careful timing to ensure a successful outcome. Understanding the timeline and duration for each stage is crucial for planning your project effectively. In this guide, we’ll walk you through the step-by-step timeline of plastering over cement board, helping you allocate the right

Plaster Over Cement Board: Step-by-Step Timeline and Duration Guide Read More »