
Introduction
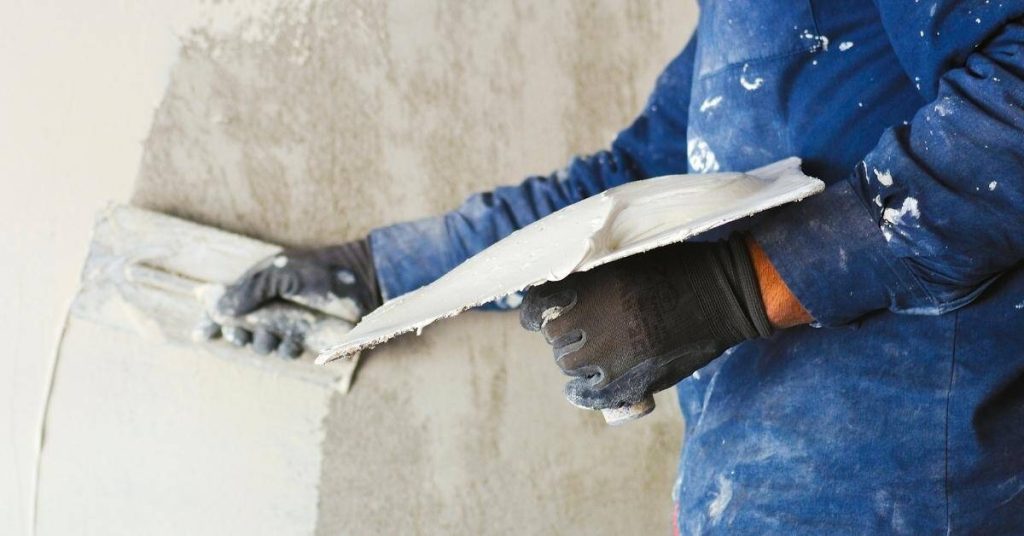
Plaster baseboard dings and gouges are shallow to moderate damages along the plaster or drywall near the floor that you can tack quickly without later sinking or cracking. In plain terms: pick a stable, shrink-resistant patch material, prepare the area, and feather it to the surrounding surface so the repair bonds and stays flat. I’ll describe jobsite-style options that are practical for a homeowner to apply and finish without specialty equipment.
This is a hands-on DIY approach: clean the nick, remove loose material, choose a compatible patch (follow product instructions and check the label for compatibility with plaster or drywall), and apply in thin, well-bonded passes. Expect to sand lightly and prime before paint; if you’re unsure about substrate type or product choice, check the manufacturer’s directions or ask a pro at the store for a safe option.
Key takeaways
- Choose patch systems labeled non-shrinking and compatible with plaster and paint.
- Inspect behind plaster for moisture, lath damage, or loose areas before patching.
- For shallow repairs, feather edges and avoid thick patches to control shrinkage.
- Medium and deep repairs require staged applications with proper drying intervals.
- Wear eye protection and a dust mask during sanding and patching work.
- Finish with appropriate primer and paint to blend invisible repairs and protect.
Table of Contents
- Introduction
- Key takeaways
- Quick Overview: Scope of the Problem and Repair Goals
- Tools and Materials Checklist for Non-Shrinking Repairs
- Assessing the Damage: How to Inspect What’s Behind the Plaster
- Fast Patch Techniques That Resist Shrinkage
- Step-by-Step Workflows for Shallow, Medium, and Deep Repairs
- Techniques and Tips to Prevent Shrinkback During Curing
- Finishing, Sanding, and Paint-Matching for Invisible Repairs
- Troubleshooting Common Problems and Quick Fixes
- Conclusion
- FAQ
Quick Overview: Scope of the Problem and Repair Goals
Baseboard plaster gets dinged, chipped, and gouged from furniture bumps, door swings, and accidental tool contact; the damage ranges from shallow surface nicks to cavities that expose backing. This section focuses on fast, durable DIY repairs aimed at cosmetic restoration and small structural fixes that resist receding after curing.
The intended audience is homeowners comfortable with hand tools and straightforward patch work who want long-lasting results without pulling out large sections of wall. Expected outcomes are a stable, non-shrinking repair that sands and paints flush with the surrounding plaster, not a permanent structural fix for major failures.
What counts as a ding vs a gouge
A ding is a minor surface chip, barely breaking the plaster’s top layer. It’s like a tiny scratch or scuff.
A gouge, on the other hand, goes deeper into the substrate. It removes material and exposes the underlying structure. You might see cracks around it.
Classifying them matters because dings need simple touch-ups while gouges require more involved repairs.
Why some patches “shrink back”
Patches shrink back due to poor bonding. If the patch material doesn’t stick well, it pulls away as it dries.
Over-thick single passes can also cause shrinkage. Too much material at once takes too long to dry and shrinks as it does so.
Incompatible materials or moisture/temperature issues can also lead to shrinkage. Using the wrong patching compound or applying it in extreme conditions can cause it to shrink.
Tools and Materials Checklist for Non-Shrinking Repairs
A correct toolkit reduces shrink risk: common essentials include bonding agents, setting-type patch compounds or epoxy/polyester fillers, assorted putty knives, mixing containers, and backing materials for voids. Tool and product selection affects how much shrink you’ll see and how the patch bonds to existing plaster.
Don’t forget personal protection and ventilation—gloves, eye protection, dust mask or respirator, and adequate airflow are important when using powders, solvents, or epoxies. Check labels or the product data sheet for any special handling, pot life, and ventilation guidance before starting.
Fast-setting vs premixed compounds — when to use each
Choose your patch compound based on the size and urgency of the repair.
- Small dings: Premixed compounds are quick and easy. They’re ready to apply right out of the tub.
- Large gouges or urgent repairs: Fast-setting compounds save time by avoiding rework. They set quickly, allowing you to sand and paint in one day.
- Deep holes: Premixed compounds may require layering. Fast-setting compounds can be mixed as needed for deep fills.
- Proper application: Both types need proper application to resist shrinkage. Follow the manufacturer’s instructions.
Quick rule: For small dings, premixed compounds are convenient. For larger repairs or time-sensitive jobs, fast-setting compounds save time and labor.
Tools and consumables for clean prep and finish
Gather the right tools to prepare and finish your repair smoothly.
- Scraper: Remove loose plaster with a 4-in-1 painter’s tool or a dedicated wall scraper. This ensures a solid base for your patch.
- Utility knife: Score the edges of deep gouges to prevent crumbling and create clean lines for your patch.
- Backer material: For large repairs, use fiberglass mesh tape or foam backer rod. This supports the patch and prevents cracking.
- Sanding tools: Use a sanding block or orbital sander with 120-grit sandpaper to smooth your patch. A random orbit action helps prevent gouging.
- Primer/paint: Apply a coat of primer before painting to seal the patched area and ensure even paint coverage.
Quick rule: The right tools make prep and finish work faster and neater. Choose sanding tools with random orbit action for smooth results on plaster.
Assessing the Damage: How to Inspect What’s Behind the Plaster
Start by widening the damaged area just enough to reveal the edge condition and backing so you can judge depth, whether lath or drywall is present, and if loose material must be removed. Look for soft or crumbling plaster, delaminated paper, or exposed fasteners—these signs tell you if the patch needs mechanical retention or backing support.
If you see widespread wet rot, active moisture, structural cracking, or if the substrate appears severely compromised, stop and consult a professional because DIY patching will not be reliable. When in doubt about material compatibility or hidden utilities, refer to product instructions and consider a pro inspection.
Simple tests to classify depth and substrate stability
Before you start patching, figure out what you’re dealing with. Here are some simple tests:
Probing: Use a flathead screwdriver or a thin knife to gently probe the damaged area. If it feels hollow or crumbles easily, you’ve got a deeper issue.
Tap test: Gently tap on the plaster around the damage with your knuckles. A dull thud indicates hollow areas or loose substrate.
Vibration: Try to vibrate the damaged area by gently shaking it. If it feels unstable, be prepared for a more involved repair.
When the substrate is compromised
Sometimes, the damage goes deeper than just the surface. Here’s when to stop and call a pro:
Large voids: If you find big gaps or holes behind the plaster, it might be beyond a simple DIY patch.
Loose lath: If the wooden strips supporting your plaster are loose or damaged, they need to be secured before any patching can begin. This usually requires access from the other side of the wall.
Water damage or mold: Any signs of water damage or mold growth indicate a bigger problem that needs professional attention. Patching over these issues won’t solve the root cause.
Fast Patch Techniques That Resist Shrinkage
Techniques that minimize shrink start with proper adhesion—use a bonding agent and secure loose edges, then build the repair in controlled layers: backfill deep voids, let each layer set, and finish with a skim coat to feather the edges. Selecting low-shrink setting compounds or epoxy-based fillers for the bulk of deep repairs reduces the chance the patch will recess later.
Avoid slapping on thick wet trowel coats of drying-type gypsum where deep fill is needed; follow the manufacturer instructions for each product and use compatible combinations to prevent bond failure. If you’re unsure about product compatibility, check the label or technical datasheet before combining materials.
Two-stage/backer then skim approach
For deep gouges, don’t try to fill them with one big glob of compound. That’s a recipe for shrinkage and cracking.
Instead, use a two-stage approach: backer then skim. First, fill the void with a non-shrinking base material, like a low-shrinkage joint compound or a lightweight spackling paste. This gives you a solid foundation to build on.
Next, apply a thin layer of skim coat over the backer. This final layer evens out any imperfections and gives you a smooth finish. It’s like icing a cake – you need that final layer to make it look perfect.
Epoxy or polyester fillers for deep gouges
When you’ve got a real deep gouge, you need something with some serious staying power. That’s where epoxy or polyester fillers come in.
These are structural, low-shrink fillers. They’re tough and they won’t shrink on you. But remember, they’re not your everyday compounds. You’ll need to consider a few things:
– Sandability: Epoxy and polyester fillers can be sanded once cured, but they’re not as easy to sand as regular joint compound.
– Paint adhesion: These fillers might not stick to paint as well as you’d like. You might need a primer or sealer to help with that.
– Odor/ventilation: Epoxy and polyester fillers can give off some strong fumes. Make sure you’ve got good ventilation when you’re working with them.
Single-pass lightweight compounds for shallow dings
For those little surface dings, you don’t need to go all out. A thin, featherable premixed filler will do the trick.
These are lightweight and easy to spread. You can apply them in a single pass, and they’ll blend right into the surrounding plaster. It’s like magic.
But remember, these compounds aren’t your friends when it comes to deep voids. They’re not designed to fill big gaps. Use them for what they’re good at – surface repairs.
Step-by-Step Workflows for Shallow, Medium, and Deep Repairs
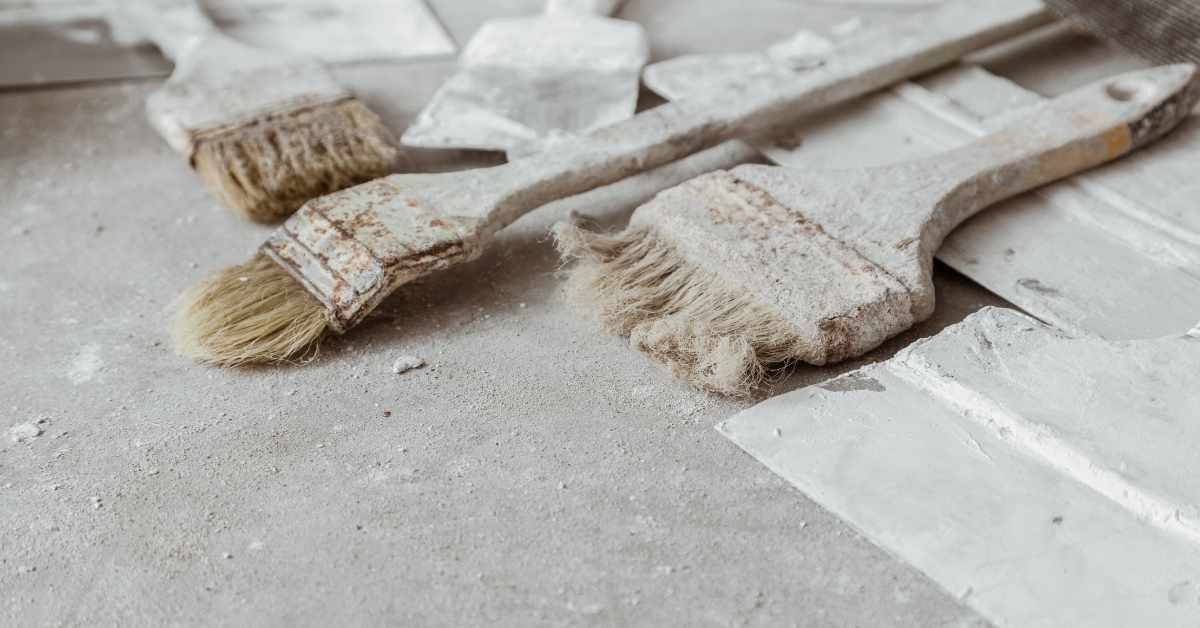
Shallow repairs typically involve cleaning loose material, applying a bonding primer if recommended, filling with a thin skim of ready-mix or lightweight patch, and feathering to match the profile. Medium-depth repairs require an initial backing or compacted filler layer, followed by a setting compound for bulk fill and a final skim coat for finish.
Deep cavities often need mechanical backing or caulk-backing, a low-shrink or epoxy bulk fill applied in stages, and controlled layering so each stage reaches recommended set before the next. Always follow the cure and recoat guidance on the product packaging rather than guessing dry times.
Step-by-Step Repair Process
This section guides you through a clear, numbered sequence of practical steps for repairing plaster baseboard dings and gouges. It starts with preparation and safety checks, then covers the main work, and finishes with cleanup or final checks.
- Inspect the damage: Assess depth and substrate stability as explained earlier.
- Gather tools and materials: Have your checklist ready from our previous section.
- Prepare the area: Clear debris, ensure safety, and set up your workstation.
- Do the main repair: Follow the specific workflows for shallow, medium, or deep repairs detailed below.
- Cleanup and fina