
Introduction
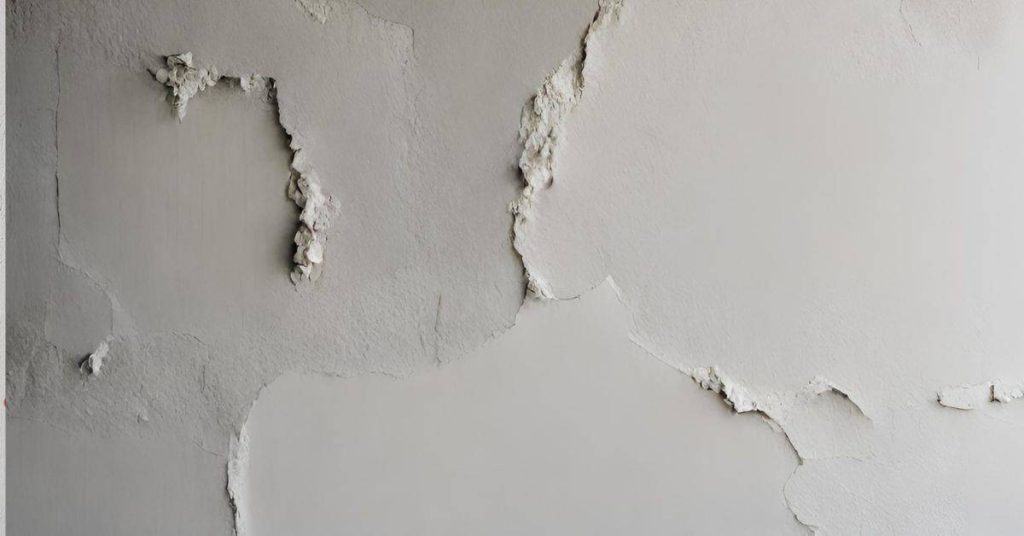
Patch around electrical boxes in plaster by rebuilding the plaster edge so the cover plates sit tight and flush.
The guide walks you through assessing gaps, choosing patch materials, reproducing original edge profiles, and finishing for a seamless, code-compliant result.
You’ll learn practical steps, common pitfalls, and best practices to ensure a solid, professional-looking repair.
Key takeaways
- Inspect damage, plan repair before starting.
- Gather tools: trowel, joint compound, tape, sandpaper, safety gear.
- Protect floor and nearby areas, ensure good ventilation.
- Rebuild edge using joint compound, apply in thin layers.
- Achieve clean, square edge with careful troweling, sanding.
- Address old lath, crumbling plaster, wallpaper as needed.
- Prime, paint, install plates for finished look, long-term durability.
Table of Contents
- Introduction
- Key takeaways
- Assessing the Damage and Planning the Repair
- Tools and Materials Checklist
- Preparing the Work Area and Ensuring Safety
- Methods to Rebuild the Plaster Edge Around Boxes
- Techniques for Achieving a Clean, Square Edge
- Dealing with Special Situations (Old Lath, Crumbling Plaster, Wallpaper)
- Finishing: Priming, Painting, and Plate Installation
- Troubleshooting and Long-term Durability
- Material Specs, Standards, and Code Considerations
- Conclusion
- FAQ
Assessing the Damage and Planning the Repair
To plan a repair, start by checking the plaster edge, the type of box, and the surrounding substrate. That tells you which repair method fits—patch, skim coat, or full replacement. Get a clear sense of what you’re dealing with before you cut or mix anything.
If you see damaged insulation, a corroded metal box, or any sign of live wiring, stop and call an electrician. Electrical work is not a DIY fix for safety reasons, and a bad job can start a fire or seriously injure someone. Understanding the material limits now keeps you from wasting time on the wrong repair later.
Before you begin, turn off power to the circuit at the service panel and verify the box is de-energized with a tester. If you’re ever unsure about wiring safety, don’t proceed—arrange for an electrician to inspect the box and the wiring. Clear notes about visible damage, insulation, and the condition of the lath or substrate will help you estimate repair scope and cost more accurately.
Red flags that warrant stopping and calling a professional include: buzzing or overheating outlets or boxes, exposed or crumbling lath, plaster that crumbles beyond a small edge, loose or shifting boxes, signs of moisture or previous water damage, and any wiring to the box that appears damaged or improperly grounded. If you encounter any of these conditions, escalate to a licensed electrician or qualified plasterer before continuing.
Identifying Box Type and Mounting (Metal, Plastic, Old-work)
Metal boxes are sturdy and usually mounted with screws into the wall studs. They provide a solid base for electrical connections but can be more challenging to work around when patching plaster.
Plastic boxes are lighter and often come with clips that attach to drywall or old plaster. These are easier to install and adjust, making them popular in DIY projects. However, they may not offer the same level of stability as metal boxes.
Old-work boxes are designed for retrofit installations without needing to cut into walls. They typically have wings that fold out to secure the box against existing surfaces. When patching around these, ensure the mounting is tight and secure before proceeding with plaster repair.
Measuring Gap Size and Plaster Thickness
To measure gaps around electrical boxes, use a small ruler or tape measure. Note the largest gap size to determine how much material you’ll need for patching.
The thickness of the plaster is also important. Use your fingers or a thin tool like a screwdriver to gauge this. Knowing both dimensions helps in deciding on the right repair approach and materials needed.
Accurate measurements ensure that the repaired area will be flush with the rest of the wall, making it easier for electrical plates to sit tight without gaps or protrusions.
Determining Repair Scope (Patch vs. Partial Replaster)
If the damage is limited to a small area around an electrical box, a focused edge rebuild might be sufficient. This involves cutting out only the damaged plaster and rebuilding just that section.
For larger areas with multiple issues or extensive cracking, consider a partial replastering approach. This means working on a broader patch of wall to ensure uniformity in texture and finish.
In cases where the damage is widespread or there are significant structural concerns, it may be best to consult an electrician for advice before proceeding. They can assess if a full skim coat is necessary to restore the wall’s integrity and appearance.
Tools and Materials Checklist
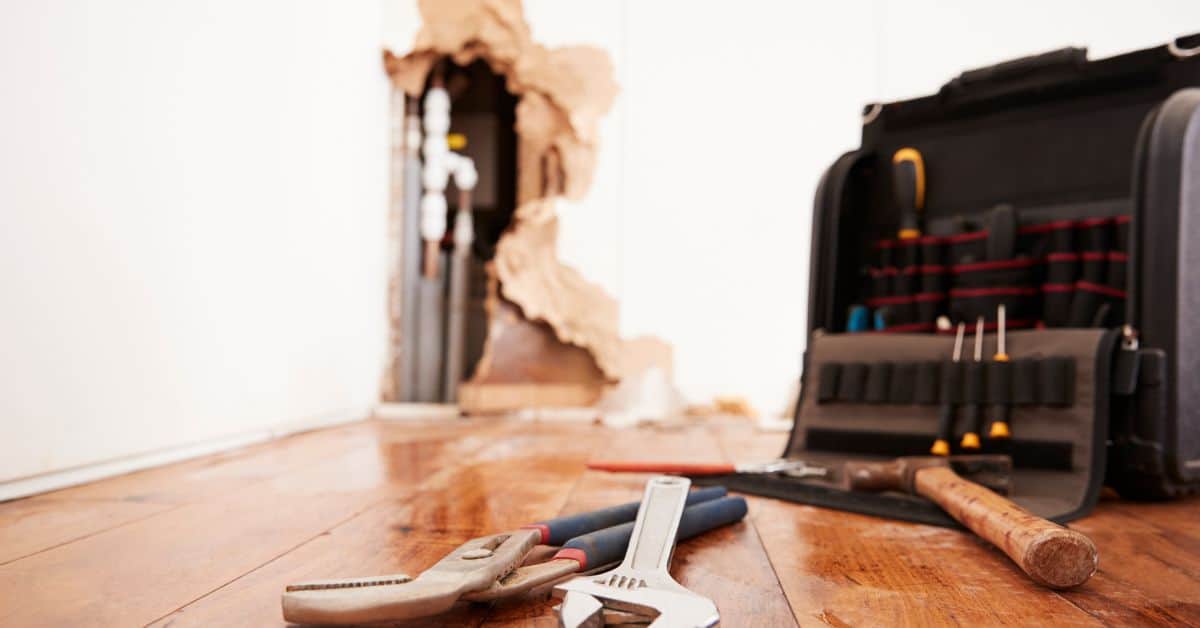
This section gives the must-have tools and materials for common edge-rebuild methods, plus safety gear. Start with the basics: measuring and cutting tools, fasteners, adhesives, and the right protective gear. If budget is tight, choose versatile tools and buy safety gear first.
Having a focused toolbox keeps your project moving and prevents trips back to the store. It helps you choose the right method, price, and approach for single repairs or limited budgets.
Essential Tools (Screwdrivers, Utility Knife, Oscillating Tool, Trowel)
You’ll need a few key tools to get the job done right. Each tool has its specific role in cutting, scraping, and applying plaster or compound.
- Screwdriver set for removing old screws and installing new ones
- Utility knife for scoring lines and trimming excess material
- Oscillating tool with various blades to cut out damaged areas precisely
- Trowel in different sizes for applying plaster or compound smoothly
- Cordless drill with bits for drilling holes if needed
- Hammer for driving nails or tapping boxes into place
- Measuring tape to ensure accurate measurements and cuts
Stop working when you notice any movement in the wall, as this indicates instability that needs addressing.
Materials by Method (Plaster, Setting-type Compound, Thinset, Backer)
The materials you choose depend on the extent of damage and your repair method. Non-drying compounds work well for small gaps, while setting-type compounds are better for larger repairs.
- Plaster powder to rebuild plaster edges
- Setting-type compound for filling large gaps quickly
- Thinset mortar as an adhesive when securing backer material
- Backer board or mesh tape to reinforce weak areas
- Sandpaper for smoothing rough surfaces before painting
- Painters’ putty for minor touch-ups after plastering
- Vacuum cleaner with attachments to clean up debris
If you notice any movement in the wall while working, stop immediately and address the underlying issue.
Fasteners, Shims, and Box Extenders
Using the right fasteners and shims can help secure electrical boxes firmly in place. Metal or plastic shims are used to fill gaps and ensure a tight fit.
- Metal screws for securing metal boxes into studs
- Plastic anchors for mounting plastic boxes in drywall
- Box extenders to move electrical boxes further out from the wall if needed
- Screws and nails of various lengths for securing backer material
- Plastic clips to hold wires in place while working
If you notice any movement or instability, stop immediately and reinforce the area before proceeding.
Preparing the Work Area and Ensuring Safety
Before you touch a plaster repair, shut the power off at the breaker. Test for live circuits with a tester and lock out if you can. Protect surrounding finishes and set up dust control to keep the room clean.
This isn’t optional gear, it’s basic safety. A spark or blown fuse can ruin the whole project or cause a shock. Following these steps keeps you and your family safe and makes the repair go smoother.
Shutting Off Power and Testing
Before you start any work around electrical boxes, turn off the power at your circuit breaker or fuse box. Double-check each switch to ensure it controls the correct circuits.
Use a non-contact voltage tester to verify that there’s no electricity in the wires near the box. If you’re unsure about which breaker to flip, test all of them until you find the right one.
If your tester shows any signs of live current, stop and call an electrician. Safety first, always.
Containing Dust and Protecting Finishes
Cover the area around your work with drop cloths or plastic sheets to catch plaster dust and debris. Use painter’s tape to seal edges tightly.
A HEPA vacuum is ideal for cleaning up drywall dust, but if you don’t have one, a regular vacuum with a damp cloth can do in a pinch. Clean as you go to keep the area manageable.
Wear gloves and safety glasses when cutting or sanding plaster to protect your hands and eyes from sharp edges and flying particles.
Personal Protective Equipment
Before you begin, make sure you have the right gear on hand. Safety comes first in any DIY project.
- Safety glasses: Protect your eyes from flying debris and dust while working with plaster.
- N95 respirator or mask: Keep dust out of your lungs when sanding or cutting plaster.
- Gloves: Wear them to shield your hands from sharp edges and chemicals used in repairs.
- Hearing protection: Use earplugs or earmuffs if you’re using noisy tools like an oscillating tool.
- Coveralls or old clothes: Keep work clothes separate from regular wear to avoid tracking dust home.
For items that are expensive, consider renting them for the day rather than buying. This way, you only spend on what you need without cluttering your tool collection.
Methods to Rebuild the Plaster Edge Around Boxes
There are three proven ways to rebuild the plaster edge around boxes. Use box extenders, a feathering patch with setting compound, or a backer plus a floating coat, depending on the gap and the plaster condition.
Box extenders work fast for larger gaps or when the plaster edge is rough and you want a clean, flush finish. For small to medium gaps and solid plaster, a feathering patch with setting compound is the simplest repair. If the plaster is loose or you have a big void, use a backer and a floating coat to tie it in before the final skim.
Using Box Extenders and Adjustable Rings
When the gap around an electrical box is small, using extenders or adjustable rings can be a quick fix to bring the box flush with the wall surface. Choose an extender that fits snugly over your existing box without damaging it.
To install, start by turning off power at the breaker and removing the old mounting clips. Inspect the box for cracks or loose screws and remove them as needed. Clean the box flange and surrounding plaster edge with a stiff brush to remove dust. Dry-fit the extender to verify a tight fit, then fasten it securely against the back of the drywall or plaster using the screws provided with the extender kit. If you’re bridging a gap up to about 1 inch, use a compatible extender or a shallow adjustable ring. After installation, tighten all screws, re-check plumb and level, and gently test the box with a light push to ensure there’s no wobble. This method works best for gaps up to about an inch wide but check manufacturer recommendations. Allow any patch material around the box to cure per the extender kit instructions before final trim or pla