

Introduction
You can fix common stucco damage yourself with clear, step-by-step guidance.
The article explains why proper prep and sealing matter and shows practical DIY steps, tips, and rules of thumb to assess damage, perform repairs, and prevent future issues.
Key takeaways
- Assess crack width and moisture levels to determine DIY versus pro repair.
- Document damaged area with photos and notes before removing or patching.
- Use appropriate stucco repair mix and consistent texture for seamless blending.
- Moisture control is critical; repair should follow drying and weather window.
- Apply multiple thin coats, cure between layers, and test adhesion.
- Finish with texture matching and paint to seal against future moisture.
Table of Contents
- Introduction
- Key takeaways
- Quick Overview & When to DIY vs Hire a Pro
- Identifying Stucco Damage — Diagnosis Guide
- Tools, Materials & Material Specs
- Prep Work — Surface Prep & Moisture Control
- Step-by-Step Repair Methods (Small to Large Repairs)
- Finishing, Texture Matching & Painting
- Common Mistakes, Stop Rules & Safety Precautions
- Cost, Time Estimates & Project Planning
- Conclusion
- FAQ
Quick Overview & When to DIY vs Hire a Pro
We start by defining the two common stucco systems: traditional cement stucco and EIFS. Each system handles moisture and substrate movement differently, which changes repair approach and materials. The goal is to set realistic expectations for DIY feasibility and finish quality.
For DIY feasibility, look at damage types in plain terms: hairline cracks, minor chipping, and weathered paint on cement stucco are often manageable by homeowners. Moisture-driven staining, bulging, delamination, or EIFS cavity issues usually signal deeper problems and warrant a professional assessment.
Safe DIY vs Professional thresholds
Before you grab your trowel, understand these clear-cut thresholds to know when it’s safe to DIY or time to call a pro.
DIY: Stick to surface-level issues like hairline cracks (<1/8″ wide), minor chipping, and weathered paint. These are easy to spot and fix with basic tools and materials.
Pro: Anything beyond the surface – moisture-driven staining, bulging, delamination, or EIFS cavity issues – signals deeper problems. Structural movement, hidden stucco inside EIFS, or damage near doors/windows and penetrations also warrant professional assessment.
When to stop and call a contractor
Some issues are beyond your DIY capabilities. Here’s when to halt work and contact a pro immediately:
Hidden moisture: Suspect hidden moisture if you see chronic dampness, musty odors, or mold growth. These can cause serious structural damage and require professional moisture testing.
Large-scale detachment: If you find large areas of stucco detachment (delamination) or poor substrate adhesion, it’s a sign of underlying issues that need expert diagnosis and repair.
EIFS damage: Damage to the insulation board in EIFS systems can compromise the entire system. If you notice any issues with the foam board, stop work and call a pro.
Identifying Stucco Damage — Diagnosis Guide
Distinguishing cosmetic from structural damage helps choose the right repair plan. A superficial crack or chalking doesn’t necessarily threaten stability, while a compromised substrate does. Use a simple framework to guide your next steps.
Visual signs to check include cracking patterns, bulging, staining, and mold around openings. Moisture intrusion or water pooling are red flags that require closer investigation and possibly pro help.
Visual signs and patterns to look for
Inspect your stucco walls closely. You’re looking for specific signs that indicate damage.
Cracks: Hairline cracks are usually cosmetic, but wider ones may signal structural issues. Vertical cracks often point to settling, while stair-step cracks could indicate foundation problems.
Bulges: Bulging stucco might mean there’s moisture behind the wall or that the lath is damaged.
Staining: Discoloration can hint at water intrusion. Efflorescence – a white, chalky substance – often indicates moisture as well. Paint failure could signal underlying problems.
Simple diagnostic tests (tap, probe, moisture)
Perform these simple tests to gather more information about your stucco’s condition.
Tap Test: Gently tap the stucco with a hammer. A hollow sound might indicate delamination or voids behind the surface. Solid or dull sounds suggest intact areas.
Probing: Use a screwdriver to probe suspicious areas. If it goes in easily, there could be damage or voids.
Moisture Testing: Use a moisture meter or probe where water stains appear or where you suspect water intrusion. High readings indicate potential hidden damage.
Tools, Materials & Material Specs
Build a core kit with basic trowels, knives, a mixing tub, a drill with paddle, hawk, level, and a caulking gun. Include PPE like gloves, eye protection, and a dust mask. If working on EIFS, have a moisture meter handy for checks.
Know patch options such as cementitious vs polymer-modified mortars and EIFS-compatible patches. Check bonding agents, mesh type, and approved caulks for both cement and EIFS finishes, then cross-check with manufacturer instructions.
Tools checklist
Before you start mixing and pouring concrete, make sure you have all the necessary tools. Use this checklist to verify each item.
- Trowels (hand float, square shovel): Check for straight edges and no bends or cracks. A damaged trowel can cause uneven surfaces.
- Hawk: Ensure it’s in good condition with no rust or cracks. A stable hawk is crucial for transferring concrete from the mix to the surface.
- Mixing paddle (for electric mixer): Confirm it’s the right size for your mixer and in good working order. A faulty paddle can lead to improperly mixed concrete.
- Grinder/polisher: Check if it has enough power and is suitable for the job. An underpowered grinder may not polish the surface evenly.
- Utility knife: Ensure it’s sharp and in good condition. A dull blade can cause scratches on the concrete surface.
- Caulk gun: Confirm it works smoothly and has no leaks. A faulty caulk gun can result in uneven sealant application.
- Moisture meter: Check if it’s calibrated correctly. An inaccurate moisture reading can lead to improper finishing times and potential issues with the concrete’s longevity.
Quick rule: Always inspect your tools before starting work. Faulty tools can cause expensive rework and delays.
Materials and mix specs
The right materials ensure your repair job lasts. Here’s what you need, why, and how to pick ’em.
- Patching Compound (e.g., Quikrete Concrete Patcher): For filling cracks and holes. Look for a mix that matches your concrete strength (check here). Avoid cheap, fast-setting types; they crack easily.
- Bonding Primer (e.g., Red Devil Concrete Bonding Adhesive): Ensures patching compound sticks. Check label for suitable substrates and cure times. Don’t skip this step!
- Fiberglass Mesh (e.g., DEWALT Fiber Reinforcement): Adds strength to repairs. Choose a mesh size that fits your repair (check here). Cheap, small mesh can rust and cause problems later.
- Finish Coat (e.g., Sakrete Concrete Resurfacer): Gives a smooth, even surface. Match the color and texture of your existing concrete (check here). Don’t use paint; it won’t last.
- Sealant (e.g., Siloxs AA Concrete Sealer): Protects from water, stains, and freeze-thaw damage. Check label for suitable substrates and weather limits. Cheap sealants wear off quickly.
Pro tip: Buy materials in small quantities to avoid waste. Store them dry, cool, and away from direct sunlight. Mix only what you can use within the working time (check product labels).
Prep Work — Surface Prep & Moisture Control
Define the scope of prep by identifying all damaged versus sound material and cutting back to solid substrate. Clear away dust and debris so the patch adheres properly. Plan for protection of nearby surfaces from dust and spray.
Drying and moisture control are critical. Use moisture checks to set a target dryness level and plan moisture management steps. Document conditions and how they’ll be monitored during cure.
How to cut out and expose damage safely
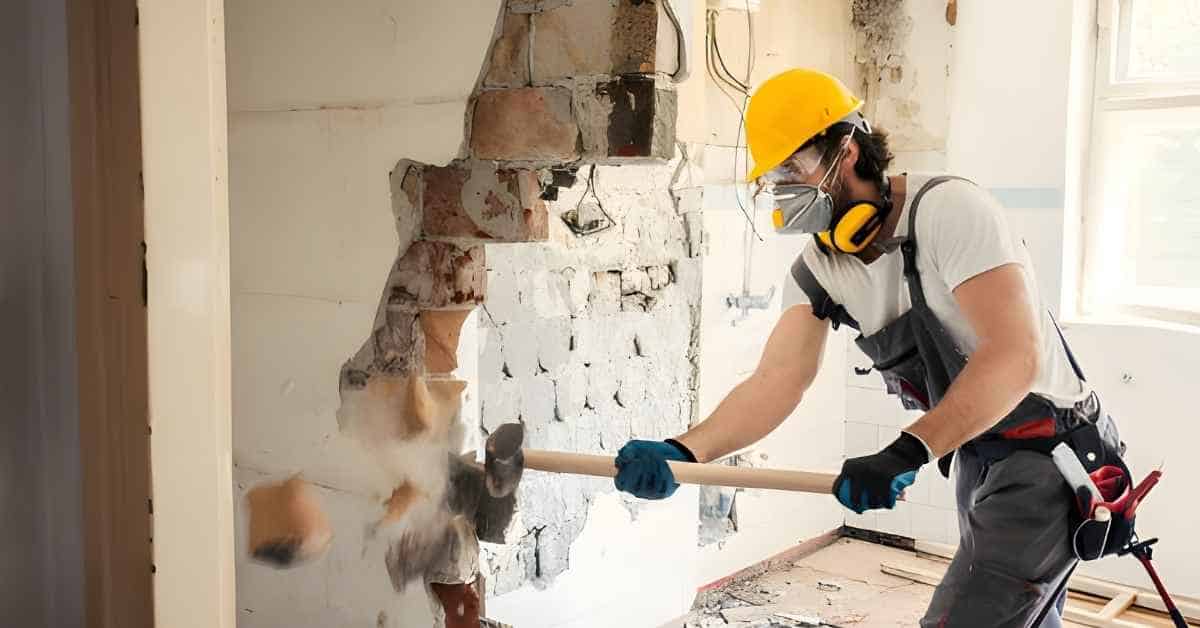
Start by marking the damaged area with a pencil. For cement stucco, use a utility knife or a chisel to score along your marks. Then, carefully snap off the damaged material using a hammer.
For EIFS (Exterior Insulation and Finish Systems), be extra careful not to damage the foam underneath. Use a fine-toothed saw or a sharp chisel to cut out the damaged area. Extend your cuts at least 2 inches into sound material to ensure you’ve reached solid substrate.
Once you’ve exposed the solid substrate, use a wire brush to clean off any loose material. Be sure to wear safety glasses and gloves during this process.
Drying, cleaning, and priming
Before you start patching, ensure the substrate is dry. Use a moisture meter to test for dampness. The target dryness should be between 12-24 hours or a specific relative humidity (RH).
Clean the area using a wire brush to remove any remaining loose material. For tougher dirt or algae/mold, use a mild detergent and rinse thoroughly with clean water. Be sure not to damage the underlying layers.
If you’re working on EIFS, apply a bonding primer to help the new stucco adhere better. If moisture is an issue, consider using a water-resistant barrier before patching.
Step-by-Step Repair Methods (Small to Large Repairs)
Think of repairs as a ladder: start with small cracks, then address surface delamination, and finally tackle larger patches. Stop if you detect movement, ongoing moisture, or substrate failure. This keeps you in a safe, repairable zone.
For each stage, plan preparation, assessment, and safety steps before applying patch material. Use appropriate reinforcement and curing guidance, and re-check adhesion after each step before moving on.
Step-by-Step Repair Process
Follow these practical steps to repair your stucco damage from small cracks to large patches.
- Preparation: Check substrate, moisture levels, gather tools and materials. Safety first – wear gloves, goggles, and a dust mask.
- Assess damage: Identify hairline cracks, delamination, or larger holes. Stop if signs of structural movement, moisture intrusion, or substrate failure appear.
- Main work: Start with small repairs, progress to surface delamination, then large patches as needed.
- Curing and finishing: Allow proper cure times for each stage. Touch up and blend edges for a seamless finish.
- Final checks: Re-check adhesion after curing. If issues persist, stop and call a professional.
Hairline cracks and surface patching
For minor cracks, use flexible acrylic caulk or sealant for an easy paint-ready finish.
First, clean the crack using a wire brush. Then, widen it slightly with a utility knife if needed. Apply a bead of caulk along the crack, using your finger to press and feather it into the surface. Let it