
Introduction
Don’t seal the Fresno concrete surface too early; timing and technique matter for a smooth, durable finish.
You’ll learn practical cues for when to start troweling, how to judge set, and common mistakes to avoid.
The guide walks through adjusting trowel pressure, pass count, and finishing steps to help you achieve the right sheen without sealing too soon.
Key takeaways
- Use Fresno trowel for final smoothing of concrete surfaces.
- Master ‘S’ and ‘C’ motions for even, smooth troweling.
- Stop troweling when surface becomes reflective and loses moisture sheen.
- Sealing too early traps moisture, causing cracks and damage.
- Maintain tight spacing between trowel passes as pours get taller.
- Avoid decorative options that require sealing before final curing.
- Regular maintenance includes cleaning and proper storage of tools.
Table of Contents
- Introduction
- Key takeaways
- What Is a Fresno Trowel and When to Use It
- Troweling Basics: Technique and Motions
- Recognizing the Right Timing to Stop Troweling
- How Sealing Too Early Damages the Surface
- Preventing Cracks While Finishing with a Fresno
- Final Touches and Decorative Options without Sealing Too Early
- Tools, Materials Checklist and Cost Considerations
- Maintenance, Safety, and Common Mistakes to Avoid
- Conclusion
- FAQ
What Is a Fresno Trowel and When to Use It
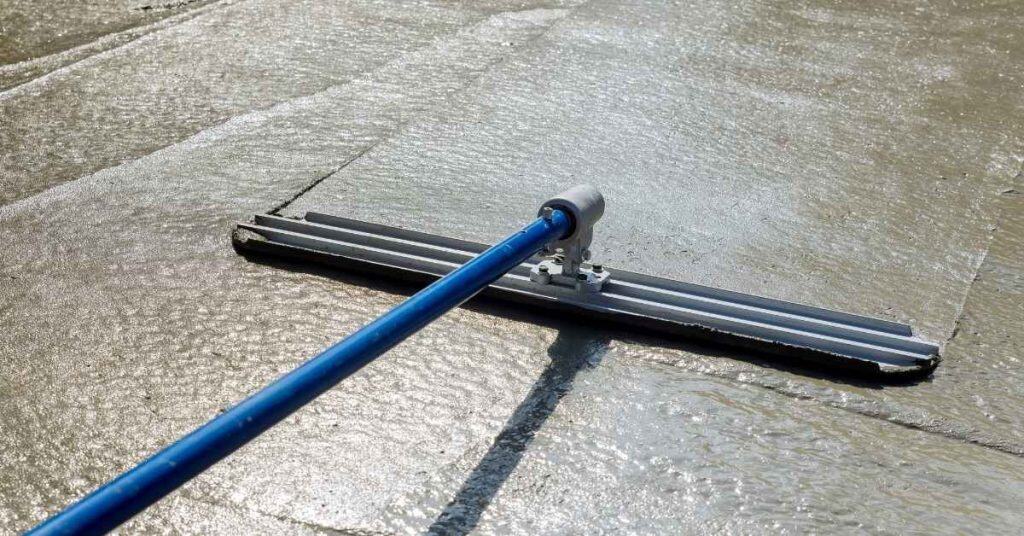
The Fresno trowel is a narrow magnesium blade on a long handle designed for smoothing large slabs efficiently. Unlike hand floats or bull floats, it offers better control over texture and void filling.
Use the Fresno trowel mid-to-late in your finishing sequence after initial floating but before final troweling to achieve a uniform surface. Avoid sealing too early by checking the concrete’s readiness with the thumb test—wait until you can press your thumb into the slab without leaving an impression.
Fresno vs. Other Trowels (Hand, Power, Bull)
The Fresno trowel is ideal for large areas due to its long handle and wide blade. Hand trowels are better suited for fine detailing work after initial smoothing.
Power trowels offer speed but require more setup and skill. They’re best for commercial projects; DIY homeowners may find hand tools sufficient for smaller jobs like garages or patios. Bull floats are essential for leveling concrete before any troweling, ensuring your surface is ready for the Fresno.
Best Project Types for a Fresno Trowel
The Fresno trowel excels on large slabs and commercial floors where you need a smooth finish. It’s also great for sidewalks due to its ability to work around edges efficiently.
For light decorative work, the Fresno can be used but is not as detailed as other tools. Practice your technique on a small test area before proceeding with the whole project.
Troweling Basics: Technique and Motions
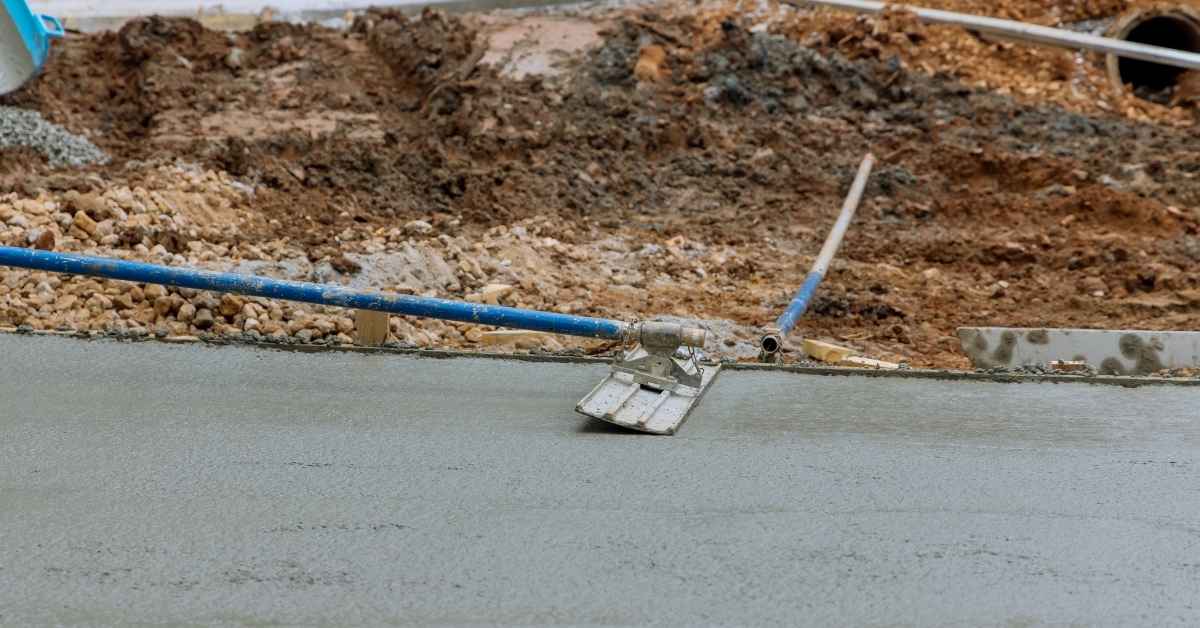
Stand with feet shoulder-width apart, knees slightly bent, and shoulders relaxed. Use a steady push, controlled pull, and small circular motions to fill voids and smooth air pockets.
Keep the blade at a low angle, ideally between 0 to 5 degrees for final passes and around 10 to 15 degrees for initial passes. Adjust as needed based on wear. Consistent pass intervals and clean cross-over patterns ensure uniform surface moisture.
Blade Angle and Pressure Control
Start with a blade angle of around 10 to 15 degrees for initial passes, which helps you move the trowel smoothly over the concrete without pressing too hard. As you progress to finishing passes, reduce the angle to about 0 to 5 degrees.
Control your pressure by keeping your shoulders relaxed and knees slightly bent. This stance allows consistent pressure throughout the process. Too much pressure can lead to a dull finish and premature sealing issues.
Sequence of Passes (Rough to Final)
The sequence starts with leveling and bull-floating, setting a flat base for your Fresno passes. Follow up with initial rough troweling using the Fresno tool at a steeper angle to fill voids and smooth out air pockets.
Maintain this order: decrease blade angle as you move towards final passes, focusing on smoothing imperfections. Skipping steps or rushing can lead to uneven moisture distribution, causing premature sealing in some areas while others remain too wet.
Stop and reassess if the surface appears overly dry or shows signs of premature sealing. Rushing or skipping steps compromises both appearance and durability.
Recognizing the Right Timing to Stop Troweling
Stop troweling as the bleed water starts to disappear and the surface begins to lose its wet sheen, aiming for a consistent matte appearance. Test readiness with a light thumbprint: if it leaves only a slight indentation that quickly fades without moisture residue, proceed cautiously but consider stopping.
Keep an eye on temperature changes, as higher heat speeds up curing and lower temperatures slow it down. Humidity also affects drying rates—high humidity delays the process compared to dry air.
Visual and Tactile Readiness Checks
The surface is ready when it loses its wet sheen, showing a uniform matte appearance with minimal bleed water remaining. Confirm readiness by performing the thumbprint test: press your thumb gently; if only a slight indentation remains without moisture residue, stop troweling.
Edges forming and pulling away from forms or joints indicate sufficient setting to hold shape without excessive bleeding or slumping.
Environmental Factors That Change Timing
The timing for sealing varies based on weather conditions. Higher temperatures speed up the process, while cooler temperatures slow it down. High humidity delays drying times compared to dry air.
Wind can accelerate surface evaporation but may cause uneven curing if not managed properly. Mix design also affects timing; higher water content prolongs readiness time.
A typical window for sealing ranges from 1 to 4 hours after placement, depending on these variables. Adjust based on site-specific conditions and consult a professional if unsure.
How Sealing Too Early Damages the Surface
Sealing a concrete surface prematurely traps moisture and air under the film, leading to issues like blistering, discoloration, delamination, and hazy films. These problems can force rework, slow progress, and compromise durability.
To avoid these issues, check for readiness by looking for bleed water, using a moisture meter, performing fingerprint or pencil-mark tests, and observing excessive evaporation or uneven film formation. If any of these signs are present, delay sealing until the concrete is fully cured to prevent problems.
Common Failure Modes and How They Occur
Blisters form when trapped air or water gets sealed under the surface before all bleed water has evaporated.
Discoloration can occur due to uneven curing or moisture interaction with sealants, causing some areas to turn darker than others once dry.
Delamination happens if you apply a sealer too soon before the concrete has fully bonded with previous layers, leading to bond failure between them.
Long-term Performance Impacts
Sealing too early can reduce durability by trapping moisture and preventing proper curing, making the surface more prone to cracking or flaking over time.
This compromised structure increases maintenance needs since repairs will be less effective on a weakened base. Additionally, applying sealers prematurely might void warranties from manufacturers.
Preventing Cracks While Finishing with a Fresno
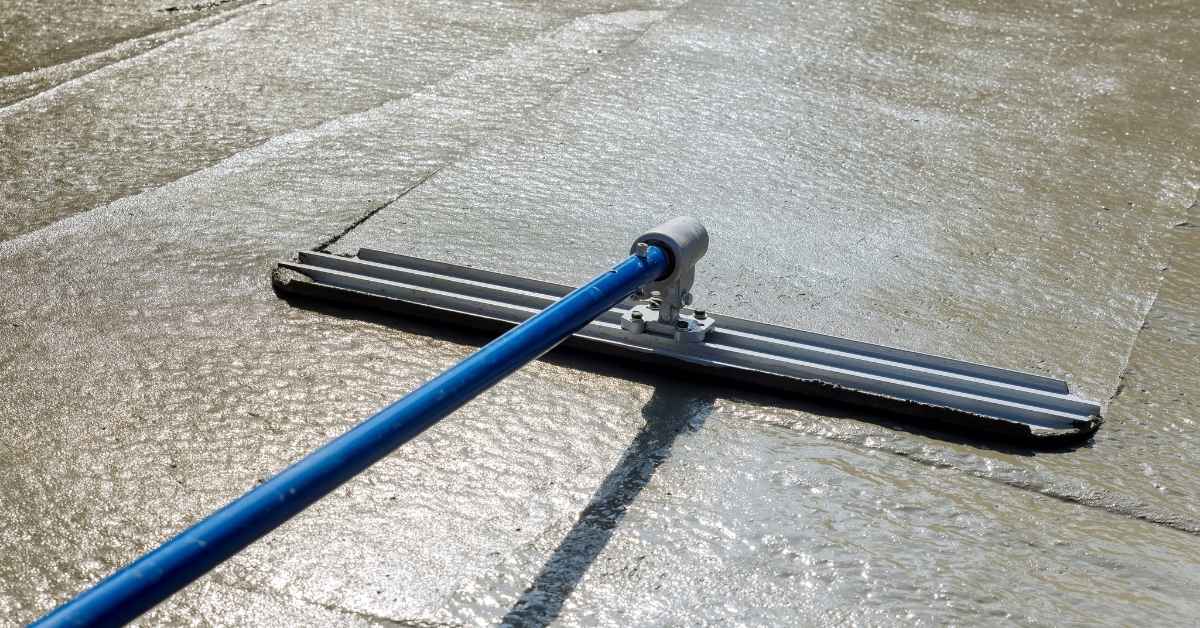
Timing is crucial when using the Fresno trowel. Finish at the right moment between initial set and final pass to ensure surface density, prevent dusting, and avoid micro-cracks.
Manage water content carefully; too much or too little can lead to cracking. Plan joint placement and grooves ahead of time, aiming to align them with your troweling passes as much as possible.
Joint Placement and Timing
Control joints are essential for managing expansion and contraction of concrete to prevent cracking. Place them at intervals appropriate for your slab size and thickness, typically every 10 feet or so in residential settings.
Cut control joints before the concrete sets but after initial troweling passes with the Fresno trowel. This timing ensures clean cuts without stressing the surface unnecessarily.
Expansion joints should be placed where there’s a change in elevation or at structural elements like walls or columns to allow for movement between sections of concrete, reducing cracking risk.
Mixing and Surface Moisture Control
Aim for a workable consistency without being too wet. A typical starting point is around 4 inches slump.
Overwatering can cause excessive bleeding and plastic shrinkage cracks. Monitor water content closely to avoid these issues.
Use squeegees or float tools to remove excess surface moisture before troweling, creating a uniform surface that prevents premature sealing of the concrete’s surface, which can lead to cracking later on.
Final Touches and Decorative Options without Sealing Too Early
Final texture work comes after the slab has fully cured and before any sealer is applied. Choose broom finish, stamping, or light polishing and know what look each one gives, plus how it affects future sealing or need for another round of curing. Use the right timing, test moisture, and follow proper technique so you don’t trap bonds or cause pops and peel later.
This matters because decorative textures can either hide or expose surface flaws, and the wrong move before sealing can ruin the whole job. With proper timing, pressure, overlap patterns, and moisture checks, you keep the cement strong and ready for colorants or sealers without risking failure. The payoff is a durable, attractive surface that ages well and is easy to clean and maintain for years.
Achieving a Uniform Broom or Texture Finish
To get a uniform broom finish, wait until the concrete is slightly stiff but still workable after your Fresno passes. This timing usually falls around 20 to 45 minutes post-pour, depending on weather and site conditions.
Use a stiff-bristled push broom or squeegee tool in a back-and-forth motion, applying even pressure across the surface. Overlap each pass slightly to avoid lines or missed spots. Aim for consistent texture without digging into the concrete too deeply.
To check readiness, perform a foot test: if your footprint is less than 1/4 inch deep and starts to feather at the edges, it’s time to broom. This ensures you won’t seal prematurely and that the surface will cure properly.
Preparing for Stains, Stamps, or Polish
Before applying decorative treatments like stains or stamps, wait until the concrete has cured enough to resist damage but is still slightly damp. This typically happens 24 to 72 hours after pouring, depending on temperature and humidity.
To prep for stamping, clean the surface thoroughly with a stiff brush and water. For staining, ensu