Hands applying plaster with a trowel on wall

Clay Plaster Basics for Homeowners: Mixing, Application, and Crack Control

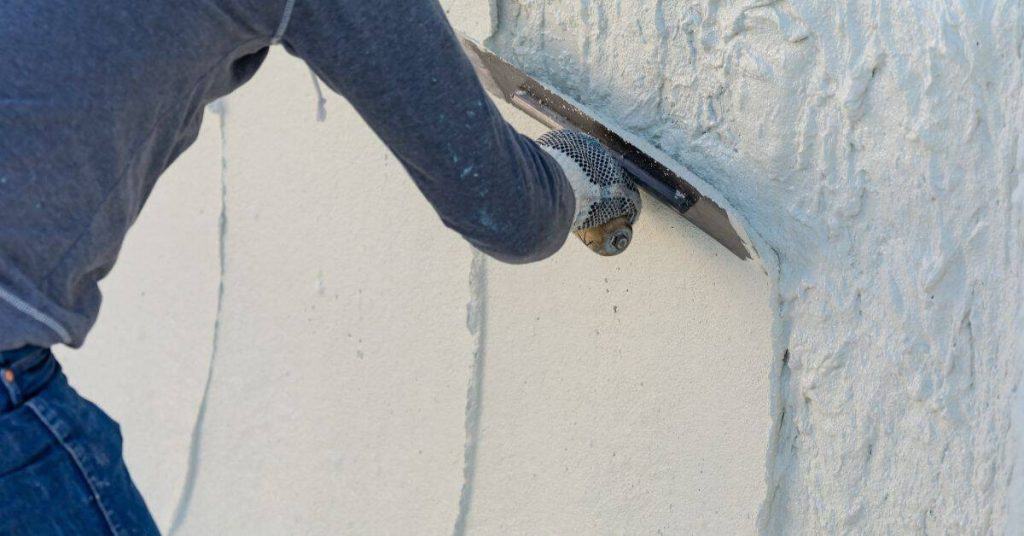
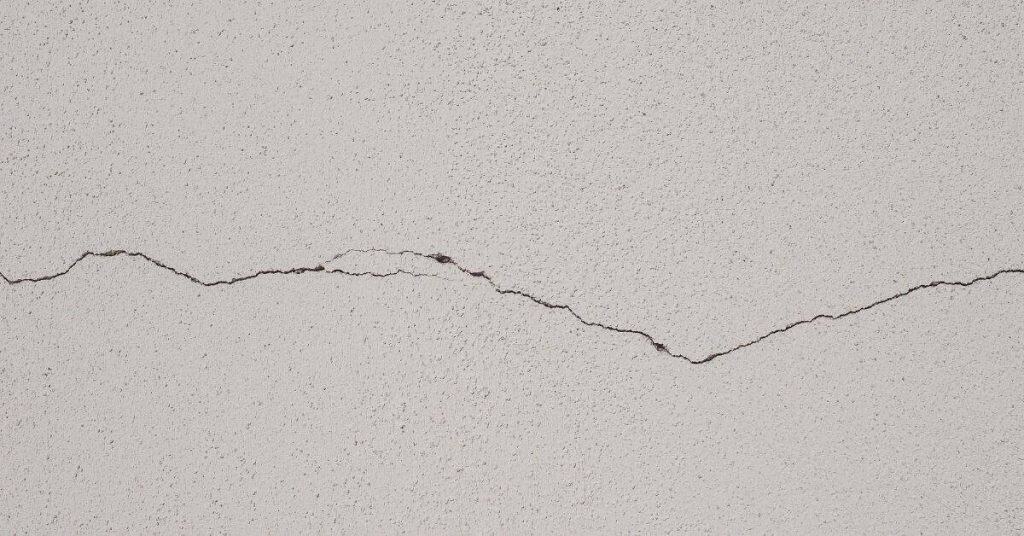
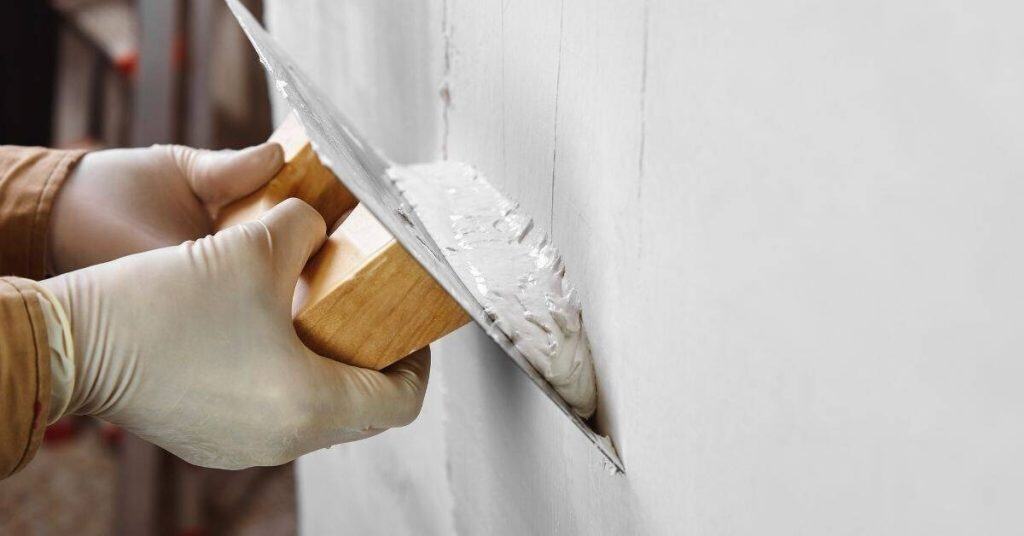
Introduction Clay plaster is a traditional, breathable finish made from clay and water that you apply to walls. It’s forgiving and doable for DIY projects when you work in small, manageable steps. Check the bag or supplier instructions for how to blend, the right water amount, and any additives. Apply in thin coats, letting each […]

Clay Plaster Basics for Homeowners: Mixing, Application, and Crack Control Read More »

Man applying plaster to wall using trowel and hawk

Roman Clay Wall Finish: How to Get the Look, What Substrates Work, and How to Seal It

Introduction Roman Clay Wall Finish is a hand-applied plaster look that mimics traditional lime-based finishes. You build it in layers on a prepared substrate, then blend and burnish to create the texture. Check the substrate and product labels for compatibility and curing times before you start. For substrates, common options include clean, smooth walls or

Roman Clay Wall Finish: How to Get the Look, What Substrates Work, and How to Seal It Read More »

Hand applying textured plaster on wall with trowel

Marmorino Lime Plaster Finish: Step-by-Step to a Soft Stone Look (Beginner Friendly)

Introduction Marmorino lime plaster is a traditional decorative plaster that creates a soft, stone-like finish. This article walks beginners through the basics, from materials to technique, in plain language. You’ll learn what to check on product labels and manufacturer instructions before you start. Expect a hands-on, step-by-step method you can adapt to walls you already

Marmorino Lime Plaster Finish: Step-by-Step to a Soft Stone Look (Beginner Friendly) Read More »

Hand smoothing plaster on wall with trowel

Tadelakt for DIY Bathrooms: Surface Prep, Burnishing, and Waxing Without Failure

Introduction Tadelakt is a traditional lime plaster finish used on bathrooms, finished with burnishing and wax to create a smooth, water-resistant surface. This article walks you through surface prep, burnishing, and waxing with practical, hands-on steps. I’ll keep it plain-language and honest about what to check before you start. Prep the surface clean, sound, and

Tadelakt for DIY Bathrooms: Surface Prep, Burnishing, and Waxing Without Failure Read More »

Close-up of gray fiber cement siding on house exterior

Stucco vs. Fiber Cement Siding: DIY Repairability and Long-Term Maintenance Compared

Introduction Stucco and fiber cement siding are two exterior materials, and this article compares their repairability and long-term maintenance. You’ll see practical, hands-on guidance on patching, replacing damaged sections, and what keeps these materials lasting. If a spec matters, check the product label, manufacturer instructions, and local rules before you dive in. From a DIY

Stucco vs. Fiber Cement Siding: DIY Repairability and Long-Term Maintenance Compared Read More »

Stucco wall with fresh patch above basement window

How to Patch Stucco Where Lath Is Rusting: Cutback Limits, Fastener Choices, and Rebuild

Introduction This guide shows how to patch stucco when the metal lath under it is rusting. You’ll assess the damage, remove deteriorated material, and prepare the surface for repair. Keep the work conservative and follow safety and building guidance as you go. Cutback limits depend on the substrate and structure, so check manufacturer instructions and

How to Patch Stucco Where Lath Is Rusting: Cutback Limits, Fastener Choices, and Rebuild Read More »

Close up of blue painted stucco wall texture

Stucco Patches on Painted Surfaces: Bonding Agents, Scratch Keys, and When to Strip Paint

Introduction This article explains how to patch stucco on painted surfaces, including prep, bonding, and deciding when to strip paint. It covers bonding agents, scratch keys, and the little checks you need to avoid a failed patch. Keep it DIY-friendly with practical steps you can do on a weekend. Start by inspecting the painted area

Stucco Patches on Painted Surfaces: Bonding Agents, Scratch Keys, and When to Strip Paint Read More »

Worker applying stucco texture to exterior wall with trowel

Repairing Stucco Around Exterior Electrical Boxes: Rebuild Steps That Keep the Gasket Dry

Introduction Repairing stucco around exterior electrical boxes is about sealing the gap and protecting the gasket from moisture. This job is hands-on and requires careful prep, clean surfaces, and proper patching to keep water out. Work slowly and check the seal around the box after each step. Start by cleaning the area around the box

Repairing Stucco Around Exterior Electrical Boxes: Rebuild Steps That Keep the Gasket Dry Read More »

blue stucco wall texture with varied surface depth

Sealing Penetrations Through Stucco (Vents, Linesets, Pipes): The ‘Sleeve + Flange’ Method

Introduction Sleeve + flange is a method to seal vents, linesets, or pipes where they pass through stucco. You install a sleeve through the opening, then attach a flange to seal against the wall and weather. This approach helps keep water out and makes future maintenance easier. Start by choosing a sleeve size that fits

Sealing Penetrations Through Stucco (Vents, Linesets, Pipes): The ‘Sleeve + Flange’ Method Read More »

horizontal crack in white stucco wall surface

DIY Stucco Weep Path Maintenance: Keeping Bottom Terminations From Clogging With Dirt

Introduction Weep paths are channels at the bottom of stucco details that drain moisture away. Keeping them clear helps prevent water from backing up into the wall. This article shows a plain‑language, DIY approach to inspecting and cleaning them without tearing the finish. Start by locating the bottom terminations and looking for dirt, debris, or

DIY Stucco Weep Path Maintenance: Keeping Bottom Terminations From Clogging With Dirt Read More »