Search Results for: surface prep

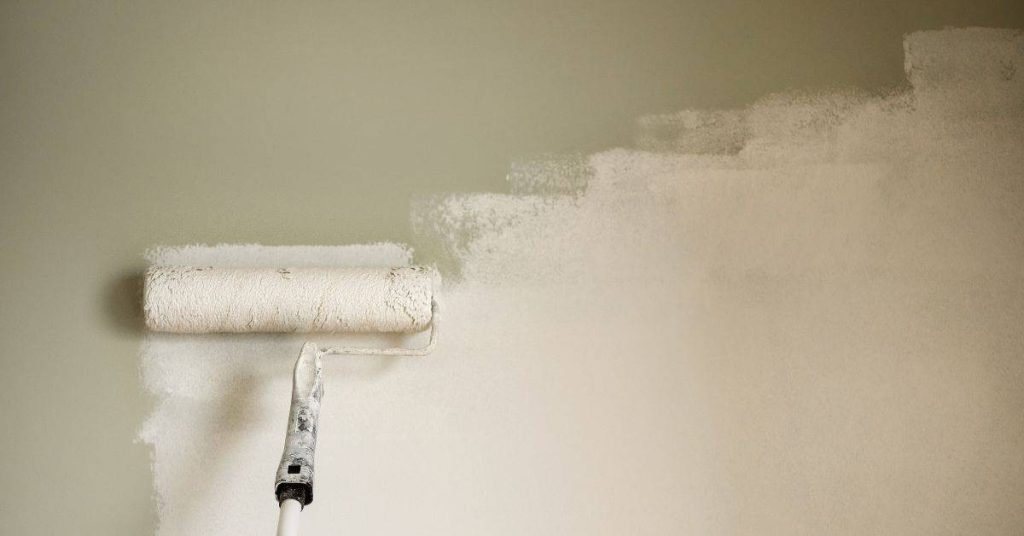
Paint roller applying white paint on beige wall

How to Prevent Roller Marks in Clear Sealers: Work Zones, Wet Edge, and Re-Roll Traps

Introduction Preventing roller marks in clear sealers is about keeping a smooth, wet edge and consistent roller motion. Set up your work zones so you move methodically and don’t drag a dry edge across the surface. Check the product label and local rules for timing, and re-roll small areas to blend before the edge starts […]

How to Prevent Roller Marks in Clear Sealers: Work Zones, Wet Edge, and Re-Roll Traps Read More »
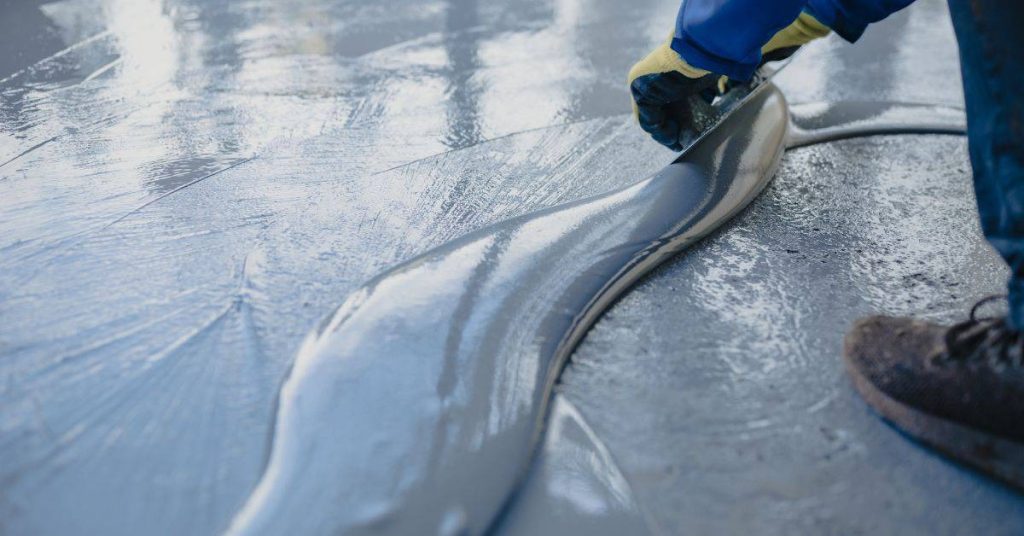
Person spreading glossy epoxy floor coating with squeegee

Pinholes in Floor Coatings: Prime Coats, Squeegee Technique, and Offgassing Control

Introduction Pinholes in floor coatings are tiny voids that form when the surface isn’t sealed and moisture or air escapes as the coating cures. They undermine moisture control and adhesion, especially if the primer or first coat isn’t applied correctly. Check that your primer is stated for moisture control and compatible with the topcoat you’re

Pinholes in Floor Coatings: Prime Coats, Squeegee Technique, and Offgassing Control Read More »

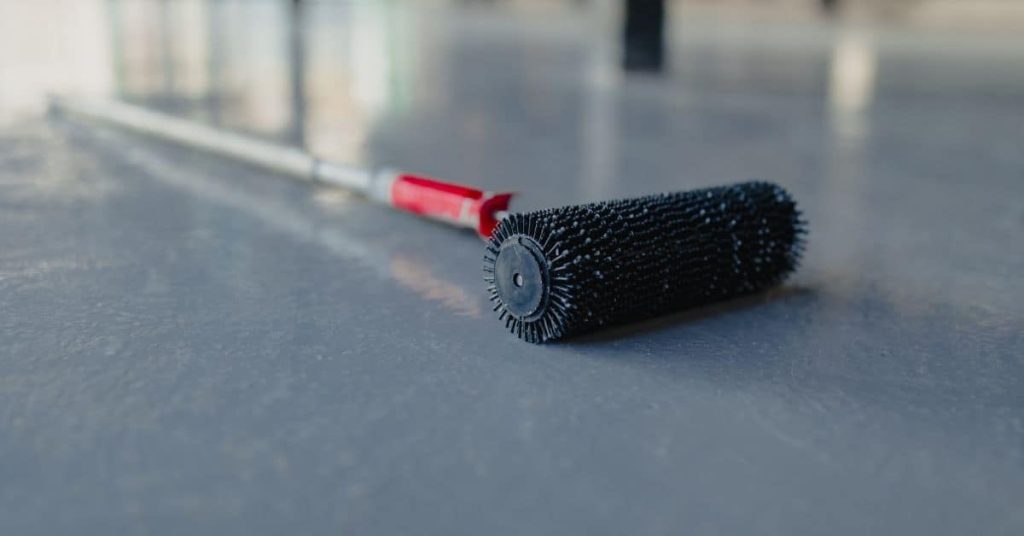
Black spiked roller with red handle on smooth floor surface

Topcoating Epoxy With Urethane: Recoat Windows and Sanding Levels That Prevent Delam

Introduction Topcoating epoxy with urethane is applying a urethane topcoat over an epoxy coating to seal and protect the finish. This step adds abrasion resistance and UV protection beyond the epoxy layer. Do it only after the epoxy has cured as instructed and the surface is clean and prepared for a new coat. Choose compatible

Topcoating Epoxy With Urethane: Recoat Windows and Sanding Levels That Prevent Delam Read More »

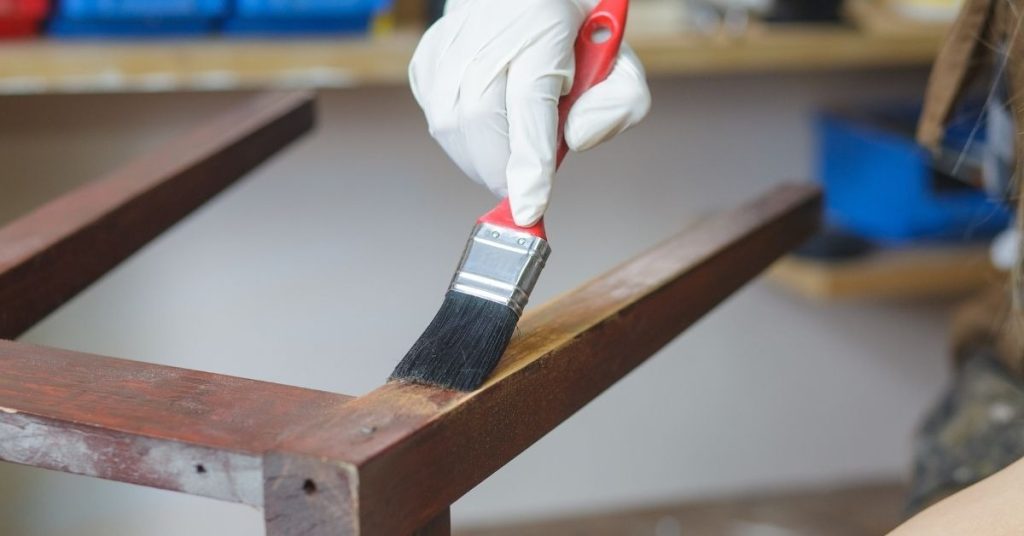
Hand with glove applying varnish on wooden frame with paintbrush

Concrete pH Testing for Coatings: Cheap Strips, Proper Wetting, and Interpreting Results

Introduction pH testing for concrete coatings is a quick check to determine if the surface is ready for adhesion. The test helps you know whether the concrete is clean enough or if pretreatment is needed before applying coatings. This guide keeps it practical and hands-on, not a lab procedure. Use inexpensive pH test strips and

Concrete pH Testing for Coatings: Cheap Strips, Proper Wetting, and Interpreting Results Read More »

Colorful plastic zip ties in white yellow green and orange

How to Use Plastic Sheet Tests Correctly: Condensation vs Darkening and What Each Means

Introduction A plastic sheet test is a simple DIY method to observe whether moisture on a concrete surface is from condensation or from darkening. You place a clear plastic sheet on the surface for a set period and check for fogging or dampness under the sheet. Use it as a quick check during finishing work,

How to Use Plastic Sheet Tests Correctly: Condensation vs Darkening and What Each Means Read More »

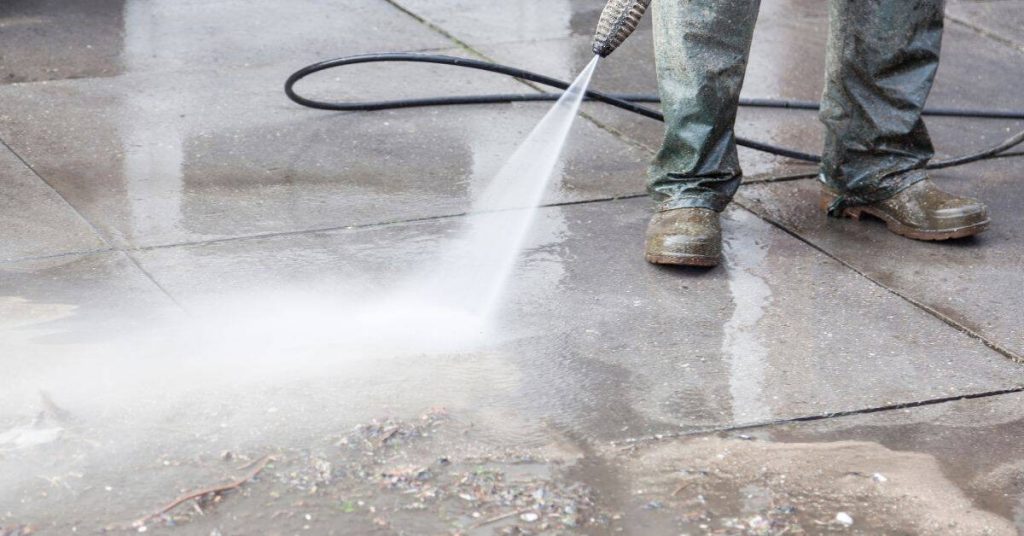
Person pressure washing smooth concrete patio surface

How to Tell If Concrete Is Too Smooth to Coat: Simple Adhesion Checks Before You Prime

Introduction Too smooth concrete resists adhesion and can fail after priming. This article shows simple checks to decide if the surface needs profiling. Roughening helps primers bite into the surface and create a lasting bond. Start with cleaning, then roughen the area using a grinder, wire brush, or sanding pad and clean away dust. Do

How to Tell If Concrete Is Too Smooth to Coat: Simple Adhesion Checks Before You Prime Read More »

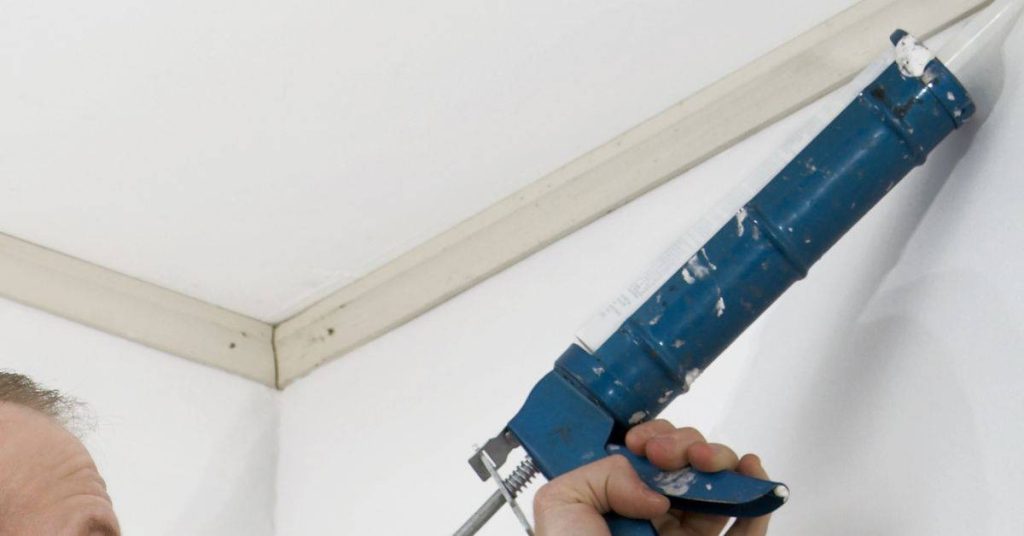
Hand holding blue caulking gun near ceiling joint

Why Joint Sealant Bubbles: Offgassing, Moisture, and How to Prevent It

Introduction Bubbles in joint sealant are air pockets that form as the material cures, usually from offgassing or trapped moisture. In DIY work, you may see these as foamy spots or gaps that weaken the seal. Check the label and manufacturer guidance to know what conditions or temps are allowed. Prevention comes from clean joints,

Why Joint Sealant Bubbles: Offgassing, Moisture, and How to Prevent It Read More »

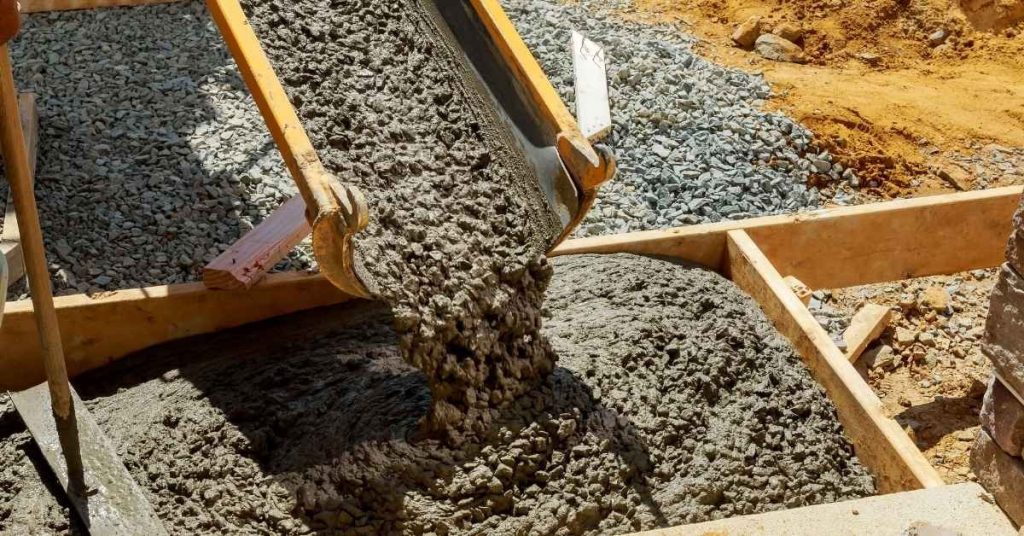
Concrete pouring into wooden formwork on construction site

How to Repair a Failed Joint Sealant Bead: Cutback, Primer, and Reseal Steps

Introduction A failed joint sealant bead needs to be cut back, primed, and resealed. This article walks you through the cutback, primer, and reseal steps so you can fix it yourself. You’ll assess the joint, remove old material, and prep the surface for a new bead. Carefully trim back the old sealant according to what

How to Repair a Failed Joint Sealant Bead: Cutback, Primer, and Reseal Steps Read More »

Red-handled tool smoothing fresh concrete surface

Concrete Joint Sealant That Won’t Track Dirt: Profile Shape and Cleanup Methods

Introduction A concrete joint sealant that won’t track dirt is a smooth, well-profiled sealant that stays put and is easy to wipe clean. The profile shape you choose affects how debris collects and how easy cleanup is. This intro covers practical, hands-on steps to plan and apply a dirt-resistant joint. Choose a profile that minimizes

Concrete Joint Sealant That Won’t Track Dirt: Profile Shape and Cleanup Methods Read More »

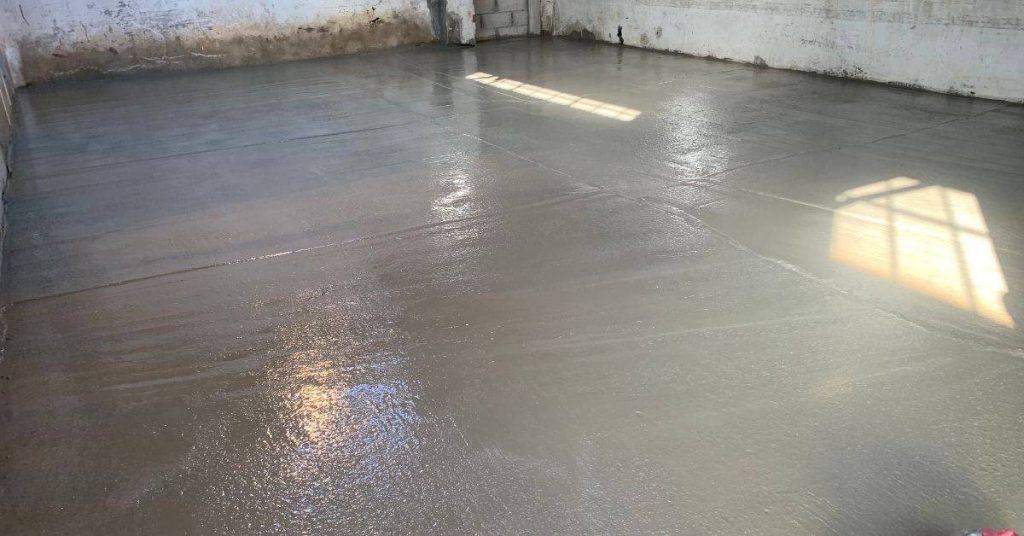
Freshly poured concrete floor inside a building

How to Cut Control Joints in Small Slabs Without a Saw: Groovers, Guides, and Timing

Introduction Control joints are deliberate grooves in concrete that guide where cracks will form as the slab cures. They help prevent random cracking and keep surfaces looking straight. For small slabs, you can create them without a saw by using groovers, guides, and proper timing. Timing matters: cut or groove the slab after the concrete

How to Cut Control Joints in Small Slabs Without a Saw: Groovers, Guides, and Timing Read More »