Search Results for: surface prep

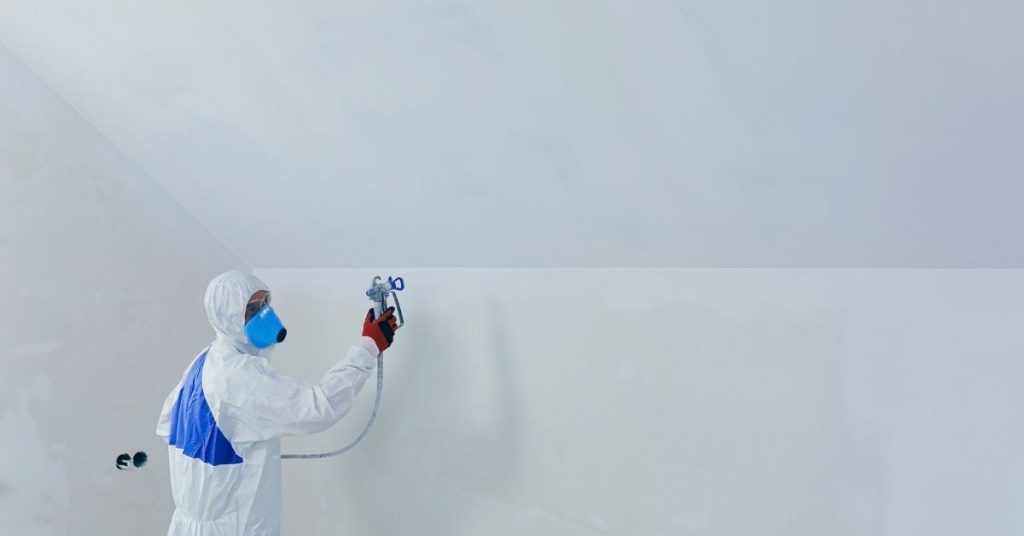
Worker spraying white paint on an indoor wall wearing protective gear

Painting Before Rain: Minimum Dry Times by Paint Type and How to Avoid Wash-Off

Introduction Painting before rain means choosing the paint and applying it so it dries before expected rain, following the type’s minimum dry time. Dry times vary by paint type and conditions, so always read the label for the minimum Dry Time. Weather, humidity, and surface prep affect it. To avoid wash-off, apply only when you […]

Painting Before Rain: Minimum Dry Times by Paint Type and How to Avoid Wash-Off Read More »

Hand spraying sealer with spray gun in outdoor setting

Sealer Haze Only in Spots: Moisture Pockets vs Application Thickness and How to Fix

Introduction Sealer haze in spots is caused by moisture pockets or too-thick coats leaving a cloudy film on the surface. It’s a surface symptom you can fix with proper prep and careful re-application. Look for uneven sheen, milky areas, or spots that never fully dry after the sealer sets. To fix, identify where moisture pockets

Sealer Haze Only in Spots: Moisture Pockets vs Application Thickness and How to Fix Read More »

Concrete building with vertical and horizontal structural elements

How to Patch Vertical Concrete Without Sag: Mix Stiffness, Bonding, and Lift Thickness

Introduction Patch vertical concrete without sag by using a stiff, workable mix that stays put once placed. Choose a mix with good bonding and low slump, and apply in quick, controlled strokes. Always check product labels and local guidelines to confirm compatible bonding agents and lift thickness. Keep the surface clean and dampened as needed,

How to Patch Vertical Concrete Without Sag: Mix Stiffness, Bonding, and Lift Thickness Read More »

Yellow construction helmet tape measure pencils on architectural plans

Replacing Failed Expansion Joint Filler: Removal, Priming, and Resealing Workflow

Introduction Replacing failed expansion joint filler means removing the old filler, prepping the joint, and applying new material to restore sealing and movement space. The workflow typically covers removal, priming, and resealing, using basic hand tools, caulk guns, and compatible filler products. Always check product labels, manufacturer instructions, and local code or permit rules to

Replacing Failed Expansion Joint Filler: Removal, Priming, and Resealing Workflow Read More »

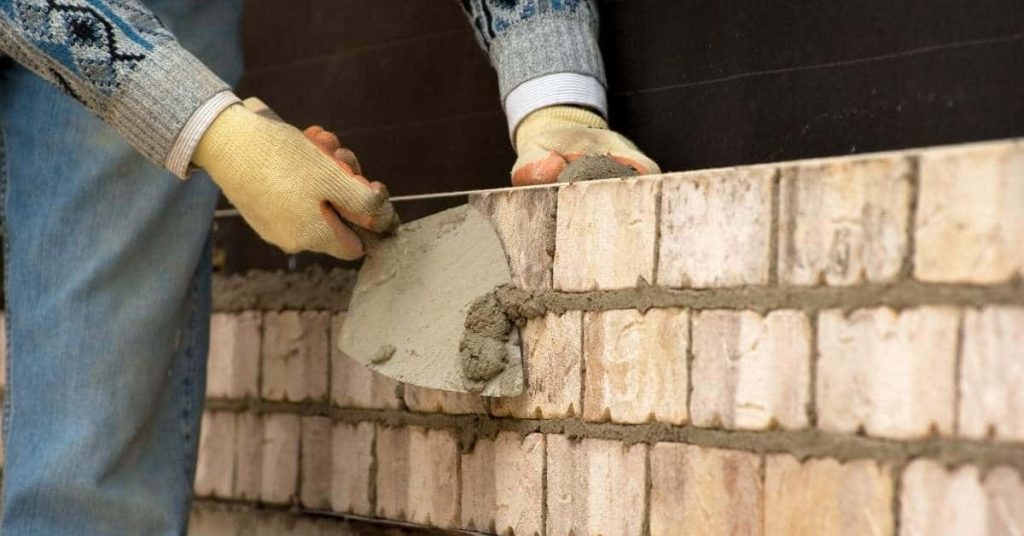
Hands applying mortar to brick wall with trowel

Self-Consolidating Mortar for Small Repairs: Mimic SCC Behavior Without Renting a Pump

Introduction Self-consolidating mortar is a flowable mix that fills small voids and cracks without the need for vibration. For DIY repairs, it behaves like a high-flow grout that can level and settle in tight spaces, mimicking SCC behavior without renting a pump. Always check the product label and manufacturer instructions to confirm compatibility with your

Self-Consolidating Mortar for Small Repairs: Mimic SCC Behavior Without Renting a Pump Read More »

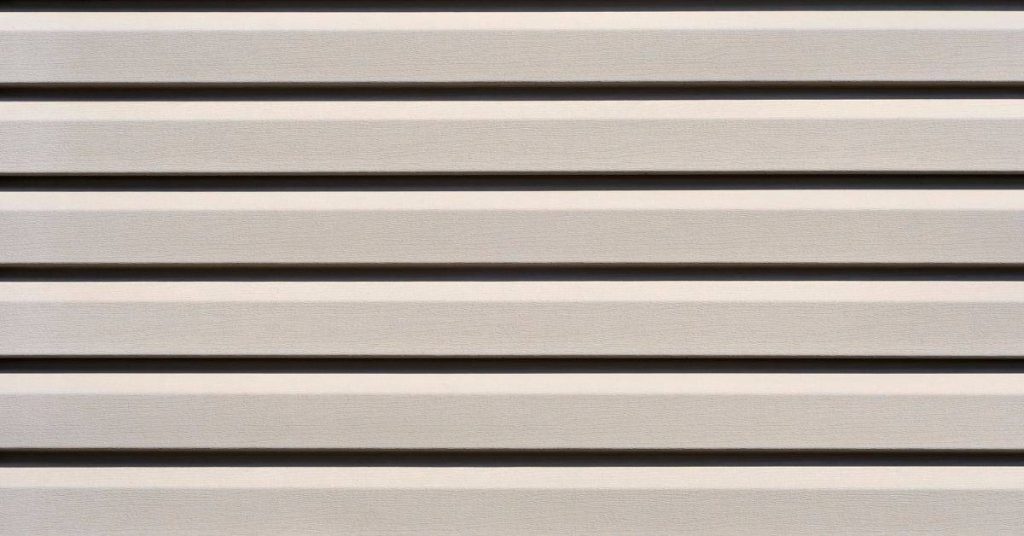
Close-up of beige horizontal lap fiber-cement siding

Painting Fiber-Cement Siding: Primers, Cut Edges, and Why Factory Finishes Still Fail

Introduction Painting fiber-cement siding means choosing compatible primers, sealing exposed cut edges, and recognizing that factory finishes can still peel or wear. This is a practical, hands-on guide you can follow without fancy tools or theory. Check manufacturer instructions and local rules for product compatibility and weather windows. Start by inspecting boards for damage, then

Painting Fiber-Cement Siding: Primers, Cut Edges, and Why Factory Finishes Still Fail Read More »

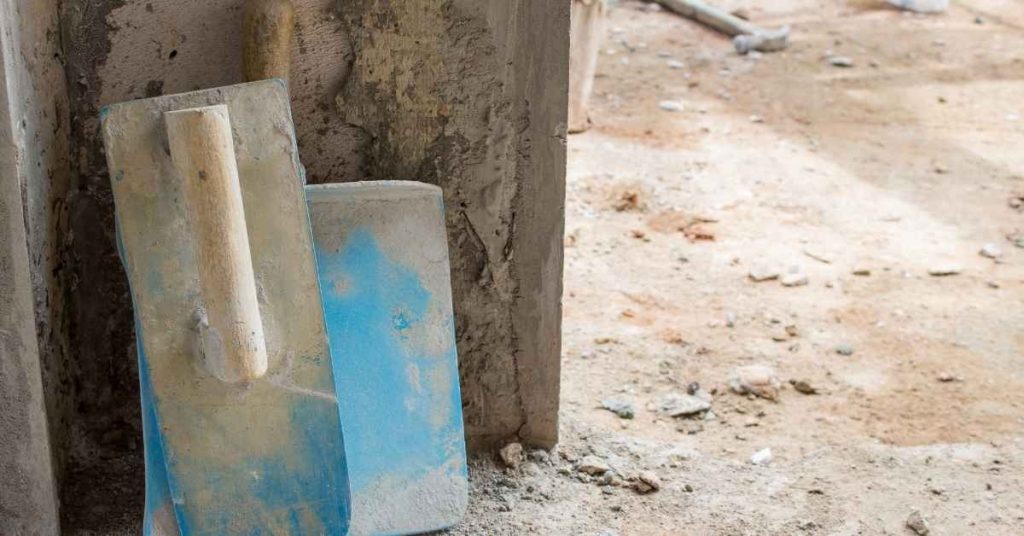
Two plastering trowels leaning against a wall

Polished Plaster on Kitchen Backsplashes: Grease Tests, Sealer Choices, and Maintenance Reality

Introduction Polished plaster on kitchen backsplashes is a smooth, glossy finish applied to a prepared wall to create a seamless, durable surface. It’s a hands‑on finish that requires proper substrate prep, mixing, and controlled troweling. If you’re unsure about the prep or finish, check the product label and follow manufacturer directions for compatible substrates and

Polished Plaster on Kitchen Backsplashes: Grease Tests, Sealer Choices, and Maintenance Reality Read More »

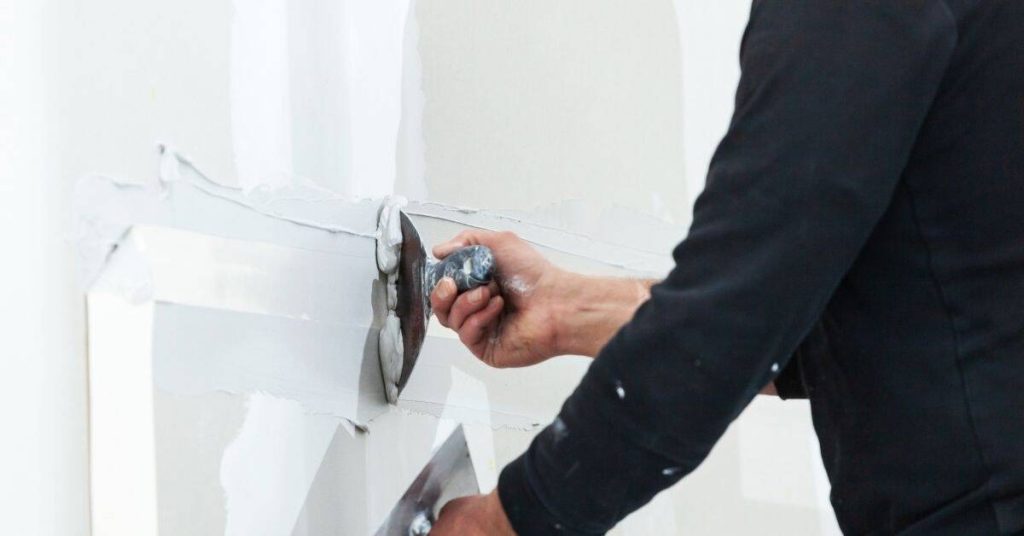
Person applying plaster with trowel on drywall seams

Clay Plaster Over Drywall: Primer Selection, Screw Head Telegraphing, and Dent Resistance Upgrades

Introduction Clay plaster over drywall is a finish where a clay-based plaster is applied on standard wallboard after proper priming. Start with a compatibility-friendly primer; check the label to ensure it works with clay plasters and the drywall surface. Apply multiple thin coats, let each dry, and feather the edges for a flat, even surface.

Clay Plaster Over Drywall: Primer Selection, Screw Head Telegraphing, and Dent Resistance Upgrades Read More »

Newly poured smooth concrete floor inside an unfinished room

Plastering Directly Over Concrete Ceilings: Bonding Bridges, Suction Control, and Crack Isolation

Introduction Plastering directly over concrete ceilings means applying plaster straight onto a bare concrete surface without a separate bonding layer. It’s a DIY-friendly approach when the surface is solid and clean, but it needs careful prep. I’ll walk you through what to expect and how to stay on track. Bonding bridges help the plaster grab

Plastering Directly Over Concrete Ceilings: Bonding Bridges, Suction Control, and Crack Isolation Read More »

Empty concrete parking garage with white pillars and ceiling

Sealing Concrete That’s Still Green: Safe Timing When You Can’t Wait 28 Days

Introduction Sealing concrete that’s still green means applying a sealer before the full curing time is finished. This can trap moisture and interfere with the concrete’s hardening. Always check the product label and local rules to know if sealing early is allowed and what risks to expect. If you can’t wait, use only sealers labeled

Sealing Concrete That’s Still Green: Safe Timing When You Can’t Wait 28 Days Read More »