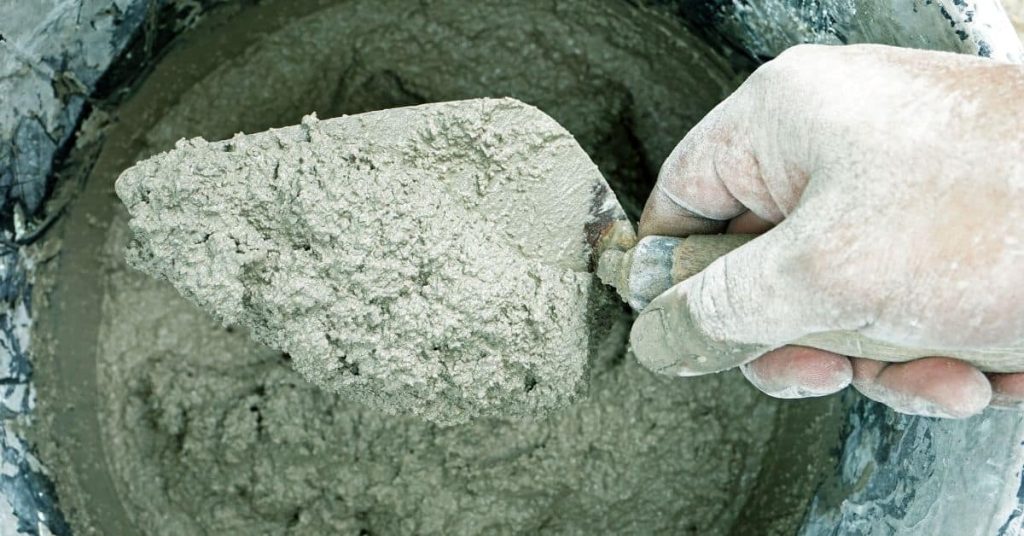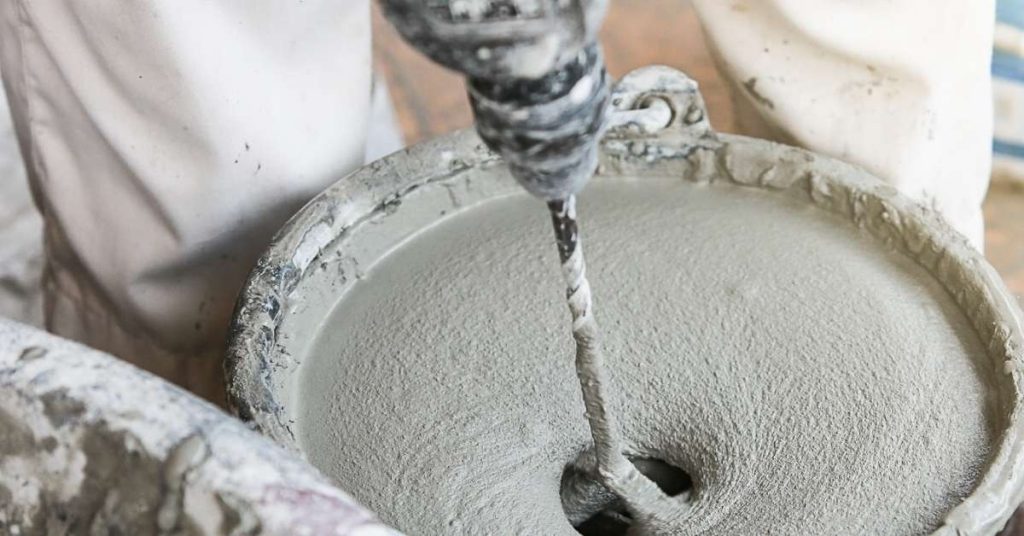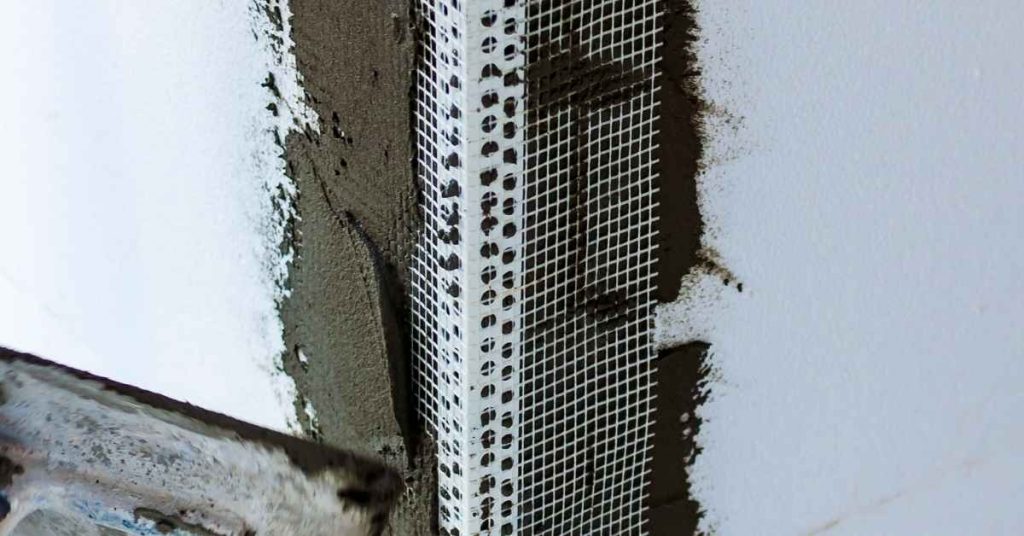
Galvanized Rebar: Pros, Cons, and Compatibility with Repair Mortars
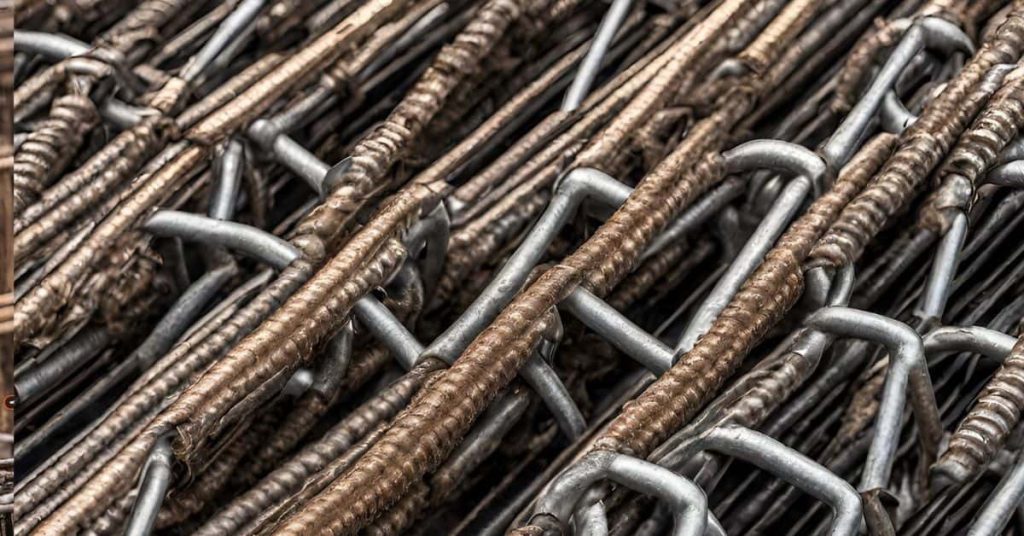
Introduction Galvanized rebar is steel reinforcing bar coated with zinc to resist rust. In DIY projects, that coating matters for longevity in moist concrete, but you still need to follow local rules and manufacturer guidance. When you’re tying it into repair work, consider how the galvanized surface will interact with repair mortars and what to […]
Galvanized Rebar: Pros, Cons, and Compatibility with Repair Mortars Read More »