Search Results for: skim coat plaster

Person applying plaster to wall with putty knife

Adding Fibers to Plaster: Hemp, Cellulose, and Horsehair Alternatives Compared

Introduction Adding fibers to plaster means mixing natural fibers like hemp, cellulose, or horsehair into a lime or clay binder to improve crack resistance and tensile strength; choose the fiber type and preparation based on the binder and final exposure. From a DIY foreman’s view, hemp is strong and long fibers need chopping, cellulose is […]

Adding Fibers to Plaster: Hemp, Cellulose, and Horsehair Alternatives Compared Read More »

Hand with glove smoothing lime plaster on wall with straightedge

Microcracks in Lime Plaster: Normal Crazing vs Movement and How to Decide

Introduction Microcracks in lime plaster are usually small surface crazing that forms as the plaster dries and shrinks; they are often cosmetic and not a structural failure. Look at crack width, depth, and whether it goes into the substrate to decide; if unsure, check the product label or manufacturer guidance for allowed hairline cracking. In

Microcracks in Lime Plaster: Normal Crazing vs Movement and How to Decide Read More »

Close-up of textured lime plaster wall surface

Can You Use Casein Paint on Lime Plaster? Prep Steps to Prevent Flaking

Introduction Casein paint can be used on lime plaster only when the specific product is approved for that substrate and the plaster is sound, dry, free of active salts, and properly prepared. “Casein paint” is not one uniform system: premixed paints, powder paints, casein primers, and traditional casein-lime formulations can have different binders, alkalinity, dilution,

Can You Use Casein Paint on Lime Plaster? Prep Steps to Prevent Flaking Read More »

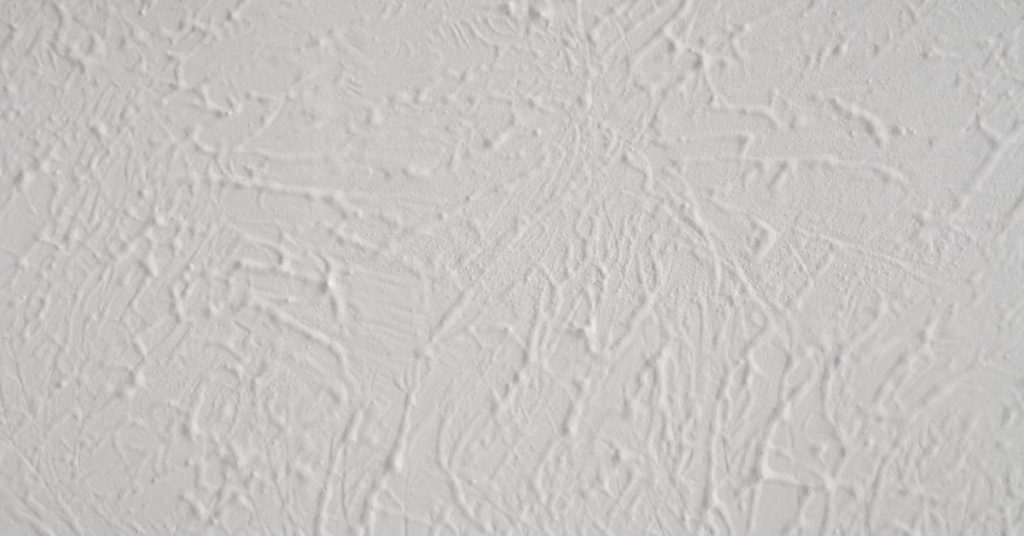
Close-up of textured white plaster wall finish

Plaster Feather Edges That Don’t Flake: Keying, Wetting, and Finish Timing

Introduction Plaster feather edges that don’t flake are thin finish edges keyed and bonded to the existing surface, wetted and timed correctly so the new plaster grabs without lifting. Check whether the area needs repair by tapping or scraping loose material and by checking for movement; if substrate is dusty, crumbling, or contaminated you must

Plaster Feather Edges That Don’t Flake: Keying, Wetting, and Finish Timing Read More »

Man smoothing plaster on wall with float tool

How to Get Dead-Flat Plaster Walls: Straightedge Checks and Build-Up Strategy

Introduction Getting dead-flat plaster walls means using straightedge checks and a stepwise build-up of layers until any high or low spots are leveled out. It’s a practical process of finding the worst deviations, feathering in material, and rechecking with a straightedge until the surface reads flat to the eye and tool. Expect to use joint

How to Get Dead-Flat Plaster Walls: Straightedge Checks and Build-Up Strategy Read More »

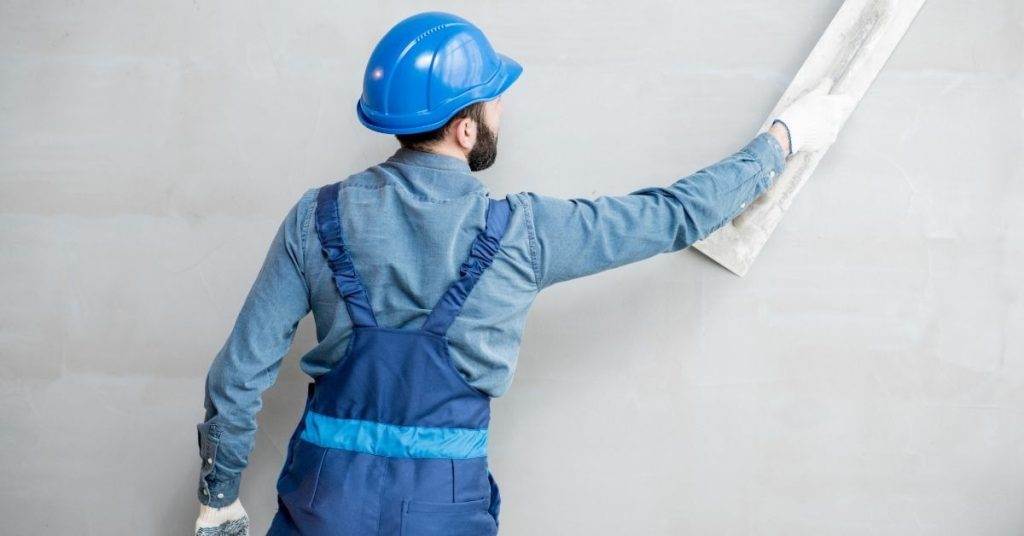
Construction worker smoothing plaster on wall wearing blue helmet

Repairing Polished Plaster Chips: Patch Blending Without Visible ‘Halos’

Introduction Repairing polished plaster chips means filling and feathering the damaged area so the patch matches surrounding sheen and texture without a visible ring. Start by cleaning and undercutting loose edges, use compatible repair material, and build thin layers that are troweled and polished to blend into the existing finish. Check product labels and manufacturer

Repairing Polished Plaster Chips: Patch Blending Without Visible ‘Halos’ Read More »

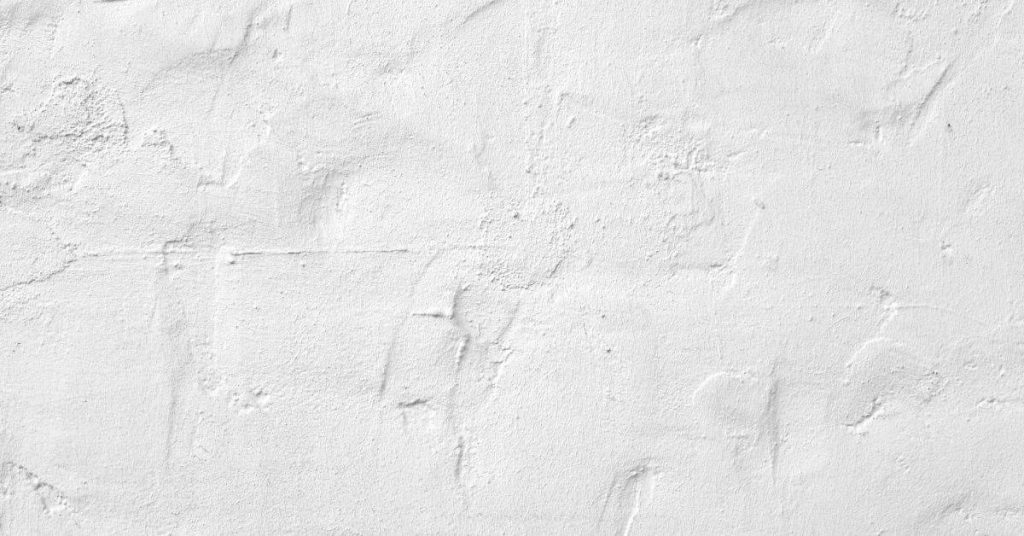
white plaster wall with uneven textured surface

Venetian Plaster Over Existing Texture: When to Skim, When to Sand, and When to Remove

Introduction Venetian plaster over existing textured walls means deciding whether to skim, sand, or remove that texture so the final finish looks smooth and bonds properly. In plain jobsite terms: skim if the texture is shallow and solid, sand if it’s flaky or slightly high, and remove if it’s loose, highly uneven, or has adhesion

Venetian Plaster Over Existing Texture: When to Skim, When to Sand, and When to Remove Read More »

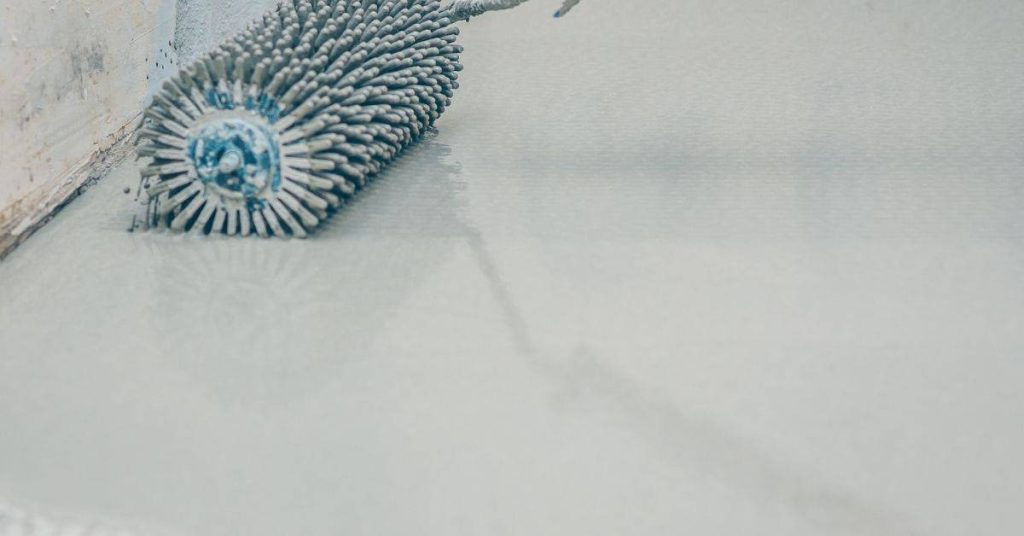
Spiked roller tool on wet floor coating surface

Polyaspartic Floor Coatings for DIY: Working Time, Odor, and Surface Prep Requirements

Introduction Polyaspartic floor coatings are fast-curing two-part coatings used to protect and finish concrete, and for a DIYer that means short working time, noticeable odor, and careful surface prep. Think like a tradesperson: plan your mixing and application in short, deliberate steps and check the product label for working time, recommended respirators, and substrate requirements.

Polyaspartic Floor Coatings for DIY: Working Time, Odor, and Surface Prep Requirements Read More »

White painted horizontal wooden shiplap planks

Clear Coating Painted Surfaces: When It Helps, When It Yellows, and What to Use Instead

Introduction Clear coating painted surfaces means applying a transparent protective finish over existing paint to protect it and change the sheen; it helps when the paint is sound and you want extra durability or a uniform look. Use a clear product compatible with the paint type and follow the manufacturer’s instructions; if you’re unsure about

Clear Coating Painted Surfaces: When It Helps, When It Yellows, and What to Use Instead Read More »

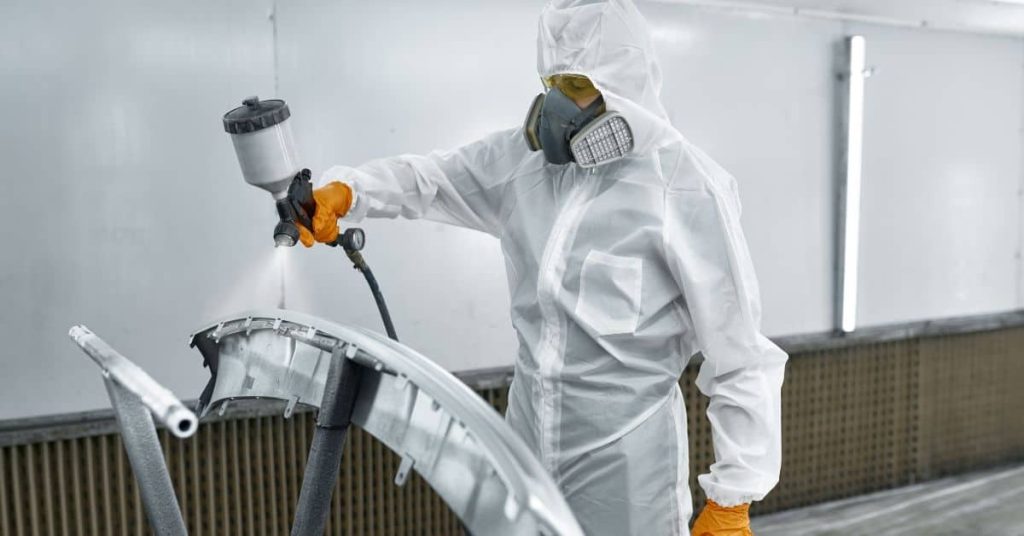
Person in protective suit spray painting a metal car part

Painting Copper and Brass: Preventing Tarnish Under Clear Coats

Introduction Painting copper and brass to prevent tarnish under clear coats means preparing the metal, using the right sealer or barrier primer, and choosing a clear finish that won’t allow corrosion to spread. In plain terms: clean and remove tarnish, treat or isolate reactive metal, and topcoat with a compatible clear product. Check product labels

Painting Copper and Brass: Preventing Tarnish Under Clear Coats Read More »