Search Results for: skim coat plaster

white plaster wall with uneven textured surface

Venetian Plaster Over Existing Texture: When to Skim, When to Sand, and When to Remove

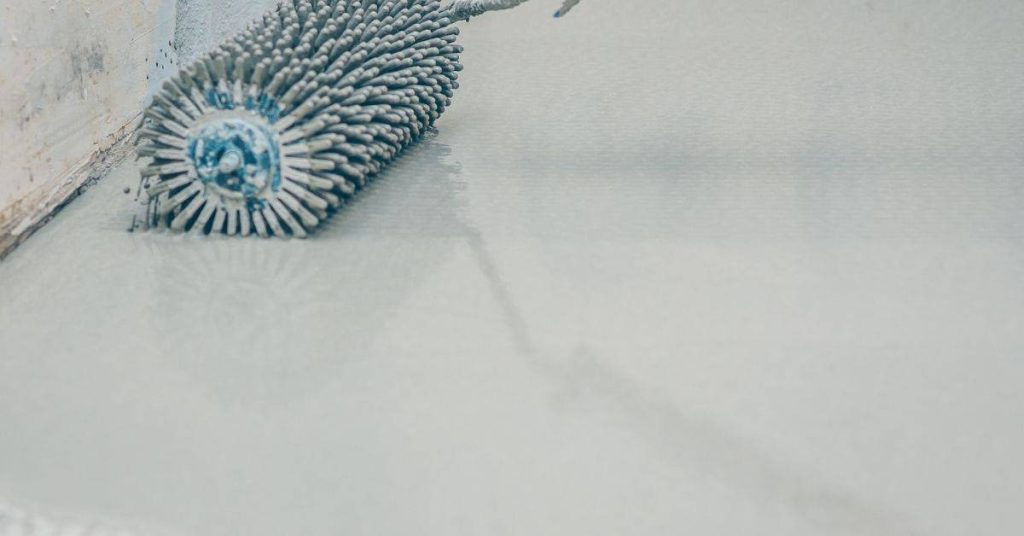
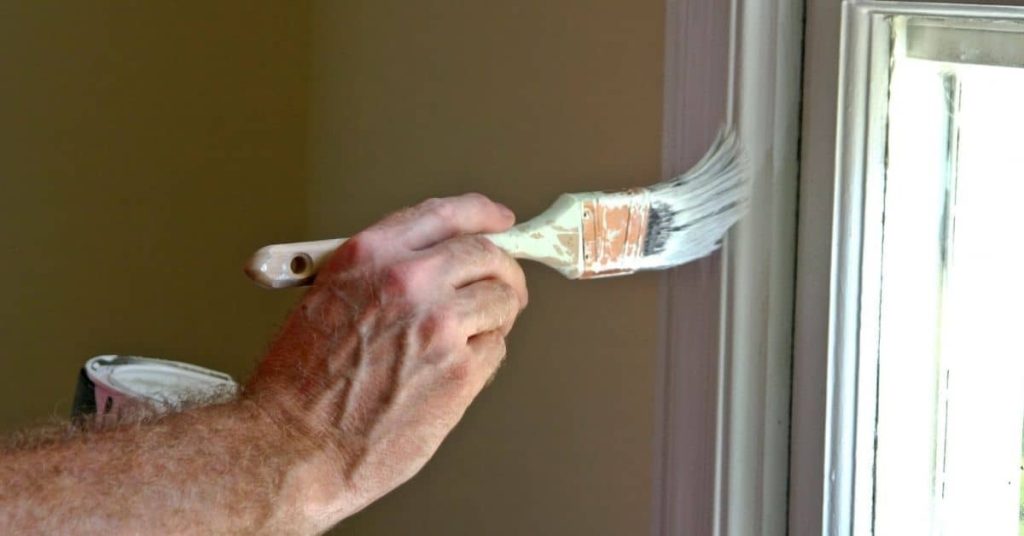
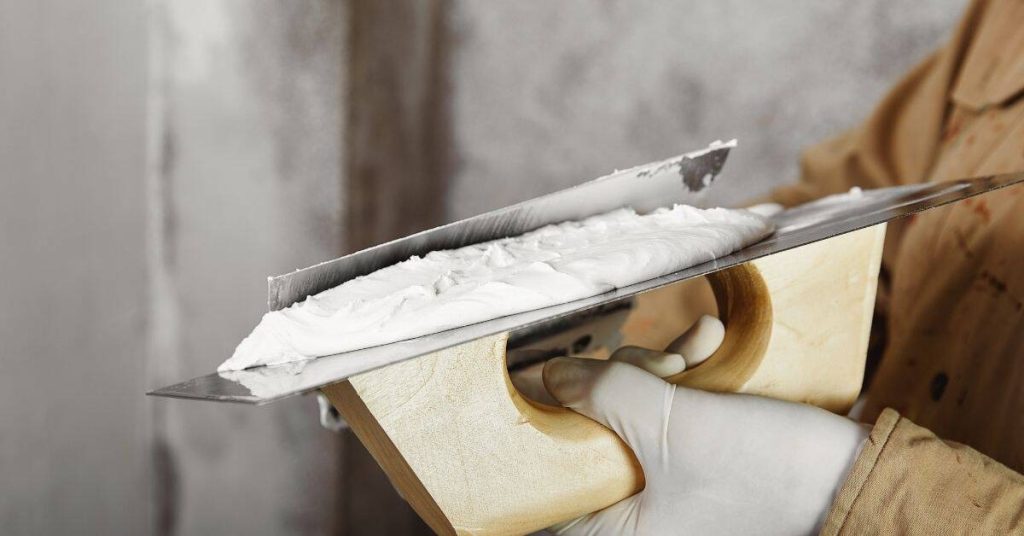
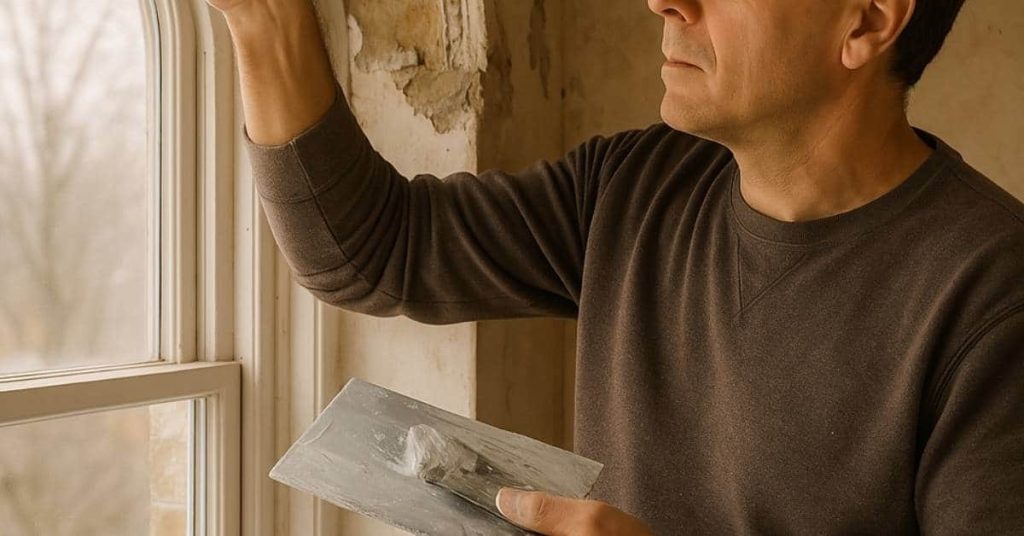
Introduction Venetian plaster over existing textured walls means deciding whether to skim, sand, or remove that texture so the final finish looks smooth and bonds properly. In plain jobsite terms: skim if the texture is shallow and solid, sand if it’s flaky or slightly high, and remove if it’s loose, highly uneven, or has adhesion […]

Venetian Plaster Over Existing Texture: When to Skim, When to Sand, and When to Remove Read More »

Spiked roller tool on wet floor coating surface

Polyaspartic Floor Coatings for DIY: Working Time, Odor, and Surface Prep Requirements

Introduction Polyaspartic floor coatings are fast-curing two-part coatings used to protect and finish concrete, and for a DIYer that means short working time, noticeable odor, and careful surface prep. Think like a tradesperson: plan your mixing and application in short, deliberate steps and check the product label for working time, recommended respirators, and substrate requirements.

Polyaspartic Floor Coatings for DIY: Working Time, Odor, and Surface Prep Requirements Read More »

White painted horizontal wooden shiplap planks

Clear Coating Painted Surfaces: When It Helps, When It Yellows, and What to Use Instead

Introduction Clear coating painted surfaces means applying a transparent protective finish over existing paint to protect it and change the sheen; it helps when the paint is sound and you want extra durability or a uniform look. Use a clear product compatible with the paint type and follow the manufacturer’s instructions; if you’re unsure about

Clear Coating Painted Surfaces: When It Helps, When It Yellows, and What to Use Instead Read More »

Person in protective suit spray painting a metal car part

Painting Copper and Brass: Preventing Tarnish Under Clear Coats

Introduction Painting copper and brass to prevent tarnish under clear coats means preparing the metal, using the right sealer or barrier primer, and choosing a clear finish that won’t allow corrosion to spread. In plain terms: clean and remove tarnish, treat or isolate reactive metal, and topcoat with a compatible clear product. Check product labels

Painting Copper and Brass: Preventing Tarnish Under Clear Coats Read More »

Hand painting white trim near window with brush

Painting PVC Trim: Scuff, Solvent Wipe, and Topcoats That Stay Flexible

Introduction Painting PVC trim means preparing the surface so paint sticks and stays flexible enough to move with the plastic; that starts with scuffing, a solvent wipe, and using the right flexible topcoat. This is a hands-on sequence more like sanding, cleaning, and choosing paints than a chemistry test, but check product labels for adhesion

Painting PVC Trim: Scuff, Solvent Wipe, and Topcoats That Stay Flexible Read More »

Hand holding plastering trowel with fresh white plaster

Clay Plaster in Bathrooms: Timeline & Duration – Step-by-Step Guide

Introduction Installing clay plaster in your bathroom can transform the space into a warm, inviting haven. But how long does it take? Let’s break down the timeline and duration of this DIY project step by step. From surface preparation to final sealing, understanding the time commitment helps you plan effectively and ensures a successful outcome.

Clay Plaster in Bathrooms: Timeline & Duration – Step-by-Step Guide Read More »

close up of white gypsum plaster wall texture

Plaster in Kitchens: Grease Contamination Tests & Primer Choices – Timeline Before Painting

Introduction Preparing plaster kitchen walls for painting involves several steps, including testing for grease contamination and applying the right primer. Understanding the timeline of these processes helps you plan your project efficiently. This guide walks you through each step, focusing on how long it takes to test, clean, prime, and paint your kitchen plaster walls,

Plaster in Kitchens: Grease Contamination Tests & Primer Choices – Timeline Before Painting Read More »

Person holding plaster on hawk and applying with trowel

Restoring Plaster Picture Rails: A Step-by-Step Timeline to Preserve Shadow Lines

Introduction Preserving the original character of your home’s plaster picture rails involves careful repair and restoration. Understanding the timeline for this project helps you plan effectively, ensuring a successful outcome that maintains the shadow lines. From initial assessment to final touches, let’s break down the process into manageable steps, focusing on how long each task

Restoring Plaster Picture Rails: A Step-by-Step Timeline to Preserve Shadow Lines Read More »

Ornate plaster ceiling medallion with floral and scrollwork design

Fixing Plaster Cracks at Ceiling Medallions: A Step-by-Step Timeline

Introduction Tackling plaster cracks around ceiling medallions can seem daunting, but breaking down the process into a clear timeline makes it manageable. This step-by-step guide walks you through fixing these issues efficiently, from initial inspection to final touch-ups. Understanding how long each stage takes helps you plan your project effectively and ensures you allocate enough

Fixing Plaster Cracks at Ceiling Medallions: A Step-by-Step Timeline Read More »

Man applying plaster around window casing with trowel

Repairing Plaster Around Window Casings: A Step-by-Step Timeline for Straight Returns and Crisp Corners

Introduction Tackling plaster repairs around window casings can seem daunting, but with a clear understanding of the timeline, you’ll find it’s a manageable project. This step-by-step guide breaks down the process into digestible stages, helping you complete your repair efficiently and effectively. From assessing damage to applying the final coat of paint, let’s explore how

Repairing Plaster Around Window Casings: A Step-by-Step Timeline for Straight Returns and Crisp Corners Read More »