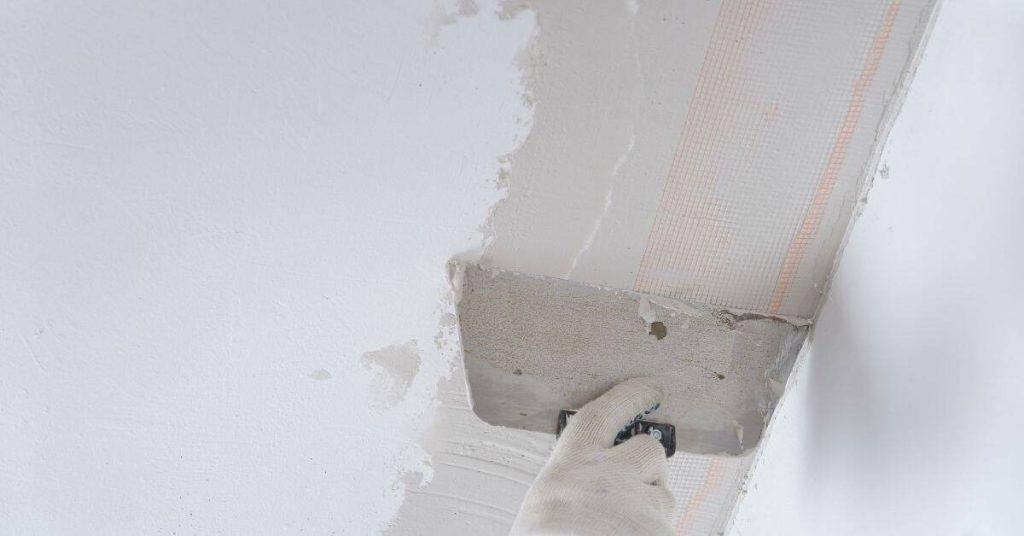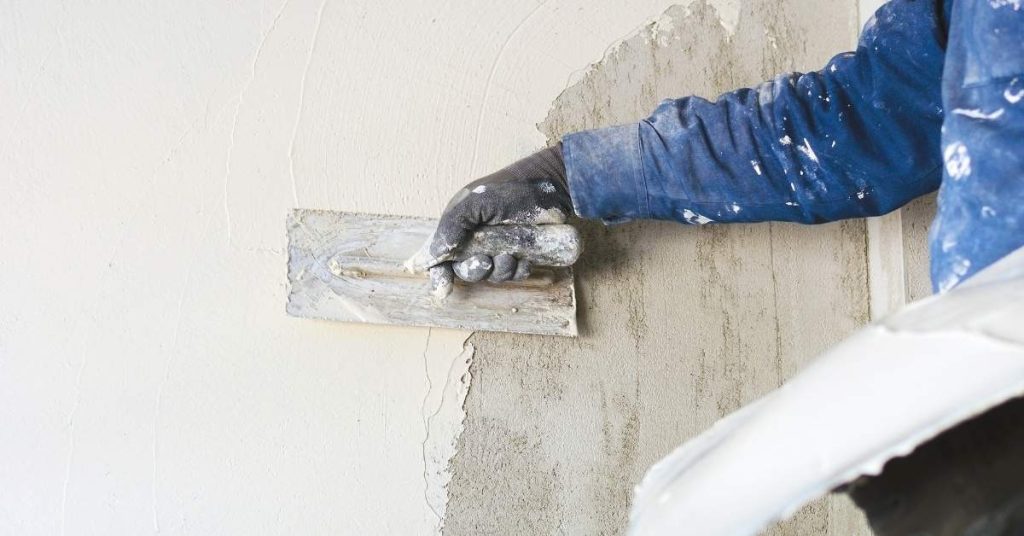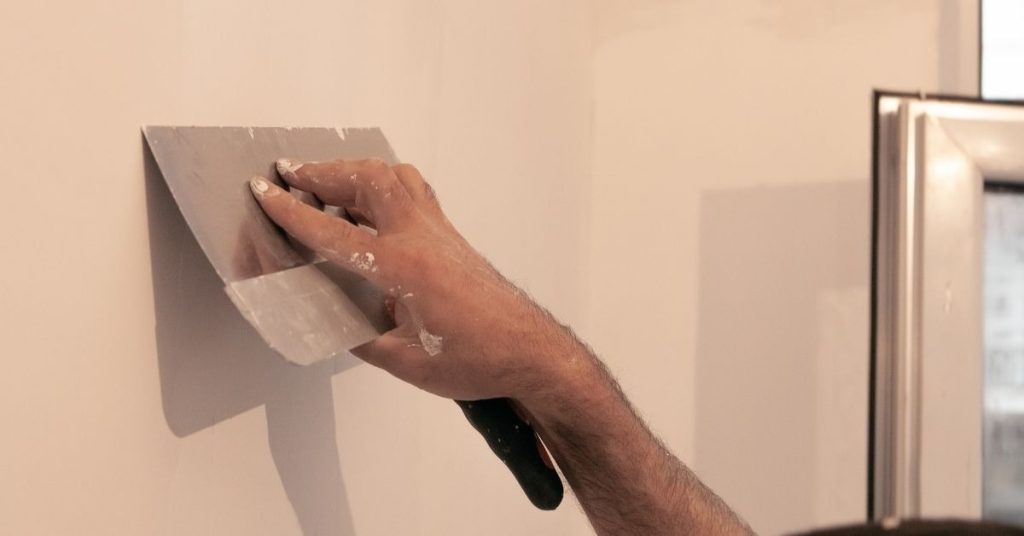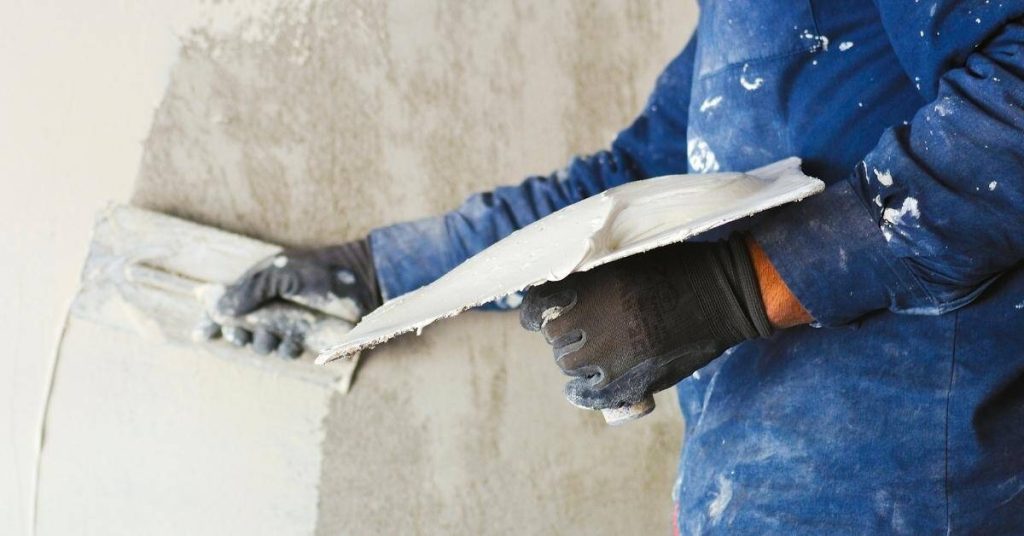
Plaster Delamination ‘Bubbles’: Cutback Rules and How to Reattach Without Big Tear-Out
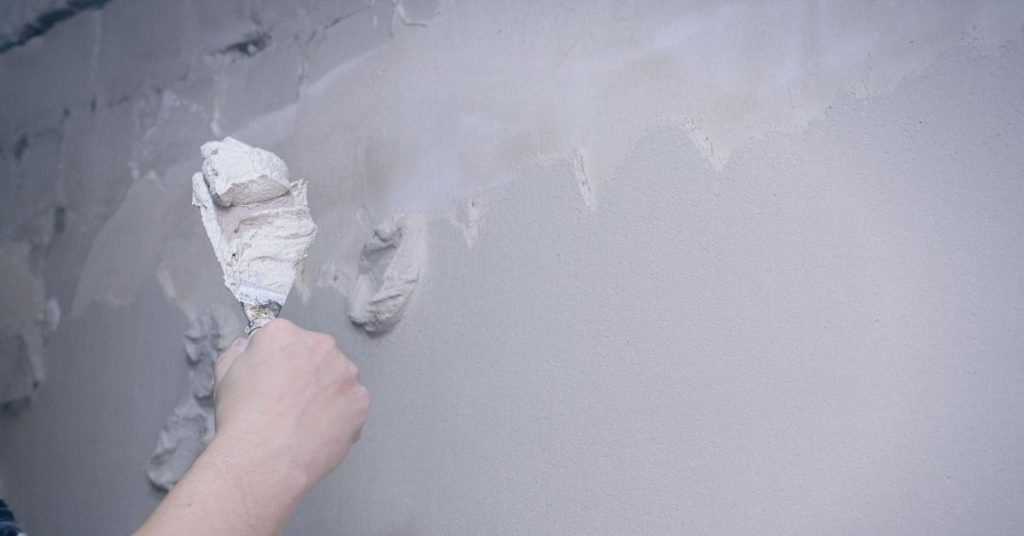
Introduction Plaster delamination “bubbles” are areas where the top plaster coat has lost adhesion to the substrate and forms a raised blister that can pop or tear back. This usually means moisture, weak bonding, or movement has separated layers; check the surface and product instructions to confirm causes before you act. In many cases you […]
Plaster Delamination ‘Bubbles’: Cutback Rules and How to Reattach Without Big Tear-Out Read More »