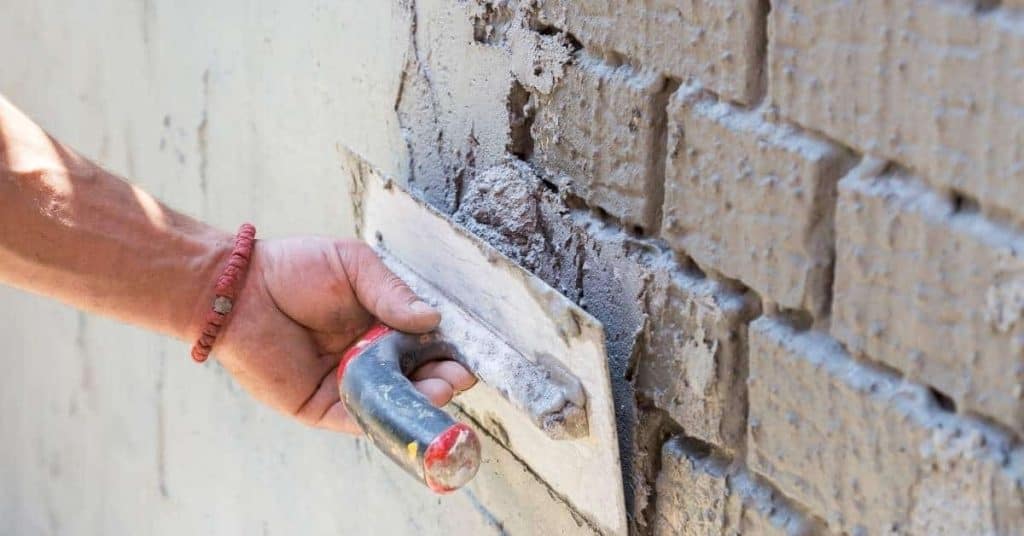
DIY Plaster Repair at Radiator Niches: Heat, Moisture, and Primer Choices
Introduction Plaster repair around radiator niches is fixing damaged plaster to restore a clean, sealed surface that can handle heat and moisture. This work is hands-on and happens where the radiator meets the wall, so you’ll patch, skim, and finish to blend in. You’ll want to understand how heat and moisture can affect the repair […]
DIY Plaster Repair at Radiator Niches: Heat, Moisture, and Primer Choices Read More »