Search Results for: sealer

Close-up of dusty white plaster wall texture

Priming Dusty Plaster: Sealing chalky walls so paint actually bonds

Introduction Priming dusty plaster means applying a compatible primer to seal chalky surfaces so paint can properly adhere. This helps the surface hold onto new paint and reduces peeling. Check the primer label for suitability with plaster and ensure the wall is clean and dust-free before applying. If in doubt, consult the product instructions and […]

Priming Dusty Plaster: Sealing chalky walls so paint actually bonds Read More »

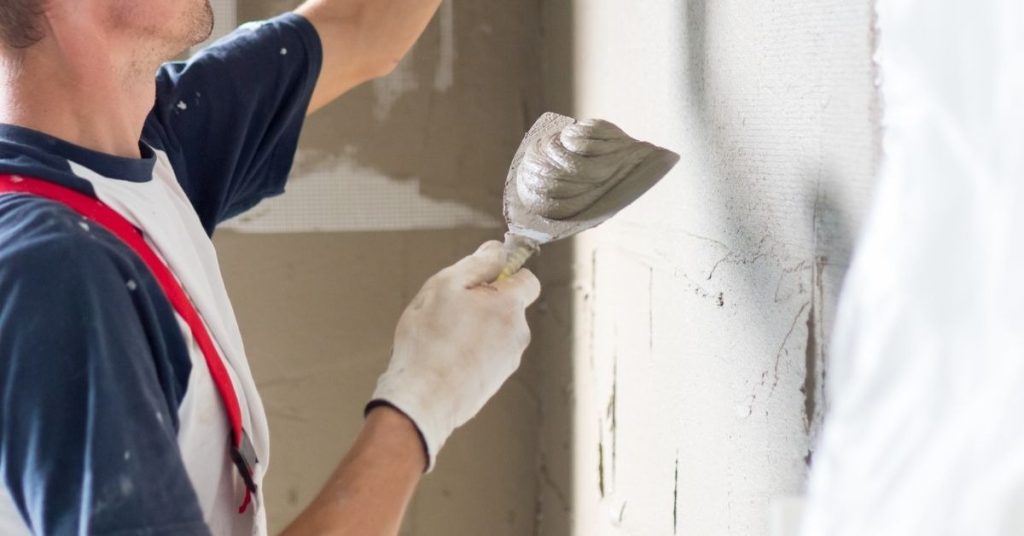
Person applying plaster to a wall using a trowel

Matching Wall Texture After Plaster Repairs: Tools and timing that blend

Introduction Matching wall texture after plaster repairs means blending new texture with existing wall so the repaired area looks seamless. The goal is a finish that doesn’t draw attention to the repair. Keep the approach practical and unobtrusive, focusing on a natural transition rather than a perfect patch. You’ll need the right tools and the

Matching Wall Texture After Plaster Repairs: Tools and timing that blend Read More »

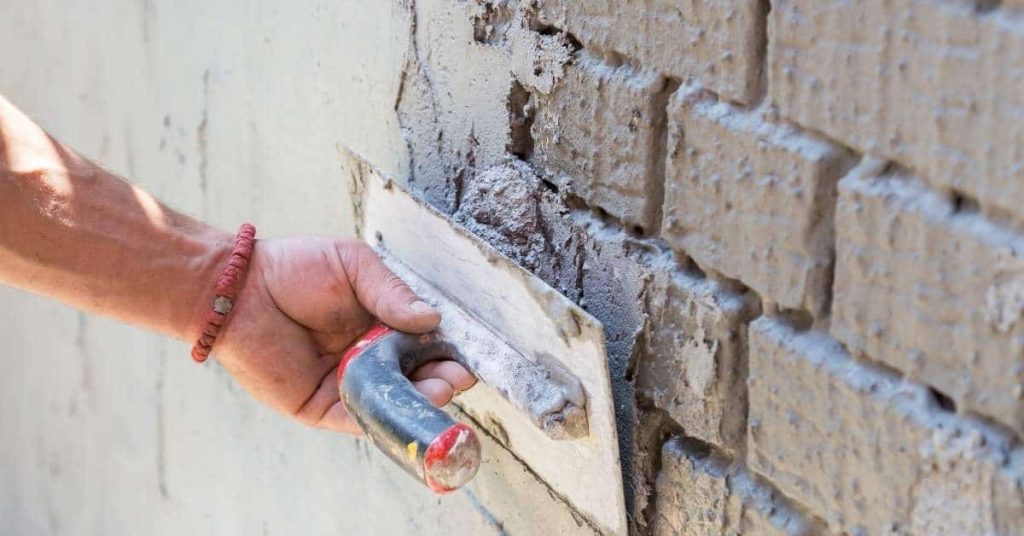
Hand applying plaster to brick wall with trowel

Sealing Lime Plaster: Protection options that still let walls breathe

Introduction Sealing lime plaster means applying a breathable coating that protects the wall without stopping moisture. Choose sealers or finishes that are specifically marked breathable and lime-plaster compatible. Test a small patch first and check the product label for indications of breathability and surface compatibility. Prepare and clean the wall, then apply in thin, even

Sealing Lime Plaster: Protection options that still let walls breathe Read More »

closeup of hollow clay bricks showing texture and edges

Repairing Roman Clay Scratches: Fixes that don’t leave shiny spots

Introduction Repairing Roman clay scratches means restoring the smooth, even look of the surface without creating new shiny spots. The goal is a natural finish that blends with the surrounding texture and tone. Start by evaluating the scratch, then choose a patching method that won’t leave a glossy patch and test it on a hidden

Repairing Roman Clay Scratches: Fixes that don’t leave shiny spots Read More »

Hand in yellow glove cleaning blue surface with cloth

Cleaning Venetian Plaster: Safe methods that don’t dull the sheen

Introduction Cleaning Venetian plaster is removing dirt without dulling the sheen. Start with mild, gentle cleaners and a soft cloth or sponge, and test any method on a small hidden area first. Use light pressure and rinse with clean water, then dry with a soft, non-abrasive towel; avoid harsh scrubbing or abrasive tools to protect

Cleaning Venetian Plaster: Safe methods that don’t dull the sheen Read More »

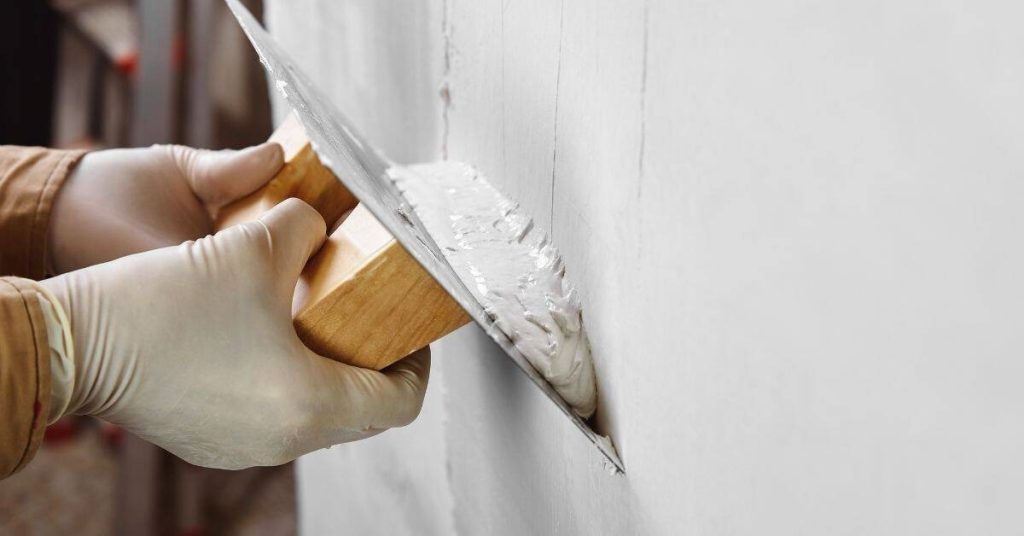
Hands applying plaster to wall with trowel and knife

Dark Trowel Lines in Polished Plaster: Why they appear and how to fix them

Introduction Dark trowel lines in polished plaster are color variations that show up where the finish was pushed or pulled during leveling. They happen when moisture movement, air pockets, or inconsistent setup affect pigment distribution. Keep in mind this is common in DIY work and can be corrected with careful technique. To fix them, work

Dark Trowel Lines in Polished Plaster: Why they appear and how to fix them Read More »

Hands applying plaster on wall with trowel

Pinholes in Venetian Plaster: Causes and application tweaks to prevent them

Introduction Pinholes in Venetian plaster are small surface holes that appear when the plaster or glaze dries with trapped air. They usually come from air pockets formed during mixing, application, or drying, especially if coats are too thick or work is too wet. Filling them after the fact is harder than preventing them. To prevent

Pinholes in Venetian Plaster: Causes and application tweaks to prevent them Read More »

Worker smoothing plaster on wall with trowel

Tadelakt Maintenance: Keeping water resistance without constant rework

Introduction Tadelakt maintenance is the ongoing care of a lime plaster finish to preserve water resistance. It relies on keeping the surface clean, timely repairs, and periodic re-waxing or sealing as needed. If you notice water infiltration or dull spots, check the product labels and follow the manufacturer guidance. In practice, you can spot-treat small

Tadelakt Maintenance: Keeping water resistance without constant rework Read More »