
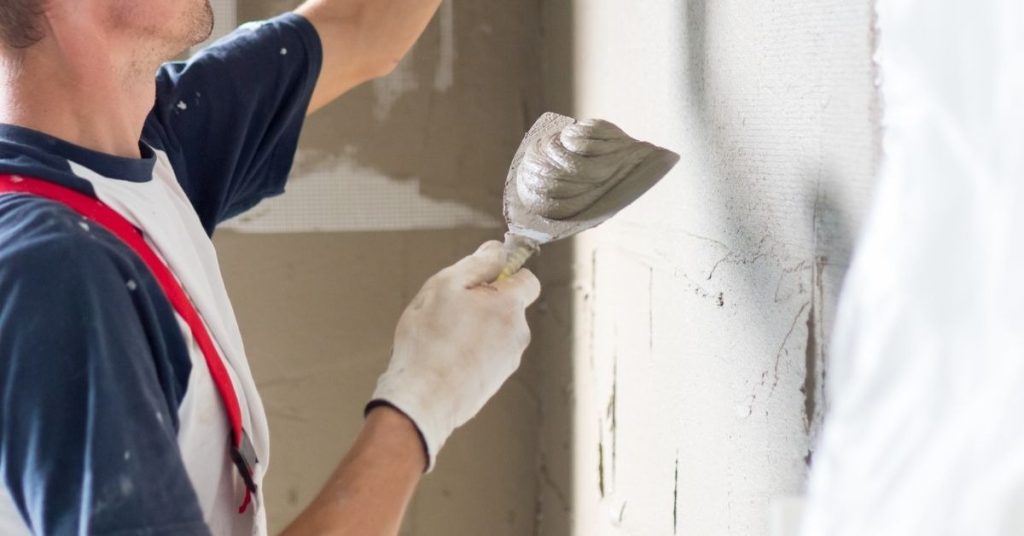
Introduction
Matching wall texture after plaster repairs means blending new texture with existing wall so the repaired area looks seamless. The goal is a finish that doesn’t draw attention to the repair. Keep the approach practical and unobtrusive, focusing on a natural transition rather than a perfect patch.
You’ll need the right tools and the right timing to blend textures effectively. Check the plaster manufacturer’s instructions and local rules for surface prep, drying, and finishing, and keep your work area consistent with ambient conditions. If in doubt, test a small area first and adjust techniques based on how the material responds.
Key takeaways
- Quickly identify texture and damage by visual scan and light-tap tests with a damp sponge.
- Gather tools and materials: trowels, blades, brushes, mixing containers, setting-type compound per manufacturer.
- Match texture types with feathered edges and minimal feather on surrounding wall.
- Choose material specs by reading labels for aggregate, hardness, and cure behavior.
- Timing note: follow recommended drying and curing cues without rushing.
- Surface prep and feathering: keep edges tight, damp-sand between coats, maintain smooth transitions.
- Safety: wear eye protection, mask, and gloves; ventilate area when sanding or mixing.
Table of Contents
- Introduction
- Key takeaways
- Quick Assessment: Identify Existing Texture and Damage
- Tools and Materials Checklist
- Matching Common Texture Types and Techniques
- Material Specs and Compound Selection Explained
- Timing: Drying, Curing, and Optimal Wait Times
- Surface Prep and Feathering Techniques
- Step-by-Step Application Workflow
- Visual Checkpoints and Quality Control
- Conclusion
- FAQ
Quick Assessment: Identify Existing Texture and Damage
Begin by inspecting the repair area and the surrounding wall to identify the texture type and scale. Look for differences in sheen, roughness, and edge sharpness that hint at what texture needs to be matched. Also note the extent of damage beyond the repaired spot so you don’t miss underlying issues.
Consider how thick the existing texture is and whether the repair area will require blending into a larger surrounding patch. Decide on the general approach before choosing tools or timing, and keep notes so you don’t overshoot the match. If you’re unsure about texture type, verify guidance on the product label or manufacturer instructions.
Documenting and photographing the area
Before you start any repairs, grab your camera. You’ll need to capture the existing texture from multiple angles.
Stand back and take wide shots to show the overall pattern. Then, move in close for detailed pictures of the texture itself. Don’t forget to note the lighting conditions – natural or artificial – as this can greatly affect how the texture appears.
Why is this important? These photos will serve as a reference when you’re ready to match the texture. They’ll also help if you need to consult with professionals or suppliers.
Determining the texture style and pattern repeat
Now, let’s figure out what kind of texture you’re dealing with. Get up close and personal – use both your eyes and hands to inspect.
For smooth textures, it’s just that – smooth. No bumps or ridges. For orange peel, it’ll feel like the skin of an orange under your fingers. Knockdown will have a rough, pitted surface. Skip trowel leaves visible trowel marks. And stipple is characterized by small dots or flecks.
Look for any pattern repeat – how often the texture repeats within a certain area. This will help you match it later on.
Measuring size and depth of damage
Time to assess the extent of the damage. Grab a measuring tape and get ready to take some notes.
First, measure the length and width of the damaged area. This will help you decide if you need a simple skim coat or full plaster replacement. A small patch might only require a quick skim, while larger areas could need a more involved repair.
Next, check the depth of the damage. Use a ruler or a piece of wood to feel out any deep gouges or holes. The deeper the damage, the more material you’ll need to fill it and match the surrounding texture.
Tools and Materials Checklist
Put together a basic kit of hand tools (trowels, knives, sanding block), spray options if you’re matching with texture spray, and the appropriate compounds for your repair scale. Include a clean water bucket, mixing tools, and a spray bottle for dampening the surface. Don’t forget surface prep items like masking, scrapers, and a good dust mask.
For different patch sizes, have options for setting-type compounds, topping compounds, and traditional plaster if needed. Keep a quick reference of what each item is used for and check labels for application guidance and cure recommendations before you start.
Essential hand tools and accessories
Before you start mixing or applying concrete, make sure you have all the necessary hand tools and accessories. This checklist will help you ensure nothing is missing.
- Putty Knives ( various sizes ): Check for sharp edges and no bends. They’re crucial for smoothing and finishing surfaces.
- Trowels ( 6″ to 12″ ): Inspect for straight edges and secure handles. Trowels are essential for spreading, leveling, and finishing concrete.
- Sanding Blocks ( coarse & fine grit ): Ensure they’re in good condition with no missing or loose sandpaper. They help smooth and finish surfaces after troweling.
- Hawk ( 12″ to 16″ ): Check for stability and no cracks. A hawk helps hold and transport concrete mix while working.
- Mixing Tools ( shovel, hoe, rake ): Inspect for sturdy handles and functional heads. These tools help combine cement, water, and aggregates efficiently.
Quick rule: Always have a mix of trowel sizes on hand to tackle different areas and details in your concrete project.
Spray equipment and nozzle tips
Use this checklist before starting your concrete spraying job to ensure you have the right equipment and nozzle tips for your chosen compound.
- Check sprayer type: Ensure it’s compatible with your chosen compound. Handheld texture sprayers are great for small jobs, while compressor-driven sprayers offer more power for larger areas.
- Inspect air filter (compressor-driven): Check for any dirt or debris that could clog the system. Clean or replace if necessary.
- Verify hose length: Ensure it’s long enough to reach all areas without straining or kinking.
- Check nozzle tip size: Match the tip size to your compound’s recommended spray width (usually on the product label). Too small and you’ll clog; too large and you won’t get the desired finish.
- Test spray pattern: Before starting, test your setup with water to ensure a consistent, even spray pattern. Adjust nozzle tip or pressure as needed.
- Inspect safety equipment: Ensure you have safety glasses, gloves, and ear protection (for compressor-driven sprayers) in good condition.
- Check compound viscosity: It should be fluid enough to pass through your nozzle tip but not so thin that it sprays too far. Adjust with water or additive if needed.
- Verify pressure settings: Follow the manufacturer’s guidelines for your specific sprayer and compound. Too high and you’ll overspray; too low and you won’t get full coverage.
Quick rule: Always test your setup before starting to avoid costly mistakes and ensure a professional finish.
Materials and consumables
Before starting any repair work, ensure you have all the necessary materials and consumables. This checklist will help you verify each item to avoid costly mistakes.
- Joint Compound: Check label for type (setting or non-setting) and sand consistency (fine, medium, or coarse). Ensure it matches your project’s needs.
- Setting Plaster: Verify it’s suitable for your climate and application. Check the manufacturer’s instructions for mixing ratios and setting times.
- Primer: Confirm it’s compatible with your chosen joint compound or plaster. Check if it’s a bonding, sealing, or both primer.
- Tape: Ensure it’s the right type (paper-faced, fiberglass, or mesh) and width for your joints. Check if it’s suitable for setting plasters.
- Patching Mesh: Verify it matches your tape’s width and is compatible with your chosen joint compound or plaster.
- Safety Gear: Check you have a dust mask, safety glasses, gloves, and ear protection. Ensure they meet local safety standards.
- Protective Clothing: Verify you have long sleeves, long pants, and sturdy boots to protect against debris and chemicals.
- Cleaning Supplies: Check you have a sponge, bucket, water, and a suitable cleaner for removing excess compound or plaster.
Quick rule: Always check product labels and manufacturer instructions to ensure compatibility and correct usage. Skipping this can lead to poor adhesion, improper setting, and costly rework.
Matching Common Texture Types and Techniques
Describe the visual goals for each texture type you commonly encounter and map them to a practical technique. Think in terms of the pattern you aim to reproduce and the scale of the texture you’ll apply. Keep in mind how the finished area should look under typical room lighting and from adjacent walls.
Note which application method tends to reproduce each pattern, such as brushing, splattering, or spray-application, and how to adjust for depth and edge softness. If you’re unsure, check manufacturer recommendations or test on cardboard or a scraps area before applying to the wall.
Smooth, fine-skim, and sand finishes
For a smooth or fine-textured wall, you’re aiming for a thin skim coat. This means applying a thin layer of concrete over your base to give it that polished look.
Check your base compaction. A solid base is key here. If it’s not up to par, your smooth finish will crack or crumble. Use a tamper for best results.
Now, mix your concrete. For a fine skim, use a higher cement-to-sand ratio, around 1:4 or 1:5. This gives you that smooth consistency you’re after. Pour it on and spread it out with a trowel, keeping it thin. Let it set, then finish off with a float to smooth out any imperfections.
Spray textures: orange peel and popcorn
Alright, listen up. We’re talking spray textures here – orange peel and popcorn. You’ve got your setup, right? Check your sprayer’s manual to make sure you’ve got the right nozzle for the job.
Pressure is key. Too much, and you’ll get a smooth finish instead of texture. Too little, and it won’t stick. Start around 60-80 PSI, adjust as needed. Check your material – it should be like thin pancake batter.
Now, distance. For orange peel, you want about a foot away. Popcorn’s trickier – start at 12-16 inches, adjust until you get the right size ‘bubbles’. Move slow and steady, keep your arm straight. And remember, always wear a mask and goggles.
Knife/trowel textures: knockdown, skip trowel, and swirl
After pouring your concrete, you’ve got a small window to create these trowel-based textures. Here’s how:
Knockdown: Start by using a straight edge trowel to smooth the surface. Then, switch to a knockdown trowel (with teeth on one side). Hold it at a 45-degree angle and pull towards you in long, steady strokes. The teeth will leave small peaks. Use a bullfloat to knock these down gently.
Skip Trowel: Similar to knockdown, but use a skip trowel (with spaced teeth) instead. This leaves larger, more spread-out peaks. Again, use a bullfloat to flatten the peaks slightly, leaving a textured surface with visible trowel marks.
Swirl: For this one, you’ll need a magnesium float with a swirling pattern. After smoothing with a straight edge trowel, hold the float at a 45-degree angle and make circular motions to create swirls. Use a bullfloat to smooth out any high spots.
Material Specs and Compound Selection Explained
Clarify the differences between setting-type compounds, topping compounds, and traditional plaster, focusing on how each behaves during application. Consider workability, open time, and how they take texture once dried. This helps you plan the workflow without surprises.
Understand how choice affects work speed and the final texture you’ll achieve, and avoid mixing products with incompatible setting times. When in doubt, consult the product data sheet or manufacturer instructions for compatibility and recommended uses.
Plaster vs Joint Compound: Performance Differences
When it comes to repairing and texturing walls, you’ve got two main options: plaster or joint compound. Each has its own strengths and weaknesses.
Plaster is great for new construction or major repairs. It adheres well to bare drywall and has minimal shrinkage. But it’s messier to apply and sets faster, giving you less working time.
Joint compound, on the other hand, is ideal for smaller repairs and touch-ups. It’s easier to work with and sands smoother. However, it doesn’t adhere as well to bare drywall and can shrink more, leading to cracks over