

Introduction
Tadelakt maintenance is the ongoing care of a lime plaster finish to preserve water resistance. It relies on keeping the surface clean, timely repairs, and periodic re-waxing or sealing as needed. If you notice water infiltration or dull spots, check the product labels and follow the manufacturer guidance.
In practice, you can spot-treat small damaged areas with matching plaster and proper finishing steps. Work in small sections, follow the curing times in the guidance you have, and re-wax or reseal when needed. Check the product label, manufacturer instructions, and local rules before applying any coating.
Key takeaways
- Understand Tadelakt’s lime plaster base and hydration seals before any maintenance steps.
- Establish preventive routines: gentle cleaning, dust removal, and soft surface protection.
- Use pH-balanced cleaners and apply with non-abrasive pads to avoid scratching.
- Inspect regularly for hairline cracks and micro-voids; use PPE and address promptly.
- Perform targeted touch-ups and re-polishing only where water repellency shows wear.
- Follow manufacturer directions for sealant compatibility; test in inconspicuous area first.
Table of Contents
- Introduction
- Key takeaways
- Understanding Tadelakt and Its Waterproofing Mechanism
- Preventive Maintenance: Routines to Minimize Rework
- Cleaning Methods That Preserve Water Resistance
- Inspecting and Diagnosing Loss of Water Resistance
- DIY Minor Repairs and Touch-Ups
- Re-Polishing and Restoring Water Repellency Without Full Rework
- Tools, Materials, and Material Specs Explained
- Long-Term Care Plan and Decision-Making Guide
- Conclusion
- FAQ
Understanding Tadelakt and Its Waterproofing Mechanism
Tadelakt is a traditional plaster finish that relies on lime plaster, natural soaps, and a polished surface to shed water. The finish relies on a hydrophobic feel created by generous rubbing and sealing during curing. You’ll want to understand how the lime matrix and sealant interact to keep moisture at bay.
Know that the water resistance comes from the way the surface densifies and breathes. Check manufacturer or product guidance for the exact finish steps and any local considerations. Always verify the recommended method before applying or touching up the surface.
What tadelakt is and where it works best
Tadelakt is a traditional, lime-based polished plaster. It’s made from slaked lime, sand, and water, with a bit of olive oil soap added for good measure.
It’s not your average paint or wallpaper. Tadelakt forms a continuous, seamless surface that’s tough and durable. Think of it as a thin, hard shell protecting your walls.
Tadelakt shines in areas where water resistance is key – bathrooms, showers, even outdoor spaces like pools or fountains. It works best on solid, stable substrates like concrete, brick, or existing plaster.
How water resistance is achieved (compaction, lime chemistry, and soap)
Tadelakt’s waterproofing magic happens in three stages. First, we compact the mixture by hand, pushing it into every nook and cranny to create a dense, impermeable surface.
Next, the lime in tadelakt starts to carbonate. This means it reacts with CO2 in the air to harden and form a water-resistant layer. It’s like nature’s own sealant.
The final touch is the olive oil soap polish. We rub it onto the surface, let it soak in, then buff it off. This leaves behind a thin, waxy film that repels water and gives tadelakt its signature sheen.
Preventive Maintenance: Routines to Minimize Rework
Set a simple, repeatable routine that focuses on gentle cleaning and timely addressing of any surface flaws. Regular inspections help catch issues before they become obvious problems. Keep a log or calendar reminder for quick follow ups.
Respect the breathability of the finish by avoiding harsh sealers or coatings that can trap moisture. Refer to product labels or instructions to confirm what is compatible with tadelakt. When in doubt, check with the manufacturer or local trades guidelines before proceeding.
Daily and weekly care habits
Tadelakt’s natural beauty comes from its breathability, but that also means it needs gentle care. Here are some quick, easy habits to keep your tadelakt surfaces looking great:
Use a soft, damp cloth to wipe down surfaces daily. No harsh chemicals or scrubbing needed – just enough to remove any dirt or grime.
Never use abrasive materials like steel wool or scouring pads. They’ll scratch the surface and compromise its water resistance.
Once a week, give your surfaces a deeper clean with a solution of warm water and mild dish soap. Rinse thoroughly and let it air dry.
Environmental control and humidity management
Tadelakt loves to breathe, but too much moisture can stress it out. Here’s how to keep your indoor environment happy and healthy for your tadelakt surfaces:
Keep humidity levels between 40-50%. Too high, and you’ll encourage mold growth; too low, and the tadelakt could dry out and crack.
Monitor humidity levels with a hygrometer. You can find one at any hardware store for cheap.
Ensure proper ventilation in your space. Open windows when you can, or use fans to circulate air. If you have an exhaust fan in your bathroom or kitchen, make sure it’s working properly.
Cleaning Methods That Preserve Water Resistance
Use mild cleaners and soft tools to remove grime without scratching the surface. Lightly wipe and rinse, following with a dry, clean cloth. Avoid abrasive pads that can dull the polish.
Keep cleaning frequency reasonable to protect the finish while maintaining porosity. Always verify cleaning product compatibility on the label or datasheet. If unsure, consult the product instructions or a professional for safe options.
Safe cleaners and ingredients to prefer
Choosing the right cleaner is crucial for maintaining your tadelakt’s water resistance. The wrong one can strip its polished surface or alter its porosity.
- Neutral pH Cleaners: Look for cleaners with a pH between 5 and 8. These won’t damage the lime finish. Example: PH neutral dish soap.
- White Vinegar (diluted): A mild acid, it can help remove grime without harming the surface. Dilute with water (1:4).
- Baking Soda (paste): For tougher stains, use a paste of baking soda and water. Rinse thoroughly.
- Olive Oil Soap: A traditional choice for lime surfaces, it’s gentle and won’t leave residue.
- Avoid: Strong acids or bases (pH < 5 or > 8), as they can damage the surface and reduce water resistance.
What to avoid (harsh chemicals and abrasive methods)
Certain cleaners and methods can dull or damage your tadelakt’s polished skin, reducing its water resistance.
- Bleach: Strongly alkaline, it can strip the surface and cause discoloration. Avoid at all costs.
- Abrasive Tools (steel wool, scouring pads): These can scratch the surface, allowing water to penetrate and weaken the bond.
- High-Pressure Washers: The force can damage the delicate lime finish. Use only low-pressure settings.
- Harsh Detergents (like dishwasher soap): These are too alkaline and can strip the surface over time.
Stick to mild, neutral cleaners and gentle scrubbing methods to preserve your tadelakt’s water resistance.
Inspecting and Diagnosing Loss of Water Resistance
Look for damp spots, color changes, or a chalky feel on the surface. Run a simple water test by observing how droplets behave when placed on the surface. Note any stickiness or slow drying as potential signs.
Document suspected issues and compare against normal performance for your system. Verify what a sign means by checking manufacturer guidance or local building notes. If signs are present, plan a careful assessment before any corrective work.
Visual indicators and simple tests
Tadelakt’s water resistance can degrade over time, but it won’t always announce itself with a flood. Keep an eye out for these visual clues:
Staining: Dark spots or streaks could indicate water seepage. Check if they disappear when dry; if not, you’ve got a problem.
Persistent damp patches: If areas stay wet long after use or exposure to moisture, the tadelakt’s waterproofing might be compromised. Press gently with a clean cloth; if it comes away damp, investigate further.
Surface dulling: Tadelakt has a natural sheen. If it starts looking flat or chalky, it could mean the surface is no longer repelling moisture as effectively. Run your hand over the area to feel for any changes in texture.
Root causes: moisture sources, wear, contamination, and substrate problems
Understanding what’s causing your tadelakt to lose its water resistance is key to fixing it. Here are some common culprits:
Moisture sources: Leaks from above or nearby can saturate the tadelakt and break down its waterproofing. Check for signs of water damage on adjacent surfaces and in hidden areas like behind appliances.
Wear and tear: High-use areas, like shower floors, can see their water resistance degrade over time due to constant exposure and foot traffic. Inspect these spots closely for any signs of deterioration.
Contamination: Cleaners with harsh chemicals or abrasive methods (like scouring pads) can damage tadelakt’s surface, making it less water resistant. Review your cleaning routine to ensure you’re not accidentally causing harm.
Substrate problems: Issues with the underlying surface, like cracks or inadequate preparation, can lead to water seepage that compromises the tadelakt. Inspect the substrate for any signs of trouble before diving into repairs.
DIY Minor Repairs and Touch-Ups
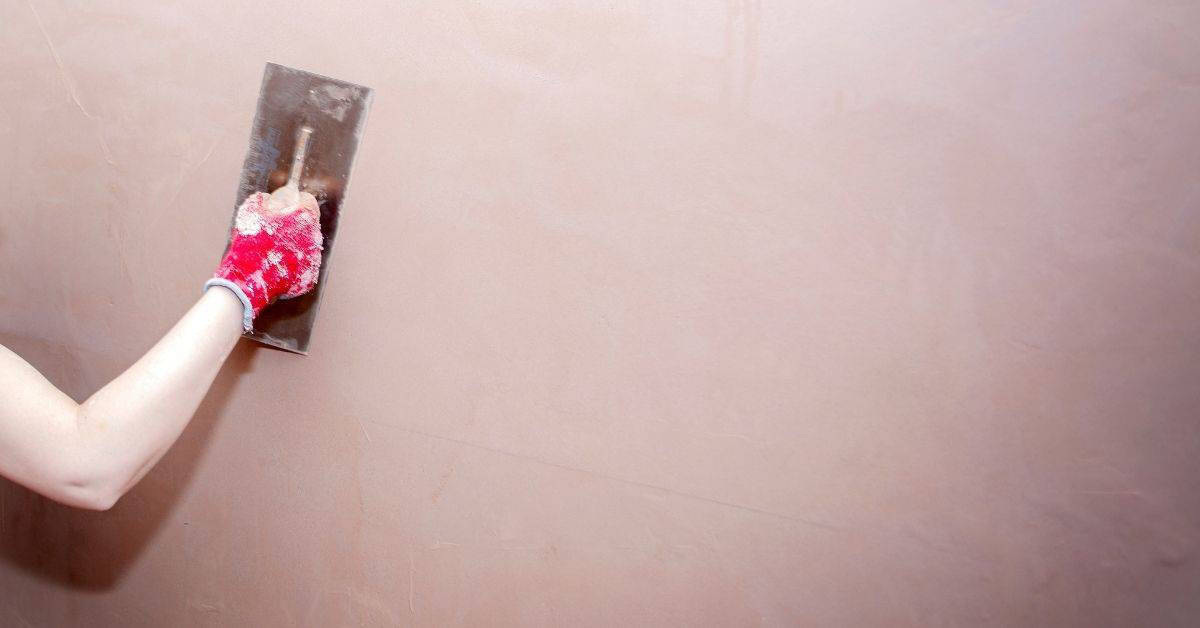
Address small cracks or chips with conservative patching methods that match the surrounding texture. Apply in thin layers and feather edges to keep a seamless look. Avoid overworking areas to preserve the finish feel.
Use repair materials labeled for lime plaster restoration and compatible with tadelakt surfaces. Always read the product instructions and test in a masked area if possible. If you are unsure, seek guidance from the manufacturer or a local pro before proceeding.
Patching hairline cracks and small chips
First, clean the affected area with a soft brush to remove any dirt or debris. Use a mild soap solution if necessary.
For hairline cracks, apply a thin layer of tadelakt repair paste using a flexible putty knife. Work the paste into the crack, ensuring it’s well-compacted and fills the entire length.
For small chips, use a slightly wider blade to apply the paste, feathering it out around the edges to blend with the existing surface. Remember, less is more – you can always add more if needed, but removing excess is difficult.
Pro tip: Use a damp sponge to lightly mist the surrounding area before patching. This helps maintain moisture balance and prevents the patched area from drying out too quickly.
Blending texture and color for seamless results
Before you start, create a small test patch in an inconspicuous area to practice your technique and match the color and texture. This will help you avoid visible repairs.
To match the texture, use a flexible trowel or float to mimic the existing