Search Results for: sanding plaster

Close-up of a paint roller against a white wall surface

Drying and curing: what ‘dry’ means for plaster before paint or wallpaper

Introduction Drying means the surface moisture has evaporated to the point it feels dry to touch, while curing means the plaster has completed its set and is ready for paint or wallpaper. In practice, you want a surface that feels dry and firm rather than cool or damp. Don’t apply paint or wallpaper if the […]

Drying and curing: what ‘dry’ means for plaster before paint or wallpaper Read More »
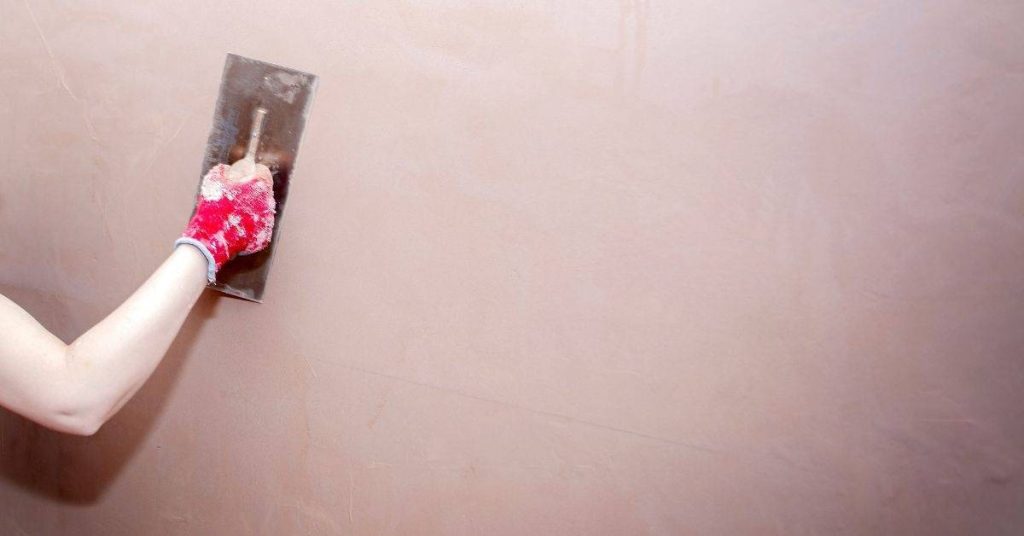
Person smoothing plaster on wall with trowel wearing red glove

Matching a 1920s plaster finish: how to recreate subtle trowel marks and sheen

Introduction A matching 1920s plaster finish is a subtle, handmade wall surface that uses light trowel marks and a soft, aging sheen. The goal is to recreate the quiet texture and depth of period walls without looking overdone. It involves careful surface work, controlled plaster mixes, and patient application. Before you start, assess the existing

Matching a 1920s plaster finish: how to recreate subtle trowel marks and sheen Read More »

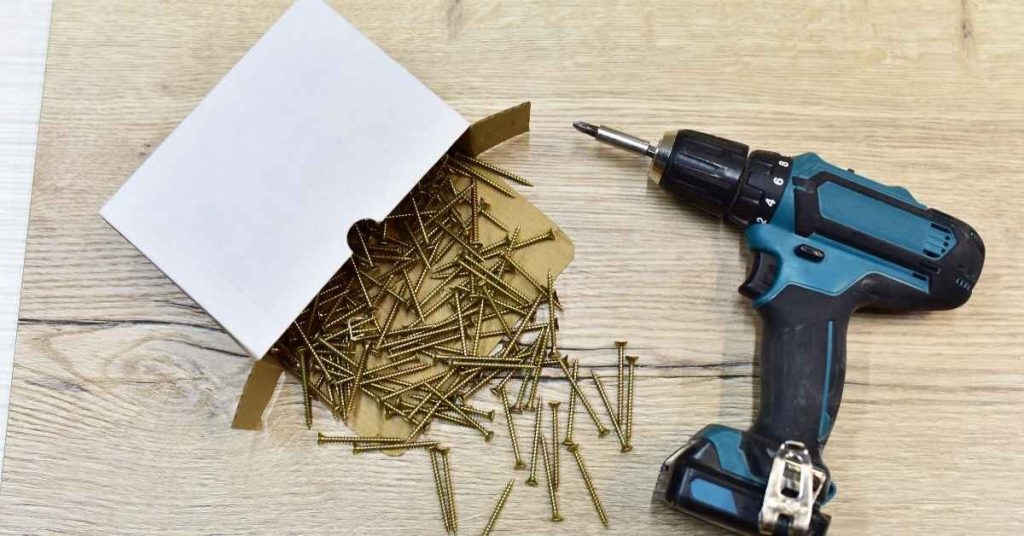
Cordless drill and scattered wood screws on wooden surface

Stabilising small plaster areas over wood lath: when spot washers are enough

Introduction Spot washers can stabilise small plaster areas over wood lath. This article explains a practical, hands‑on approach for assessing and addressing those loose patches. Keep the work simple and focused on local repairs rather than rebuilding whole walls. Evaluate the wall condition first to decide if spot washers alone will hold or if additional

Stabilising small plaster areas over wood lath: when spot washers are enough Read More »

Hand holding trowel and hawk with plaster compound

Planning a plaster skim job: sample walls, staging rooms, and avoiding scope creep

Introduction Planning a plaster skim job is outlining which walls to skim, choosing sample walls to test finishes, and setting up staging areas to keep the work organized. It helps prevent scope creep by defining what work is in scope and what isn’t. Start by walking the space and noting surface condition, then map a

Planning a plaster skim job: sample walls, staging rooms, and avoiding scope creep Read More »

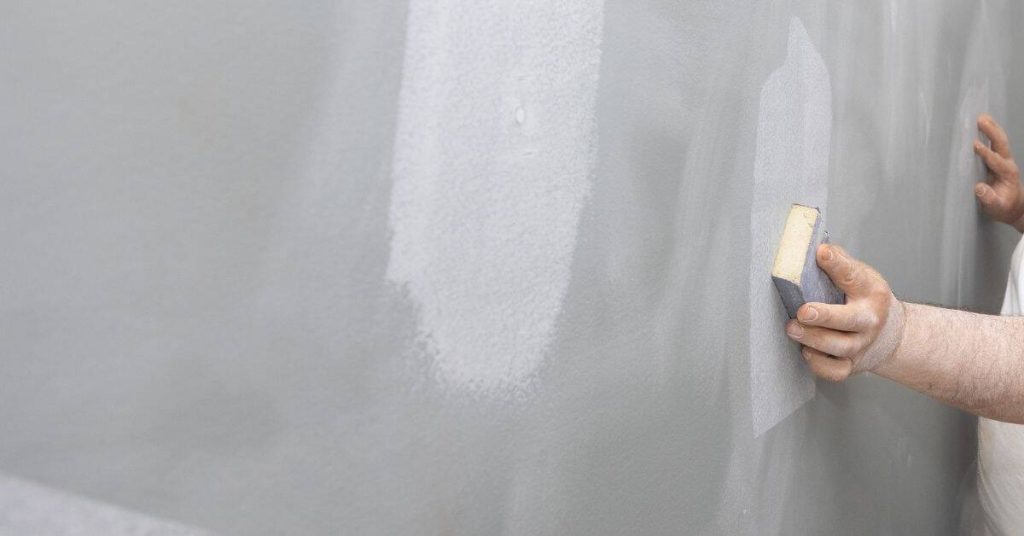
Hand applying sponge to textured plaster wall

Blending textures on old plaster walls: sand grading tricks and sponge timing

Introduction Blending textures on old plaster walls means smoothing uneven surfaces by using sand grading and sponge timing to achieve a cohesive finish. This article focuses on practical, hands-on steps you can follow in a DIY setting. You’ll balance texture retention with a softer final look while it remains within safe expectations for plaster repair.

Blending textures on old plaster walls: sand grading tricks and sponge timing Read More »

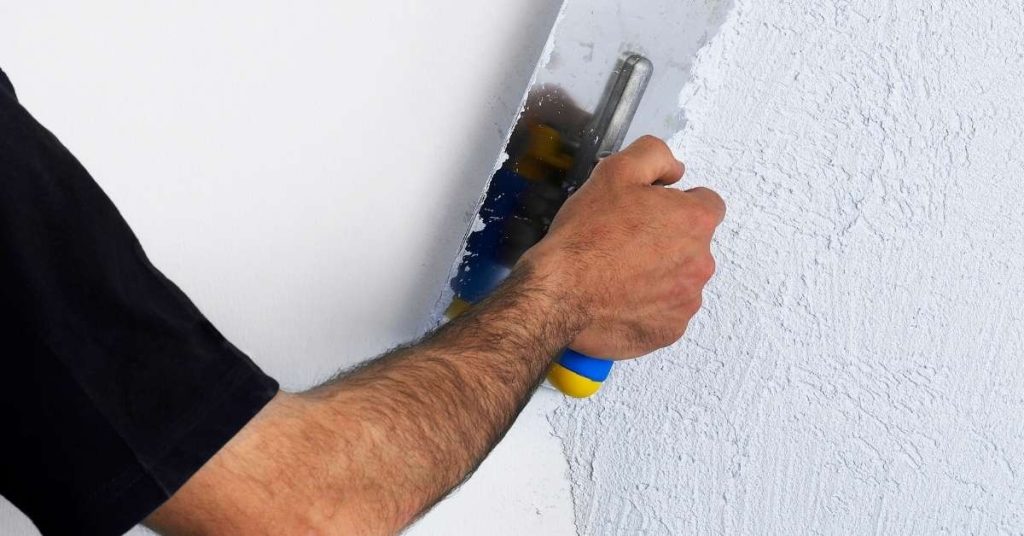
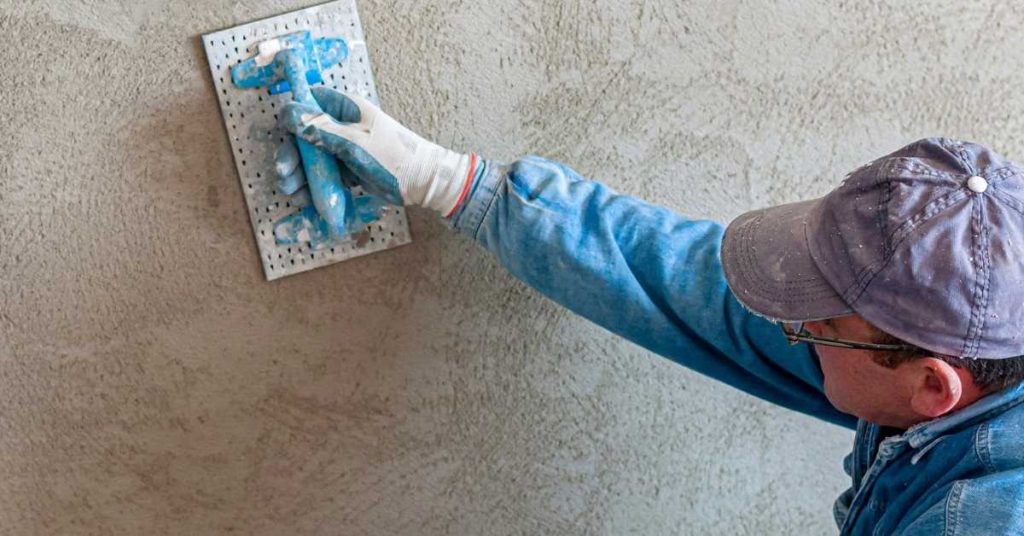
Person applying plaster on wall with trowel

High-Gloss Venetian Plaster: A Layering Plan to Avoid Drag Marks and Streaks

Introduction High-gloss Venetian plaster is a multi-layer decorative finish that builds a shiny, mirror-like surface. This article lays out a practical layering plan to keep drag marks and streaks under control as you work. You’ll be working in thin, even coats and checking your tool marks as you go. Begin with surface prep, then keep

High-Gloss Venetian Plaster: A Layering Plan to Avoid Drag Marks and Streaks Read More »

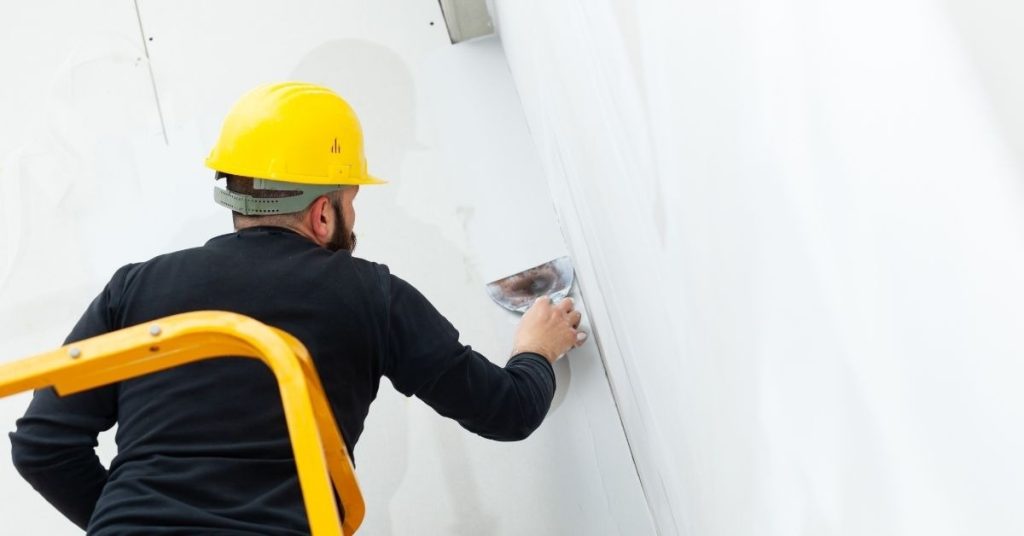
Worker applying plaster to a white wall wearing yellow helmet

Paper Tape vs Fiberglass Mesh in Plaster Repairs: Where Each One Fails First

Introduction Paper tape is a traditional plaster repair method that tends to fail first at weak joints or moisture-prone areas. Fiberglass mesh is a modern patch option that can fail where the mud isn’t embedded well or runs behind the patch. Both have their own failure points depending on prep and technique. In repairs, focus

Paper Tape vs Fiberglass Mesh in Plaster Repairs: Where Each One Fails First Read More »

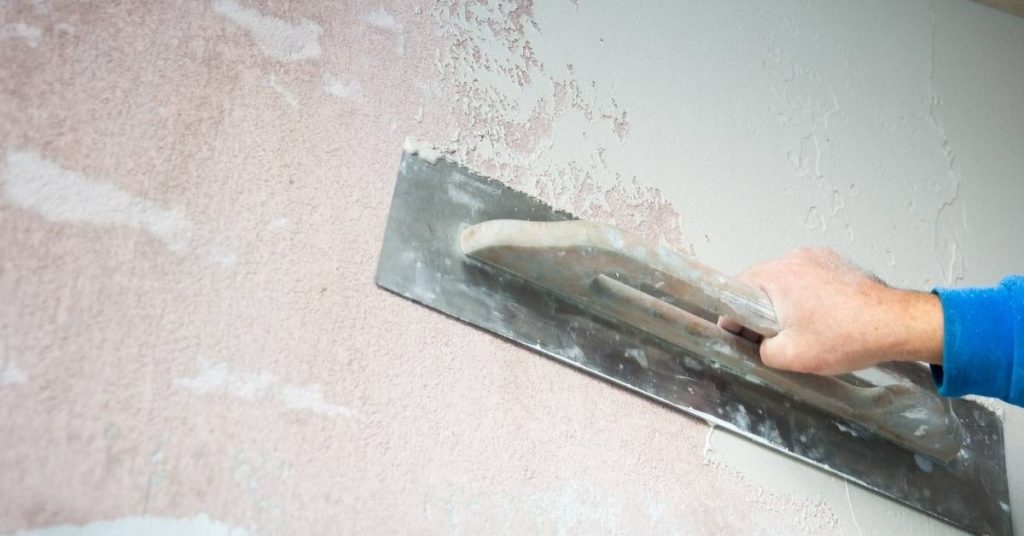
Hand holding a float tool smoothing plaster on wall

Traditional Plaster Corners Without Metal Bead: A Clean Corner-Float Method

Introduction Traditional plaster corners without metal beads are built by floating plaster to a clean, sharp edge. Key takeaways Prepare raw corner by removing paint, dust, and protrusions for plaster bonding. Establish guides and screeds to create a true 90-degree plaster edge. Apply backing coat evenly before corner float to avoid laitance. Use a controlled

Traditional Plaster Corners Without Metal Bead: A Clean Corner-Float Method Read More »

Hand smoothing lime plaster on wall with trowel

Lime Plaster in Basements: Moisture Testing, Vapor Drive, and Paint Choices

Introduction Lime plaster in basements is a breathable plaster finish that helps manage moisture. It relies on lime’s chemistry to let vapor pass while providing a durable coat. This DIY approach requires careful moisture testing and proper surface prep. Moisture testing, understanding vapor drive, and choosing compatible paints matter for long-term performance. Check product labels,

Lime Plaster in Basements: Moisture Testing, Vapor Drive, and Paint Choices Read More »

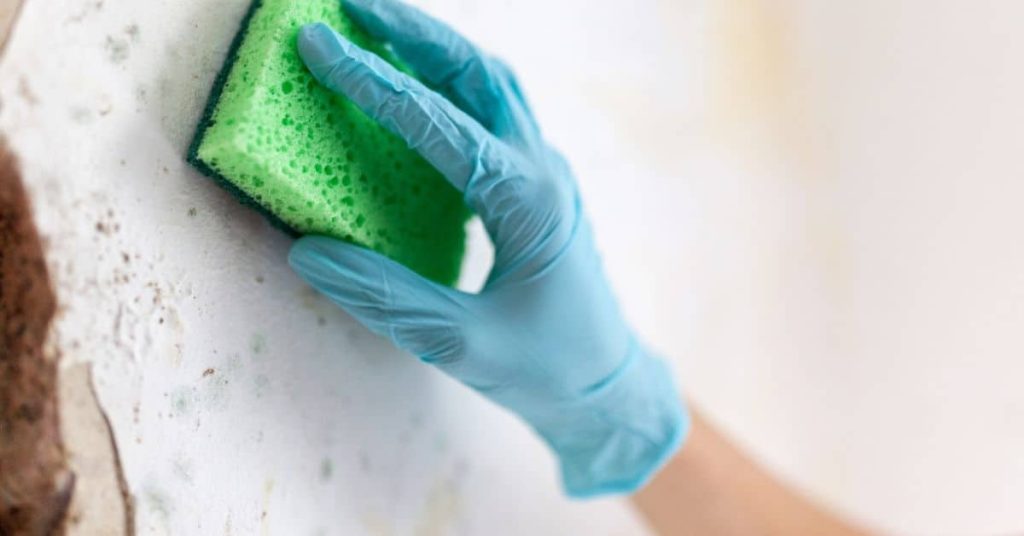
Hand in blue glove cleaning white wall with green sponge

Cleaning and Resealing Polished Plaster: Soap Scum, Dull Spots, and Refresh Coats

Introduction Cleaning and resealing polished plaster means removing soap scum and dull spots and applying a fresh protective coat. This is a hands-on DIY job that restores the surface without tearing it out. Expect a light scrubbing, careful rinse, and a new sealant layer following the manufacturer’s instructions. Before you start, check the product labels

Cleaning and Resealing Polished Plaster: Soap Scum, Dull Spots, and Refresh Coats Read More »