Search Results for: sanding plaster

Hand applying plaster on wall with metal trowel

Clay Plaster Dent Repairs: Spot Blends, Burnish Timing, and Invisible Touch-Ups

Introduction Clay plaster dent repairs are about filling dents with clay plaster, blending the patch to the surrounding wall, and keeping the finish invisible. This is a hands-on, small-mesh job you can tackle with basic tools and careful timing. You’ll spot blend by feathering edges and adjusting texture until the repaired area matches the wall. […]

Clay Plaster Dent Repairs: Spot Blends, Burnish Timing, and Invisible Touch-Ups Read More »

Close-up of textured white plaster surface

Flexible Caulks for Plaster Transitions: What Moves Without Staining

Introduction Flexible caulks for plaster transitions are sealants that move with the wall without staining. They help bridge gaps where plaster, drywall, and moldings meet. Choose a product labeled for interior use and compatible with plaster. In a DIY setup, prep clean edges, shape the bead, and smooth the joint with a damp finger. Always

Flexible Caulks for Plaster Transitions: What Moves Without Staining Read More »

close up of white textured hardwall plaster surface

Hairline Crazing in Hardwall Plaster: Surface Keying and Breathable Topcoats

Introduction Hairline crazing in hardwall plaster is fine cracks that form on the surface when the plaster dries and the finish isn’t keyed well enough for the next coat. It happens when the surface isn’t gripping the base layer, or small movements stress the top layers. The fix starts with proper surface keying and choosing

Hairline Crazing in Hardwall Plaster: Surface Keying and Breathable Topcoats Read More »

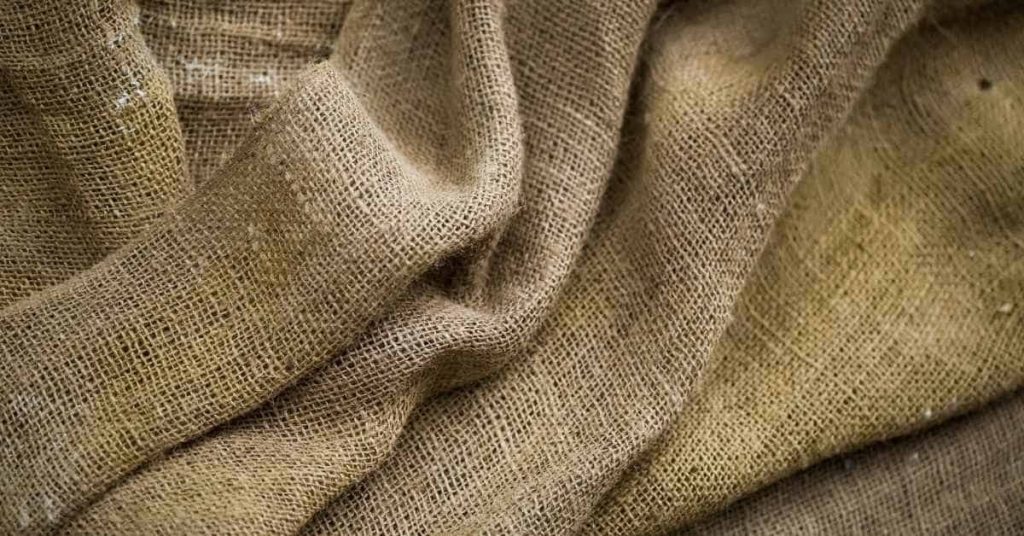
Closeup of textured burlap fabric with natural fibers

Building a Lime Plaster Sample Board Library: Color, Texture, and Sealer Tracking

Introduction A lime plaster sample board library is a hands-on set of small plaster tests you build to compare color, texture, and sealer outcomes. You’ll lay out different mixes on separate boards and note how each one looks when it dries. Keep the boards labeled and stored where they won’t get ruined by weather. Start

Building a Lime Plaster Sample Board Library: Color, Texture, and Sealer Tracking Read More »

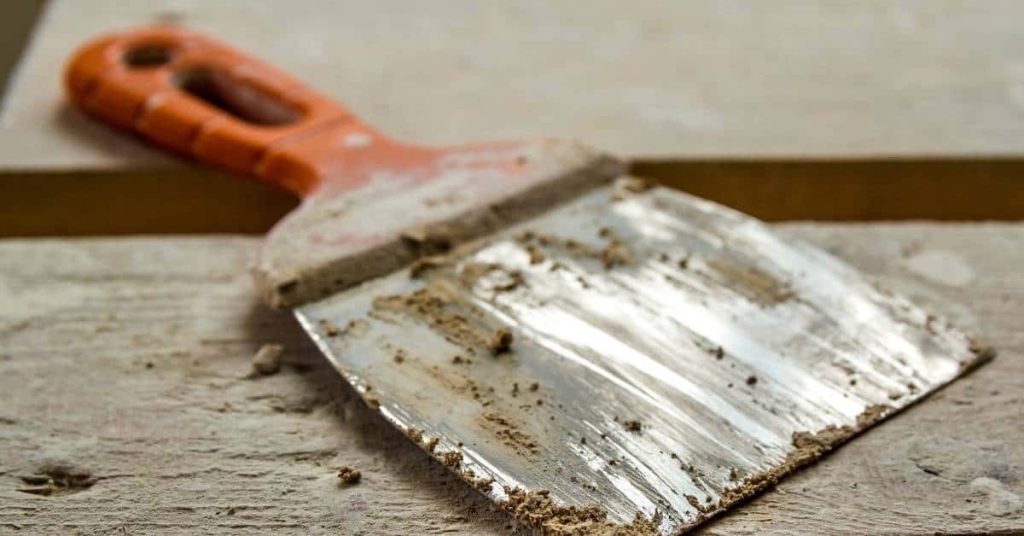
Putty knife with dried plaster on wooden surface

Leveling Wavy Lath Before Plastering: Shimming, Tension, and Straightedge Control

Introduction Leveling wavy lath before plastering means making the wall lath flat and true so the plaster can set evenly. Start by mapping high and low spots and use thin shims or temporary battens to bring the lath into line. Always refer to the lath type’s instructions and local rules to choose the right method.

Leveling Wavy Lath Before Plastering: Shimming, Tension, and Straightedge Control Read More »

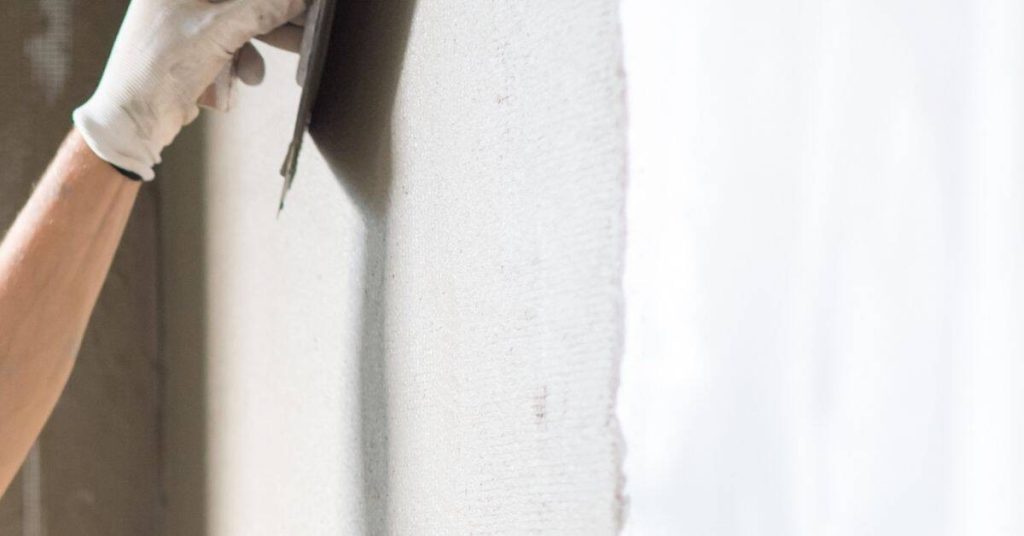
Hand applying plaster to wall with trowel wearing glove

Fixing Plaster After Water Stains: Salts, Stain Blocking, and When to Cut Out

Introduction Water stains on plaster indicate moisture and mineral salts that have bled into the surface. Address the source and let the area dry before patching, and remove any loose or damaged plaster you can see. Choose a stain-blocking product and patch material based on the area, and always check the label for compatibility and

Fixing Plaster After Water Stains: Salts, Stain Blocking, and When to Cut Out Read More »

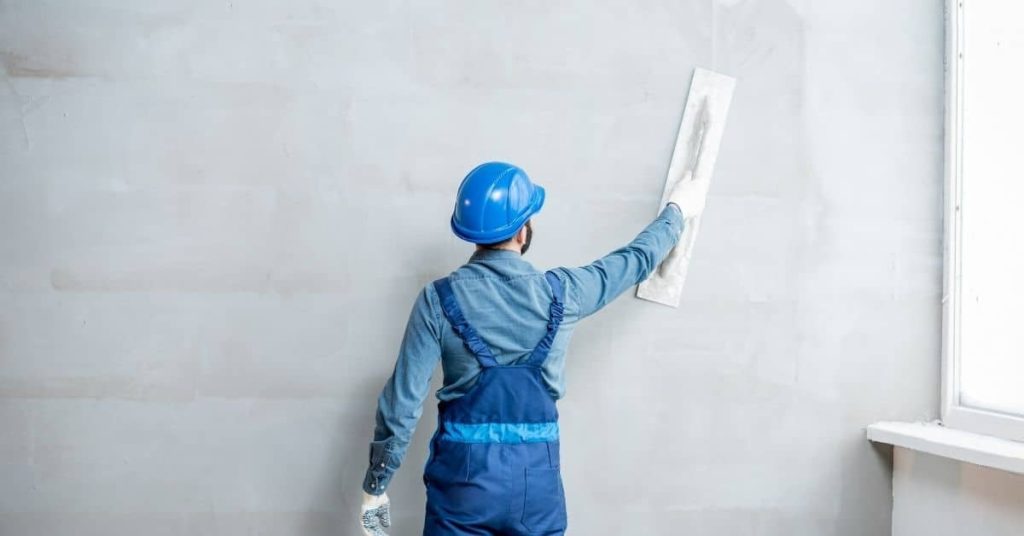
Worker smoothing plaster on wall with trowel

Stopping “Picture-Frame” Ridges Around Plaster Patches: Feather Zones That Disappear

Introduction Picture-frame ridges are thin, raised borders that appear around plaster patches after finishing. They happen when the patch edge isn’t feathered smoothly into the surrounding wall. Fixing them means blending that border so it disappears under a flat surface. Start by lightly feathering the patch edges with multiple thin coats, keeping the transitions soft.

Stopping “Picture-Frame” Ridges Around Plaster Patches: Feather Zones That Disappear Read More »

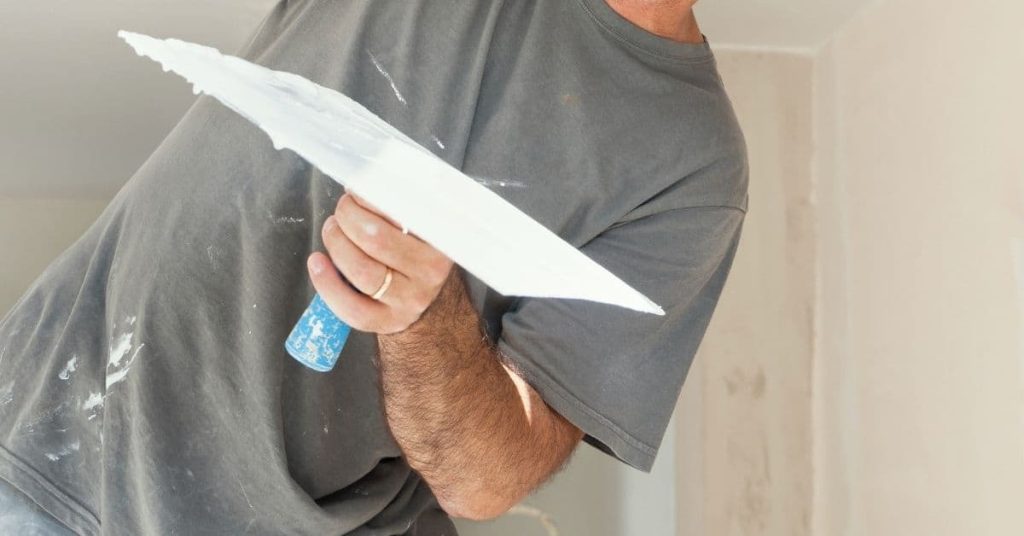
Man holding plastering hawk with fresh plaster

Sagging Plaster Ceilings: When Washers Help—and When Strapping Is Smarter

Introduction Sagging plaster ceilings can be stabilized temporarily by using washers under fasteners to pull the plaster back up. This is a short-term fix that can buy time while you plan a more permanent repair. Make sure you’re hitting solid framing, not just flaky plaster. Strapping is usually the smarter long-term approach when the ceiling

Sagging Plaster Ceilings: When Washers Help—and When Strapping Is Smarter Read More »

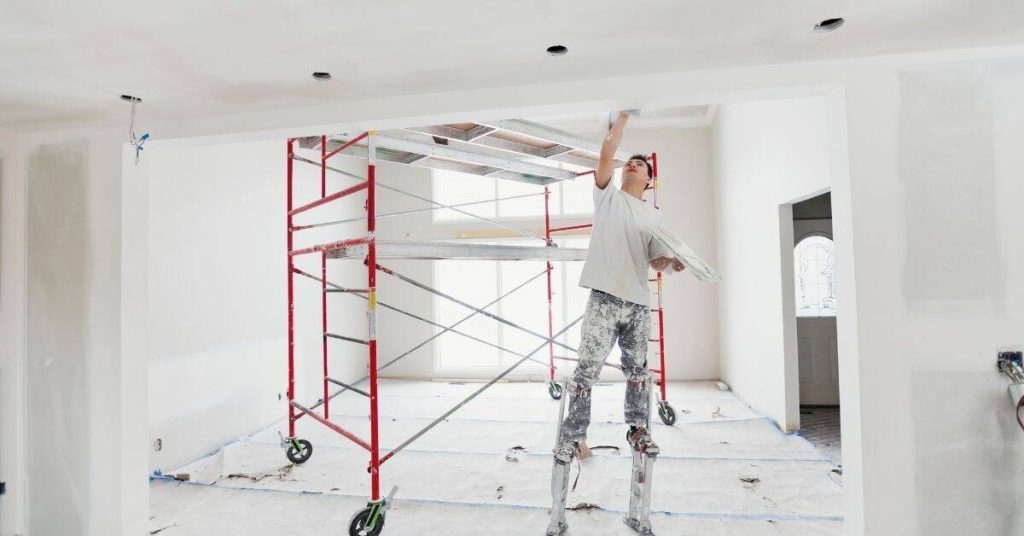
Worker on stilts applying plaster to ceiling near scaffolding

Plaster Ceiling Cracks Along Joists: Why They Return and How to Bridge Them

Introduction Cracks along ceiling plaster near joists happen when the ceiling system moves and the plaster loses grip. They often reopen because framing shifts or settling continues after repair. This is DIY-friendly but you must inspect joist movement and check for underlying causes. Bridge them by stabilizing the joint area and smoothing a patch over

Plaster Ceiling Cracks Along Joists: Why They Return and How to Bridge Them Read More »

Worker applying plaster to interior wall using trowel and hawk

Plaster Repairs Around HVAC Registers: Heat, Vibration, and Sharp Edges

Introduction Plaster repairs around HVAC registers are patches that seal gaps and restore a smooth surface where the duct opening meets the wall. These repairs must account for heat, vibration, and sharp edges created by the register. Keep it simple: assess the damage, choose appropriate patch materials, and plan a clean joint with the surrounding

Plaster Repairs Around HVAC Registers: Heat, Vibration, and Sharp Edges Read More »