
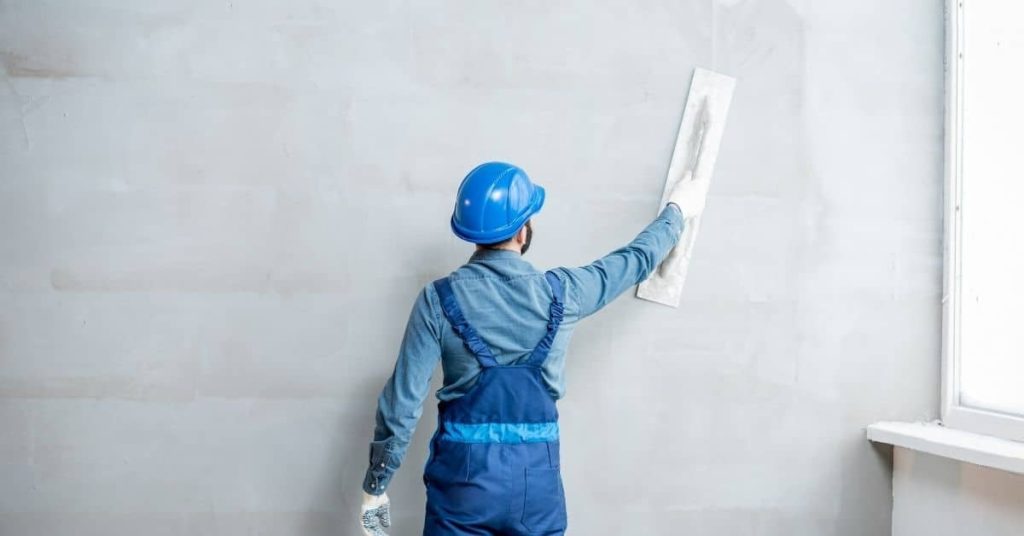
Introduction
Picture-frame ridges are thin, raised borders that appear around plaster patches after finishing. They happen when the patch edge isn’t feathered smoothly into the surrounding wall. Fixing them means blending that border so it disappears under a flat surface.
Start by lightly feathering the patch edges with multiple thin coats, keeping the transitions soft. Sand between coats and check in good light, focusing on those edges until they no longer read as a line. If the ridge persists, re-widen the feather and re-skim, then re-sand and prime before painting.
Key takeaways
- Inspect plaster patches and surrounding substrate for moisture and cracks before work.
- Feather zones by gradually thinning edges with consistent pressure and small strokes.
- Use a damp sponge to blend joints after feathering while compound skin-set soft.
- Sand in light, even passes; wipe dust before any priming stage.
- Check for visible ridges in multiple lighting angles and rework as needed.
- Safety: wear eye protection and a dust mask during sanding and feathering.
Table of Contents
- Introduction
- Key takeaways
- What a Picture-Frame Ridge Is and Why It Forms
- Substrate Assessment and Preparation
- Tools and Materials Checklist
- The Step-by-Step Feathering Method to Make Feather Zones Disappear
- Mixing, Consistency and Working Time Control
- Sanding, Blending, and Visual Checkpoints for a Seamless Finish
- Troubleshooting Existing Picture-Frame Ridges and Fixes
- Finishing, Priming and Painting for Invisible Repairs
- Conclusion
- FAQ
What a Picture-Frame Ridge Is and Why It Forms
A picture-frame ridge is a raised, narrow border that sits along the edge of a plaster patch. It can be felt as a crisp line and seen as a slight bulge compared to the surrounding wall. The ridge comes from edge buildup, surface tension in the compound, and uneven drying or shrinkage between the patch and the surrounding plaster.
Describe the ridge by inspecting both texture and depth at the edge, then compare it with the neighboring surface. Identify whether the issue is more pronounced on one side or across multiple edges. This helps you choose the right feathering approach and product for your patch.
Visual and Tactile Signs to Look For
A picture-frame ridge is easy to spot. By eye, you’ll see a raised edge around your plaster patch, like a frame.
Run your fingertip or a straightedge over the repair. You’ll feel that ridge, too – it’s tactile, not just visual.
The ridge might be wider at the edges and narrower in the middle. It could also have a different texture than the surrounding wall.
Root Causes at the Application Level
Ridges often form because of what happens when you apply the compound. Here are some common culprits:
Too-thick edges: If you apply too much compound, especially at the edges, it’ll build up and dry that way.
Overworking: Working the compound too much can cause it to rise up at the edges as it dries.
Wrong compound choice: Using a compound that’s not suited to your wall type or the size of the patch can lead to ridges.
Insufficient feathering: Not spreading the compound thinly and evenly enough at the edges can cause it to rise up as it dries.
Substrate Assessment and Preparation
Start with a close look at the surrounding plaster for cracks, loose material, or flaking. Remove any loose particles with a gentle tap and clean the area with a suitable dust-free method before patching.
Check for substrate issues that can encourage ridging, such as moisture damage, improper bonding surfaces, or scalability of old plaster. Note any areas that may require patch rework or extra bonding agents as per manufacturer instructions.
Checking adhesion and soundness
Before you start patching, check the surrounding plaster for loose material. A quick tap with a hammer should give you an idea. If it sounds hollow or crumbles, you’ve got loose stuff.
Use a screwdriver to gently scrape away any loose bits. Be careful not to dig into the solid substrate. If the problem goes deep, you might need to chip back to solid plaster before patching.
Remember: Loose material won’t bond well and will likely lead to ridging.
Keying, bonding agents, and surface priming
To get a good bond, you need a rough surface. Use a brush or scraper to key the area – this creates tiny grooves for the new plaster to grab onto.
A bonding primer can help too. It seals the surface and promotes adhesion. Check the manufacturer’s instructions before using any chemical bonding agents.
Note: Some plasters come with their own primers or require specific preparation. Always check the product data sheet.
Tools and Materials Checklist
Gather basic hand tools: knives and trowels, a hawk, sanding sponges or blocks, and feathering blades for edges. Include mixing buckets, a margin trowel, and safety gear such as gloves and a dust mask.
Choose compounds with DIY-friendly workability, and have a plan for selecting between setting and pre-mixed products. Verify product data sheets or label instructions to confirm suitability for plaster work and feathering needs.
Knife and trowel selection and setup
Before you start, make sure your tools are clean and in good condition. Here’s a quick checklist to ensure smooth feathering.
- Blade width: Use 6-12 inch blades for wide areas, 4-6 inch for narrow edges. Wider blades help create broader, smoother feathered zones.
- Flexibility: Stiffer blades are better for hard, dry surfaces; flexible blades work well on soft or uneven substrates.
- Cleanliness: Regularly clean your tools to prevent compound buildup. A dirty blade can cause ridges and uneven feathering.
- Edge condition: Inspect blades for nicks, dents, or dullness. Replace or sharpen as needed; damaged edges create rough, uneven surfaces.
- Trowel size: Use a 12-16 inch trowel for large areas, 8-10 inch for smaller patches. Larger trowels help distribute compound evenly and smoothly.
- Trowel edge: A square-edged trowel is best for spreading and leveling; a V-notched trowel helps with embedding and feathering edges.
- Hawk condition: Ensure your hawk (tool rest) is clean, flat, and stable. A wobbly or dirty hawk can cause application issues.
- Tool balance: Check that your tools are well-balanced; poorly balanced tools can lead to fatigue and uneven applications.
Quick rule: Regular tool maintenance ensures smooth, even feathering and reduces the risk of picture-frame ridges.
Compound types and selection guidance
Choosing the right compound is crucial for preventing shrinkage cracks and ensuring a smooth, durable finish. Here’s what to consider:
- Premixed lightweight compounds: Ideal for small patches and narrow feathered zones. They’re easy to apply but may not be suitable for large areas or deep repairs.
- Setting-type compounds: Better for larger areas and deeper repairs. They provide more working time but can shrink if not mixed properly.
- Working time: Check the product datasheet for working time. Too short, and you’ll rush; too long, and it may dry out before application.
- Shrinkage characteristics: Look for low shrinkage compounds to prevent cracking. High shrinkage can cause picture-frame ridges and other defects.
- Adhesion promoters: Some compounds include adhesion promoters. If not, consider using a separate bonding agent for better adhesion.
- Color matching: Ensure the compound color matches your existing plaster or paint. Most compounds can be tinted to match.
- Fire resistance: If required, choose a fire-resistant compound to meet building codes and safety standards.
- Environmental factors: Consider temperature and humidity conditions. Some compounds perform better in specific environments.
Quick rule: Always read and follow the manufacturer’s guidelines for optimal results and safety.
The Step-by-Step Feathering Method to Make Feather Zones Disappear
Start by preparing the patch area and applying a very thin feathered skim to establish a flush edge. Build the feather by applying a light coat that gradually extends beyond the previous edge.
Allow adequate cure time per product instructions, then apply thinner successive coats that broaden the feather zone until the patch blends with the surrounding wall. Maintain a consistent pressure and motion to avoid creating new ridges as you work outward.
Step-by-Step Process
The step-by-step feathering method is your key to making those pesky feather zones around plaster patches disappear. Follow these practical steps for a smooth, professional finish.
- Preparation: Ensure the area is clean and dry. Safety first – wear gloves and goggles when handling compounds.
- Check adhesion: Lightly scratch the surface to ensure the old plaster is sound. If it crumbles, call a pro.
- Main work begins: Apply a thin layer of compound with your trowel or knife, tapering off at the edges.
- Let it cure: Allow each coat to dry according to the manufacturer’s instructions before applying the next.
- Final checks: Once fully cured, lightly sand any high spots and wipe clean. Your patch should now blend seamlessly with its surroundings.
First skim — make the edge thin
Start by applying a thin initial layer of compound to your plaster patch. The goal here is to create a soft, feathered edge rather than a crisp lip that’ll stand out.
Use a flexible knife or trowel and apply gentle pressure as you work outward from the patch’s center. Think ‘less is more’ – you can always add another coat later.
Pro tip: Hold your tool at an angle, with the edge closest to the wall. This helps create that soft, thin edge.
Successive thin coats and edge extension
Now it’s time to build up your patch with multiple thin coats of compound. Each coat should be feathered farther out and thinner at the edges, making those feather zones vanish.
Start from the center of your patch, working outward in a smooth, steady motion. As you reach the edge, lighten your touch to create that all-important thin edge.
Remember, patience is key here. It’s better to apply several thin coats than one thick one. And always let each coat cure before applying the next.
Mixing, Consistency and Working Time Control
Explain how the consistency of the compound affects feathering and edge buildup, with stiffer mixes resisting feathering and softer mixes blending more easily. Keep the goal in mind: a smooth, gradual edge without pronounced boundaries.
Differentiate setting compounds from pre-mixed products and note how environmental conditions can change open time. Check the label or manufacturer instructions for open-time guidance and adjust your workflow accordingly.
How to test and adjust consistency
First, check your product’s label. Some compounds don’t allow water addition. Be safe, follow the rules.
If it’s okay to add water, start with a small amount. A little goes a long way. You’re aiming for a peanut butter-like consistency.
Test on a scrap piece of your substrate. Spread it out thin. If it’s too thick, it won’t feather right. Too thin, it’ll soak in and leave you short. Adjust as needed.
Working time and environmental effects
Temperature and humidity change how fast your compound sets. Check the product instructions to see what they say about this.
Hotter and drier means your working time is shorter. You’ll need to apply thinner coats or do more coats in less time.
Colder and wetter, you’ve got more time, but the compound might take longer to cure fully. Keep that in mind when planning your project.
Sanding, Blending, and Visual Checkpoints for a Seamless Finish
Describe a careful sanding sequence that preserves the patch while leveling the feathered edge. Use light, even strokes and keep the surface clean as you inspect progress.
Include touch checks and lighting/angle inspection techniques to confirm the feather zone has blended into the surrounding wall. Look for a uniform sheen and texture as you move around the patch from multiple viewpoints.