Introduction
Planning a plaster skim job is outlining which walls to skim, choosing sample walls to test finishes, and setting up staging areas to keep the work organized. It helps prevent scope creep by defining what work is in scope and what isn’t. Start by walking the space and noting surface condition, then map a simple sequence for work days.
Before skim coat, assess substrate, repair cracks, and plan priming and sealing steps. Choosing a finish for plaster and drywall, and deciding which walls to test with sample finishes helps you avoid rework. Keep the plan flexible but documented, and check product labels and manufacturer guidance for prep, primer, and application limits.
Key takeaways
- Assess walls for skim suitability: repaired plaster, existing texture, and vibration-free surfaces.
- Prepare surfaces with cleaning, dust removal, and sealing before primer or skim coat.
- Safety: wear eye protection, mask, and dust containment when sanding or scraping.
- Choose plaster-compatible products and follow manufacturer instructions for bonding and curing.
- Staging: cover belongings, seal doors, and protect floors to reduce debris spread.
- Plan timeline and budget early to minimize scope creep and rework.
Table of Contents
- Introduction
- Key takeaways
- When to Skim — Identifying Walls That Need a Plaster Skim
- Surface Preparation Essentials Before Skimming
- Materials, Product Choices, and Safety
- Step-by-Step Skim Job Workflow for Beginners
- Staging Rooms and Protecting Contents During Work
- Choosing Finishes and Paint After Skimming
- Timeline, Cost Drivers, and Budgeting for a Skim Project
- Avoiding Scope Creep and Managing the Project Like a Pro
- Conclusion
- FAQ
When to Skim — Identifying Walls That Need a Plaster Skim
Evaluate walls for clear triggers that justify a skim coat, such as surface damage that penetrates the texture, texture mismatch with surrounding finishes, or repeated patching that signals underlying adhesion issues. Look for water or staining problems that may compromise a future finish if left untreated. Prioritize rooms by usage and visibility to maximize impact and save time over spot repairs.
Use a simple inspection checklist to score flatness, adhesion signs, crack width, and moisture indicators. Note which walls show the strongest need for a uniform finish and which can be deferred. Align skim sequencing with room function and project timeline to prevent scope creep and unnecessary rework.
Visual and Tactile Signs to Inspect
Begin your inspection by visually examining walls for signs of damage. Look out for:
- Cracking: Hairline cracks are usually harmless, but wider ones may indicate structural issues.
- Ridges and flashing: These occur when previous repairs were not blended smoothly with the existing surface.
- Soft or powdery areas: Gentle pressure can reveal soft spots that might crumble under more force, indicating delamination.
Use raking light (angled light from a low position) to accentuate defects and touch walls to feel for any unexpected texture changes.
Test Patches and Sample Walls
Before committing to a full-room skim, perform small test patches in representative areas. This helps assess:
- Adhesion: Check if the new plaster adheres well to the existing surface.
- Finish: Ensure the sample matches your desired final look.
- Justification for full-room skim: If the test patch looks significantly better than the rest of the room, a full skim may be warranted.
Choose spots that are not too visible or high-traffic to avoid damaging the test patches during daily use. Always follow manufacturer instructions when preparing your test samples.
Surface Preparation Essentials Before Skimming
Assess the surface for compatibility with a skim coat by identifying loose material, old coatings that may delaminate, and any failed repairs. Establish pass/fail criteria to decide when to proceed. Ensure the substrate looks sound before committing to a full skim.
Plan repairs to cracks and gouges, specify patching methods, and verify repairs are dry and level. Address moisture issues and schedule a barrier or primer if readings indicate a need. Create a clean, dry base with proper surface conditioning to prevent future failures.
Repairing cracks, holes, and weak plaster
Begin by inspecting your walls for any cracks, holes, or weak spots. These can compromise the adhesion of your skim coat.
Cracks: If they are narrow, use a suitable filler to stabilize them. For wide or deep cracks, consider substrate replacement or reinforcement with mesh or fiberglass to ensure structural integrity.
Holes: Use appropriate patching compounds for large or irregular holes. Ensure repairs are level with surrounding surfaces to maintain a smooth finish.
After making repairs, re-inspect the area to confirm adhesion and levelness before proceeding with your skim coat application.
Cleaning, bonding, and priming surfaces
Thoroughly clean your surfaces to remove all dust, oil, grease, and loose paint. This ensures optimal adhesion of your skim coat.
Bonding: If your surface is porous or absorptive, apply a suitable bonding agent or primer to promote adhesion with the chosen skim material.
Priming: Choose a primer suited to your substrate (plaster, drywall, concrete) and compatible with your skim coat. Plan for edge detailing, feathering, and note required cure time if applicable.
Before applying your skim coat, re-inspect the surface to ensure it’s completely clean and dry to prevent any adhesion issues.
Materials, Product Choices, and Safety
Identify suitable skim products for different substrates, and match material choice to concrete, plaster, or drywall conditions, as well as porosity and humidity. Consider how substrate temperature and ventilation affect product performance when selecting a skim system. Follow manufacturer guidance for best results.
Prepare the surface with appropriate cleaning, bonding aids, and a keying strategy to promote adhesion. Use simple tests to confirm bonding before proceeding with full application. Prioritize safety by using PPE and controlling dust per instructions from the product manufacturer.
Plaster Types and Where to Use Them
When choosing a plaster, consider its intended use and the substrate’s condition.
Skim Plasters, such as Thistle MultiFinish or British Gypsum’s Topcel, are commonly used for internal walls. They provide a smooth finish and can be applied in one or two coats depending on the surface’s condition. Use them over clean, dry surfaces to ensure proper adhesion.
For moisture-prone areas like bathrooms or kitchens, consider using Mould-Resistant Plasters, such as ThistlePro PureFinish or Knauf’s MultiFix MR. These plasters have added fungicides to prevent mould growth. Always check the product label for specific application guidelines and suitability in your project.
When applying skim plaster over boarded surfaces, it’s crucial to use a Bonding Agent or Primer, like Thistle Bond-it or British Gypsum’s Gyplok Bond, to ensure proper adhesion. This step is especially important for porous substrates like concrete or plywood.
Tools, PPE, and safety checklist
The following tools are essential for applying a plaster skim coat. They ensure smooth application, even coverage, and job site safety.
- Trowel (4″ – 12″): Used to apply and spread the plaster. Different sizes allow for various tasks; larger trowels are optional but helpful for wider surfaces.
- Hawk: Holds the plaster while you’re working, keeping your hands clean. It’s essential for efficient application.
- Plaster Mixer: Ensures consistent mixing and prevents lumps. A drill mixer with a paddle attachment is recommended for larger quantities.
- Sanding Tools (e.g., Orbital Sander): Optional but helpful for smoothing the final finish. Choose one with a suitable grit (e.g., 120-150) and use it after the plaster has fully dried.
- Dust Mask: Essential for protecting against plaster dust, which can cause respiratory irritation. Choose one rated N95 or higher.
- Goggles: Protects eyes from dust and debris. Safety glasses with side shields are recommended.
- Gloves: Optional but helpful for protecting hands from plaster and potential contaminants on the surface.
- Drop Cloth/Tarp: Covers the floor to protect it from drips and spills. It’s essential for easy cleanup.
- Ladder/Platform: For reaching high surfaces, a stable ladder or platform is crucial for safety and proper application.
Pro tip: Consider renting larger tools like mixers and sanders if you don’t plan to use them frequently. This can save you money on equipment you might not need often.
Step-by-Step Skim Job Workflow for Beginners
This step-by-step workflow guides a beginner from prep and setup through mixing, application, finishing, and final inspection, with decision points to call a pro if moisture, cracks, or adhesion issues arise. It stresses thorough surface preparation and choosing the right skim coat for plaster or drywall, plus a core list of tools, materials, and interim checks. It also emphasizes keeping an eye on dry and cure cues to know when to proceed.
Knowing the sequence helps prevent scope creep and wasted effort, especially in staging rooms where dust containment and cleanup matter. Interim checks provide early warning signs like cracking or uneven hardness and help you decide when to pause or escalate to a professional. A quick routine like a gentle firmness test and a pro-style inspection follow-up keeps progress reliable and reduces surprises.
Step-by-Step Process
The following sequence guides you through a practical skim job workflow for beginners, from preparation to final checks.
- Preparation and Safety: Review tools, materials, and safety gear. Ensure the area is well-ventilated and free of moisture issues; if unsure, consult a professional.
- Surface Preparation: Clean, patch, prime, and assess moisture levels as previously detailed in this guide.
- Mixing Skim Coat: Follow product instructions for mixing ratios and techniques. Inspect mixed plaster for lumps or inconsistencies before application.
- Application: Apply the skim coat using trowels and hawks, feathering edges to avoid cracking or sags. Pause if cracks or adhesion issues appear; assess and consider calling a pro if unsure.
- Finishing Touches: Allow the plaster to dry according to product specifications. Inspect for any missed spots or imperfections before proceeding with sanding.
- Cleanup and Final Checks: Clean tools, remove protective gear, and perform a final visual inspection. If satisfied, proceed with priming and painting; if not, reassess your work and consider professional help.
Mixing, applying, and levelling the skim coat
Achieving a consistent mix consistency and smooth first pass is crucial for a professional-looking finish. Here’s how to do it:
Mixing: Follow manufacturer instructions for mixing ratios and techniques. Inspect mixed plaster for lumps or inconsistencies before application.
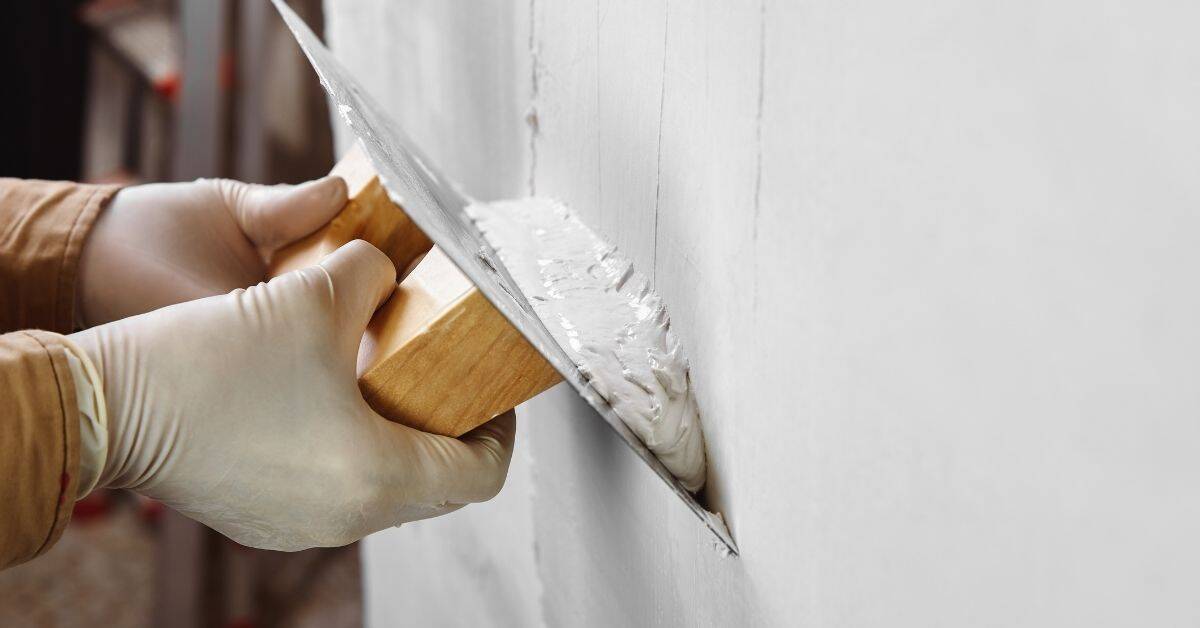
Application: Use trowels and hawks to apply the skim coat, ensuring even coverage. Feather edges to avoid cracking or sags. If cracks or adhesion issues appear during application, pause, assess, and consider calling a pro if unsure.
Levelling: Use a straight edge or guide to level the plaster, ensuring consistent thickness across the surface. Allow the plaster to set slightly before moving on to the next step.
Drying, sanding, and inspection checkpoints
Before proceeding with primer and paint, ensure your skim coat is fully cured, smooth, and ready for the next step. Use this checklist to confirm:
- Hardness Check: Test the surface with gentle pressure. It should feel firm and not give way under light touch.
- Dust Release: Gently wipe the surface with a damp cloth. If dust comes off easily, it’s ready for sanding; if not, allow more drying time.
- Visual Uniformity: Inspect the surface for any imperfections, missed spots, or inconsistencies in coverage.
- Crack and Sag Check: Look for signs of cracking or sags. If present, reassess application technique and consider calling a pro if unsure.
- Moisture Check: Perform a final moisture check to ensure no hidden issues remain.
Quick rule: If any checks fail, reassess your work, allow more drying time if necessary, and consider professional help before proceeding with primer and paint.