Search Results for: match texture plaster

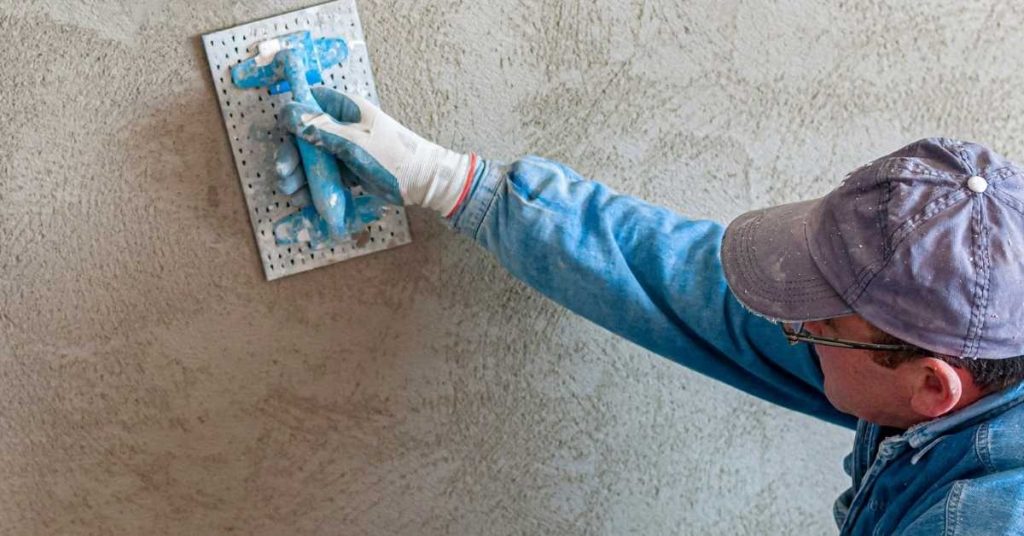
Worker applying stucco texture with a blue float tool

Sand Float Stucco Texture Matching: Tool Angles, Timing, and Avoiding Shine

Introduction A sand float stucco texture is a lightly rough, matte finish achieved by floating mortar with a sanded tool to create texture. This article covers practical techniques and the feel of the finish when you’re applying it on a DIY project. It stays away from glossy shine and aims for a consistent, hand‑worked look. […]

Sand Float Stucco Texture Matching: Tool Angles, Timing, and Avoiding Shine Read More »
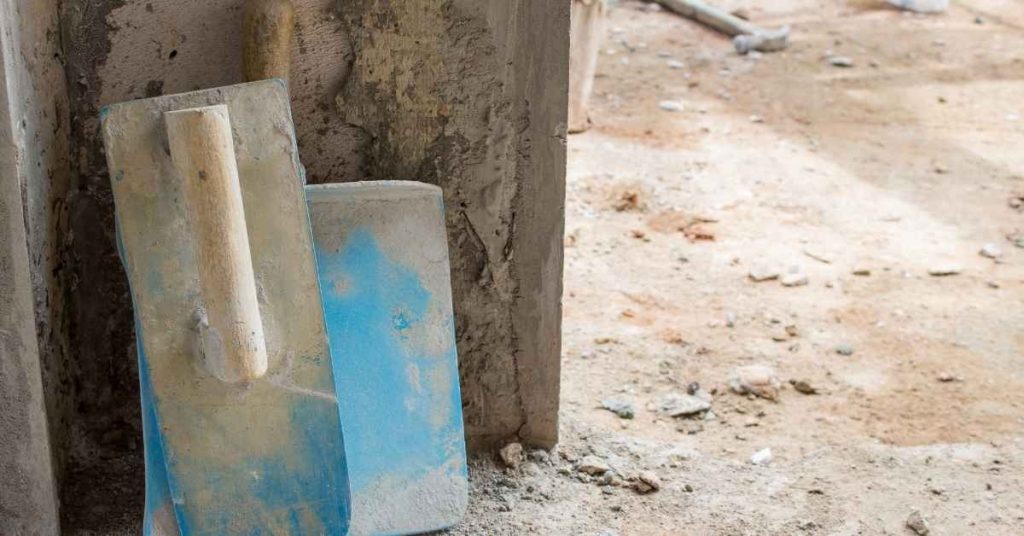
Two plastering trowels leaning against a wall

Polished Plaster on Kitchen Backsplashes: Grease Tests, Sealer Choices, and Maintenance Reality

Introduction Polished plaster on kitchen backsplashes is a smooth, glossy finish applied to a prepared wall to create a seamless, durable surface. It’s a hands‑on finish that requires proper substrate prep, mixing, and controlled troweling. If you’re unsure about the prep or finish, check the product label and follow manufacturer directions for compatible substrates and

Polished Plaster on Kitchen Backsplashes: Grease Tests, Sealer Choices, and Maintenance Reality Read More »

Close-up of rough concrete wall with wood formboard texture

Fresco vs Limewash: What’s Actually Possible on Fresh Lime Plaster and What Isn’t

Introduction Fresco and limewash are two ways to finish fresh lime plaster, but they work differently and have different limits. Fresco is typically applied with the plaster while it’s still workable, while limewash is painted on after some setting. What you can actually do depends on the mix, moisture in the wall, and local guidance—check

Fresco vs Limewash: What’s Actually Possible on Fresh Lime Plaster and What Isn’t Read More »

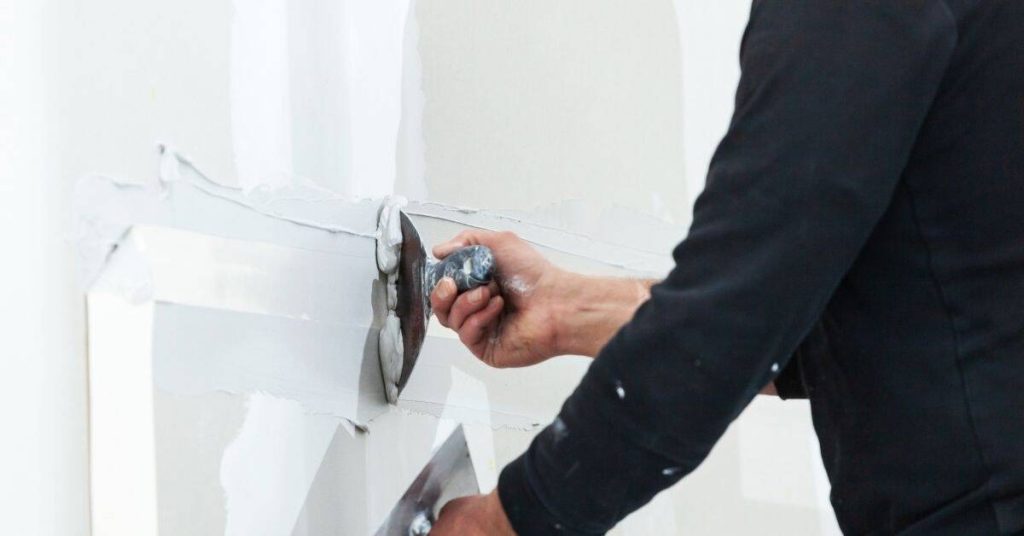
Person applying plaster with trowel on drywall seams

Clay Plaster Over Drywall: Primer Selection, Screw Head Telegraphing, and Dent Resistance Upgrades

Introduction Clay plaster over drywall is a finish where a clay-based plaster is applied on standard wallboard after proper priming. Start with a compatibility-friendly primer; check the label to ensure it works with clay plasters and the drywall surface. Apply multiple thin coats, let each dry, and feather the edges for a flat, even surface.

Clay Plaster Over Drywall: Primer Selection, Screw Head Telegraphing, and Dent Resistance Upgrades Read More »

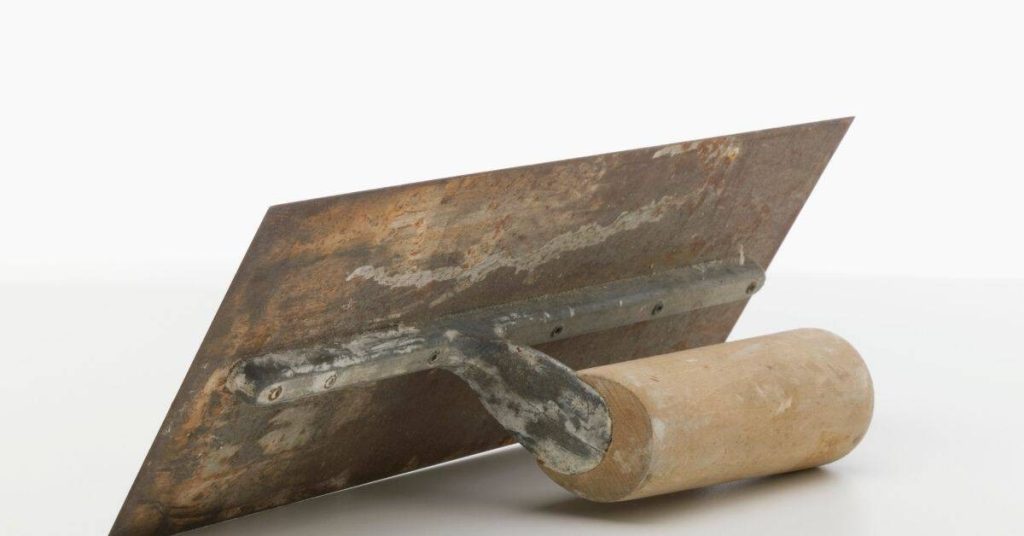
Rusty plastering trowel with wooden handle on white background

Repairing Historic Plaster With Embedded Wood Trim: Keeping Reveals Crisp Without Cracking

Introduction Repairing historic plaster with embedded wood trim means restoring plaster around the trim while preserving the wood reveals. It’s a practical, hands-on job that requires careful alignment of the reveals and gradual patching. Take your time to resecure loose plaster and check that the trim remains in the same plane. Use patch materials that

Repairing Historic Plaster With Embedded Wood Trim: Keeping Reveals Crisp Without Cracking Read More »

Newly poured smooth concrete floor inside an unfinished room

Plastering Directly Over Concrete Ceilings: Bonding Bridges, Suction Control, and Crack Isolation

Introduction Plastering directly over concrete ceilings means applying plaster straight onto a bare concrete surface without a separate bonding layer. It’s a DIY-friendly approach when the surface is solid and clean, but it needs careful prep. I’ll walk you through what to expect and how to stay on track. Bonding bridges help the plaster grab

Plastering Directly Over Concrete Ceilings: Bonding Bridges, Suction Control, and Crack Isolation Read More »

Stone fireplace surrounded by plaster walls and large windows

Clay Plaster in Entryways: Scuff Resistance, Touch-Ups, and Protective Finishes

Introduction Clay plaster in entryways is a clay-based finish applied to walls to create a durable, breathable surface. In busy entry spots you’ll want to understand how it resists scuffs and how touch-ups go when scuffs happen. Check product labels and local rules for any limits on sealing or indoor use before you start. Touch-ups

Clay Plaster in Entryways: Scuff Resistance, Touch-Ups, and Protective Finishes Read More »

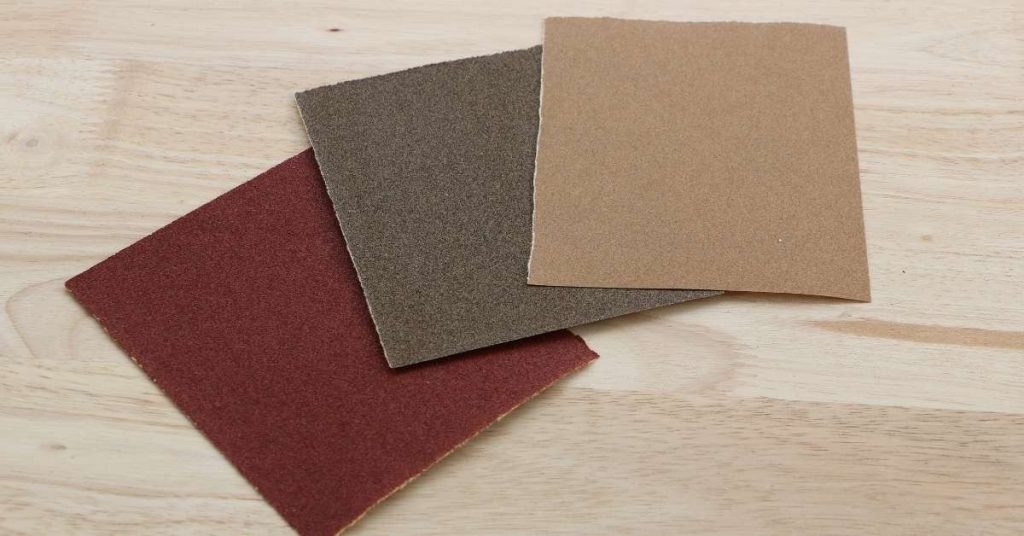
Three sheets of sandpaper in red brown and beige on wood

Venetian Plaster Touch-Ups: Avoiding Shiny Spots and Burnish Lines

Introduction Venetian plaster touch-ups are about repairing shine and burnish lines to restore an even, mirror-like finish. This hands-on guide walks you through practical steps and what to watch for on a DIY job. Check the product label and manufacturer instructions for any limitations and recommended mixing or application notes. There are several finishes you

Venetian Plaster Touch-Ups: Avoiding Shiny Spots and Burnish Lines Read More »

Closeup of white paint roller applying paint on wall

Feathering Plaster Repairs: Avoiding a ‘Picture Frame’ Ridge Under Paint

Introduction Feathering plaster repairs means blending new patch material into the surrounding plaster so there’s no raised ridge under paint. It’s a hands-on fix that helps avoid a visible edge where paint can lift. The goal is a smooth transition that you can sand and feather with basic tools. Start by assessing cracks and holes

Feathering Plaster Repairs: Avoiding a ‘Picture Frame’ Ridge Under Paint Read More »

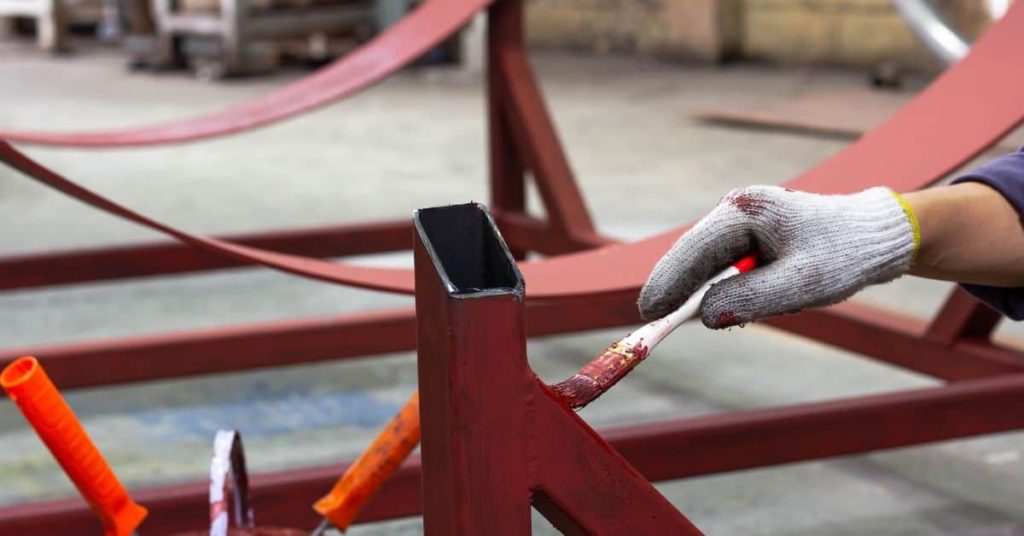
Gloved hand painting metal structure with red paintbrush

Plaster Delamination After Painting: Diagnosing Bad Primer vs Moisture vs Salt

Introduction Plaster delamination after painting is when the painted surface loses adhesion and the plaster layer peels or flakes away from the wall. It often points to issues with the primer, the presence of moisture, or salt-related damage behind the paint. Look for peeling edges, bubbling, or a chalky feel as you inspect the area.

Plaster Delamination After Painting: Diagnosing Bad Primer vs Moisture vs Salt Read More »