Search Results for: grinding

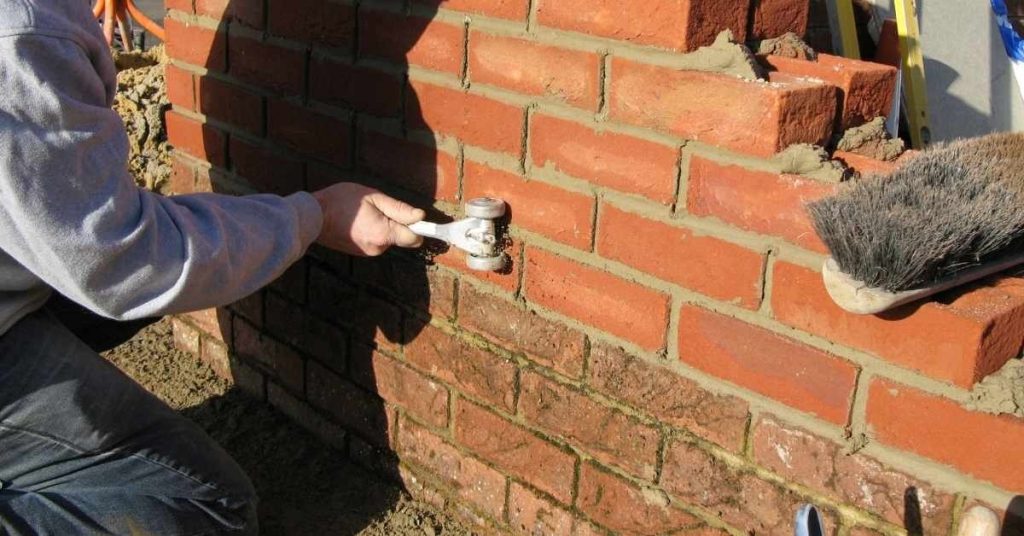
Person using joint roller on brick wall mortar joints

Brick Tuckpointing for DIY: Joint Prep, Tooling, and Curing Basics

Introduction Brick tuckpointing is the process of repairing mortar joints to restore strength and appearance. This article gives a practical, hands-on approach you can use at home. You’ll learn basic prep, tooling, and curing ideas without fancy jargon. Begin with a close inspection of the joints and determine whether you need to rake out damaged […]

Brick Tuckpointing for DIY: Joint Prep, Tooling, and Curing Basics Read More »
Three workers pouring concrete over rebar framework outdoors

Pouring a Concrete Ramp Over an Existing Slab: Bond Breakers, Dowels, and Slope Math

Introduction Pouring a concrete ramp over an existing slab means adding a new ramp surface on top of the old slab and tying it together properly. Make sure the bond between old and new concrete is controlled with the right bond breaker plan and reinforcement setup. I’ll use bond breakers where they’re needed to prevent

Pouring a Concrete Ramp Over an Existing Slab: Bond Breakers, Dowels, and Slope Math Read More »

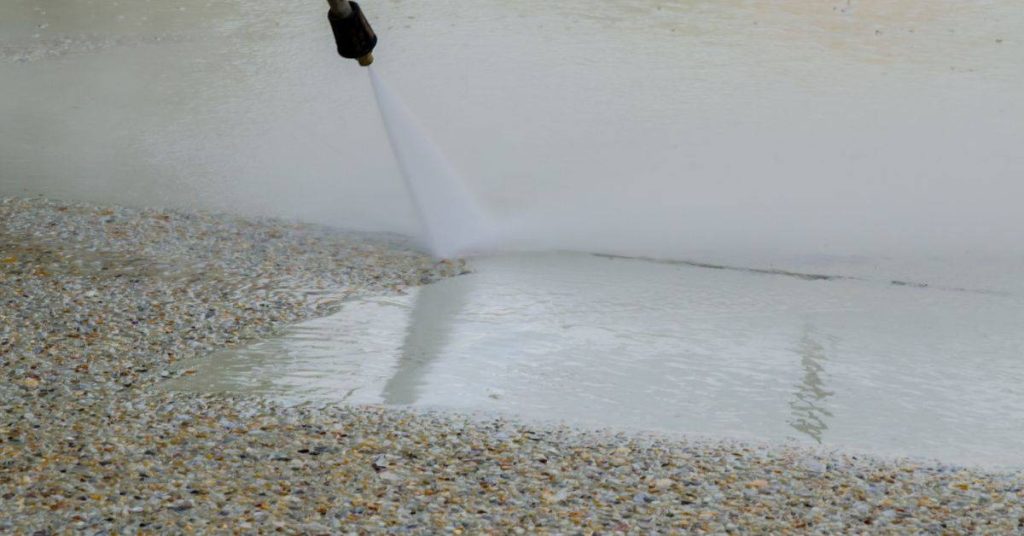
Pressure washing exposed aggregate concrete surface

Exposed Aggregate Repair Patches: Blending Stone Size and Washing Timing to Match

Introduction Exposed aggregate repair patches involve matching the look of the existing surface by using stone-size blends and controlled washing timing. This article gives a practical, hands-on view for DIYers on how to prep, bond, and patch exposed aggregate without a full resurfacer. We’ll cover how to choose the right aggregate size, how to wash

Exposed Aggregate Repair Patches: Blending Stone Size and Washing Timing to Match Read More »

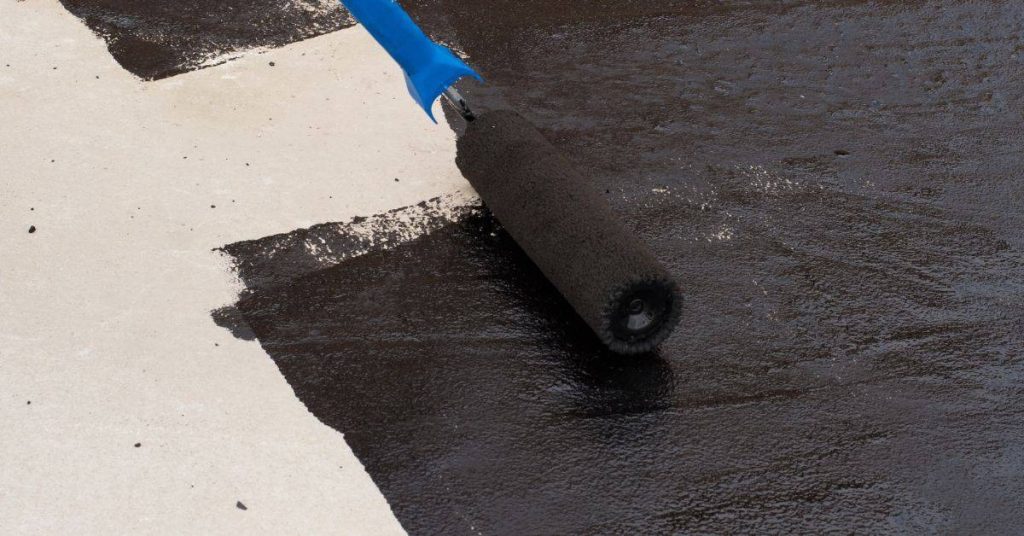
Paint roller applying black sealer on concrete surface

How to Remove Tire Marks Without Dulling a Sealer: Cleaner Types and Pad Choices

Introduction Removing tire marks from a sealed surface without dulling the sealer means using cleaners and pads that lift the mark without damaging the seal. Start with a light cleaner labeled for concrete sealers and test in an inconspicuous spot first. Work in small areas and use gentle motions to avoid abrasive wear. Choose non-aggressive

How to Remove Tire Marks Without Dulling a Sealer: Cleaner Types and Pad Choices Read More »

Rough grey concrete wall with varied texture

Strip vs Grind a Failed Sealer: Choosing the Safer Method for Your Concrete Texture

Introduction Stripping removes the sealer with chemicals or rollers, while grinding buffs away the old coating with a machine to reveal a new surface. The safer choice usually depends on the sealer type and how badly the texture is damaged. For most DIYers, start with a careful test area and a gentler approach to evaluate

Strip vs Grind a Failed Sealer: Choosing the Safer Method for Your Concrete Texture Read More »

Concrete building with vertical and horizontal structural elements

How to Patch Vertical Concrete Without Sag: Mix Stiffness, Bonding, and Lift Thickness

Introduction Patch vertical concrete without sag by using a stiff, workable mix that stays put once placed. Choose a mix with good bonding and low slump, and apply in quick, controlled strokes. Always check product labels and local guidelines to confirm compatible bonding agents and lift thickness. Keep the surface clean and dampened as needed,

How to Patch Vertical Concrete Without Sag: Mix Stiffness, Bonding, and Lift Thickness Read More »

Yellow construction helmet tape measure pencils on architectural plans

Replacing Failed Expansion Joint Filler: Removal, Priming, and Resealing Workflow

Introduction Replacing failed expansion joint filler means removing the old filler, prepping the joint, and applying new material to restore sealing and movement space. The workflow typically covers removal, priming, and resealing, using basic hand tools, caulk guns, and compatible filler products. Always check product labels, manufacturer instructions, and local code or permit rules to

Replacing Failed Expansion Joint Filler: Removal, Priming, and Resealing Workflow Read More »

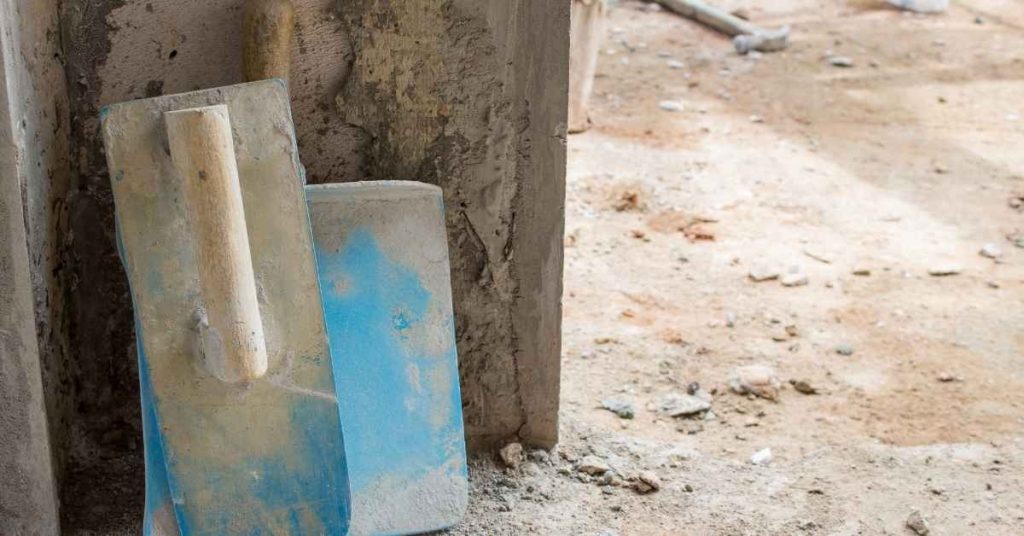
Two plastering trowels leaning against a wall

Polished Plaster on Kitchen Backsplashes: Grease Tests, Sealer Choices, and Maintenance Reality

Introduction Polished plaster on kitchen backsplashes is a smooth, glossy finish applied to a prepared wall to create a seamless, durable surface. It’s a hands‑on finish that requires proper substrate prep, mixing, and controlled troweling. If you’re unsure about the prep or finish, check the product label and follow manufacturer directions for compatible substrates and

Polished Plaster on Kitchen Backsplashes: Grease Tests, Sealer Choices, and Maintenance Reality Read More »