Search Results for: floor sand paper

close up of white textured hardwall plaster surface

Hairline Crazing in Hardwall Plaster: Surface Keying and Breathable Topcoats

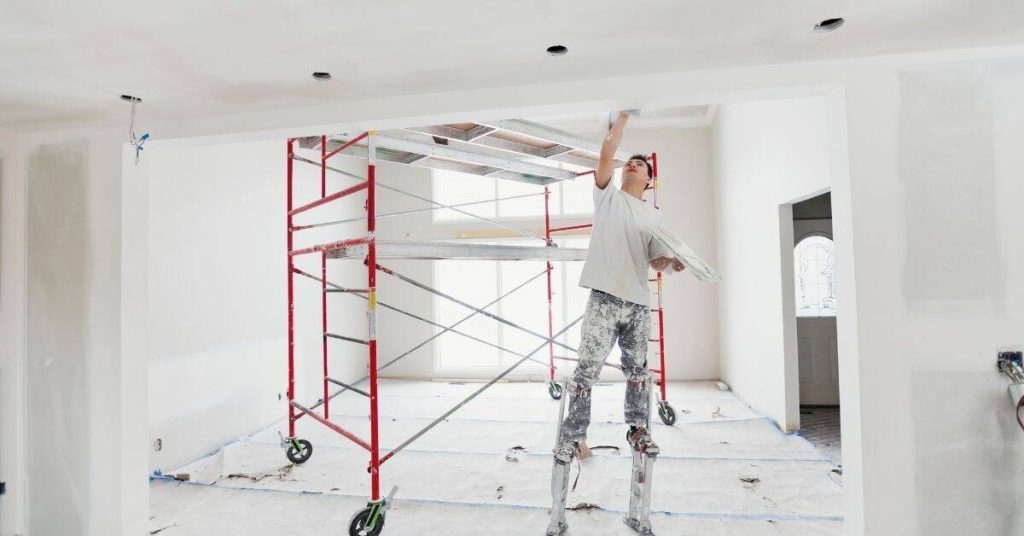
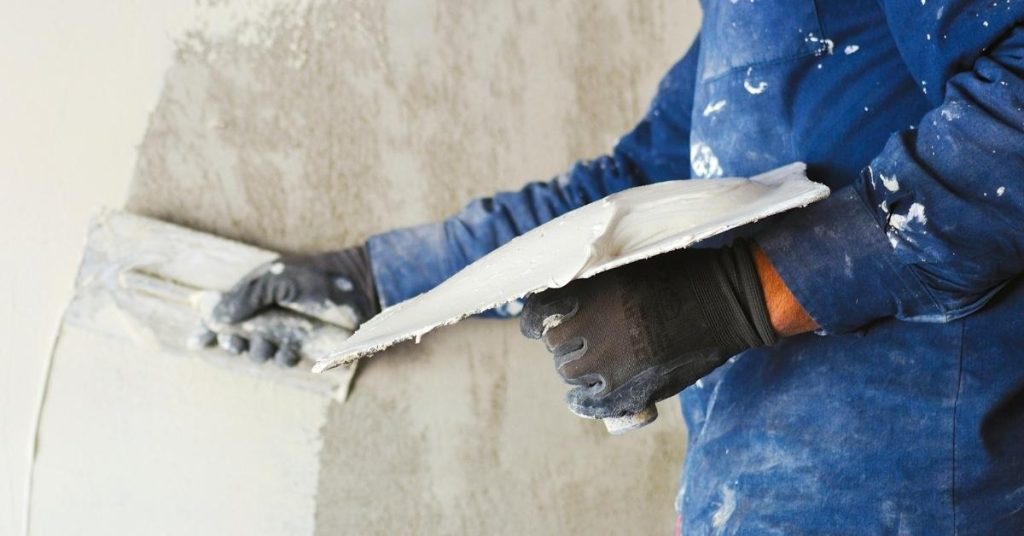
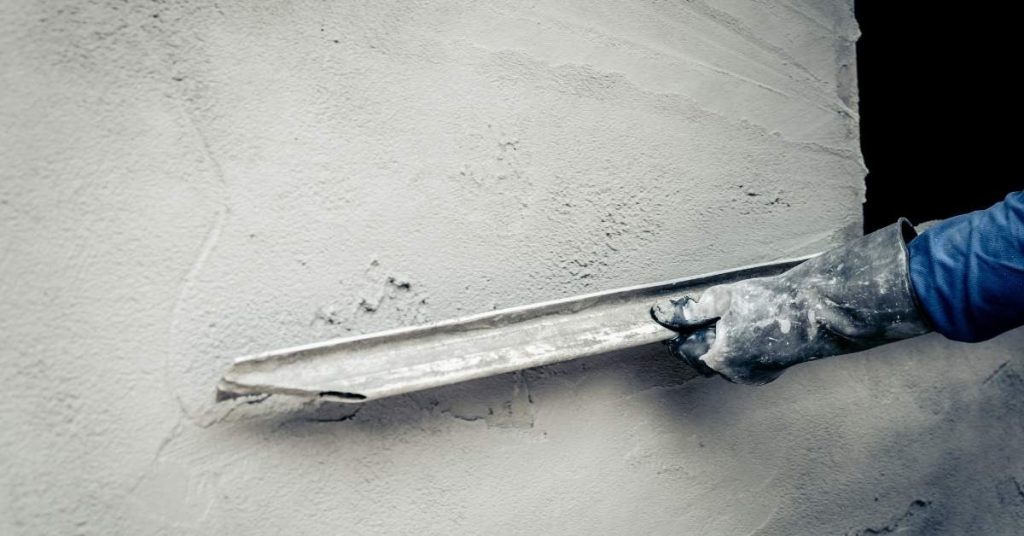
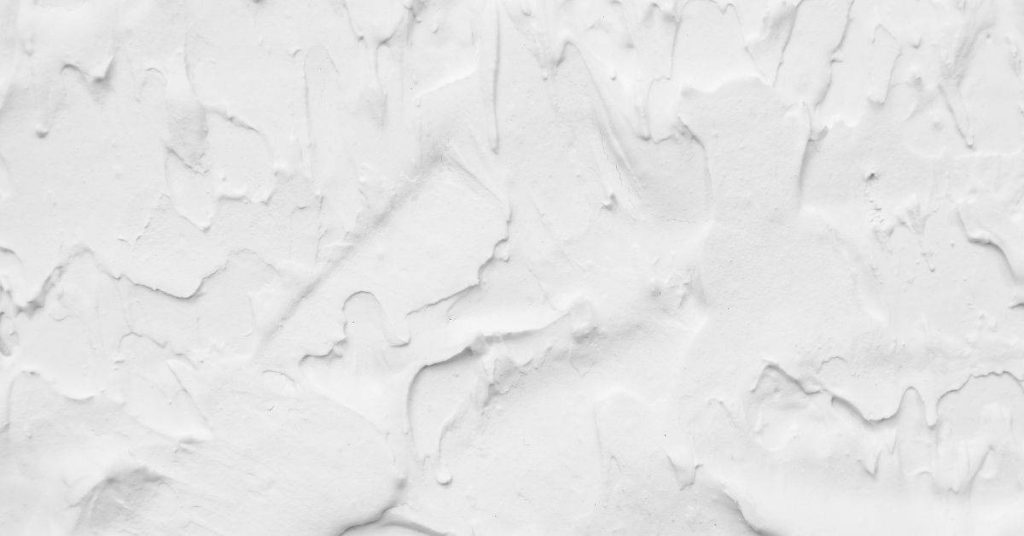
Introduction Hairline crazing in hardwall plaster is fine cracks that form on the surface when the plaster dries and the finish isn’t keyed well enough for the next coat. It happens when the surface isn’t gripping the base layer, or small movements stress the top layers. The fix starts with proper surface keying and choosing […]

Hairline Crazing in Hardwall Plaster: Surface Keying and Breathable Topcoats Read More »

Putty knife with dried plaster on wooden surface

Leveling Wavy Lath Before Plastering: Shimming, Tension, and Straightedge Control

Introduction Leveling wavy lath before plastering means making the wall lath flat and true so the plaster can set evenly. Start by mapping high and low spots and use thin shims or temporary battens to bring the lath into line. Always refer to the lath type’s instructions and local rules to choose the right method.

Leveling Wavy Lath Before Plastering: Shimming, Tension, and Straightedge Control Read More »

Hand applying plaster to wall with trowel wearing glove

Fixing Plaster After Water Stains: Salts, Stain Blocking, and When to Cut Out

Introduction Water stains on plaster indicate moisture and mineral salts that have bled into the surface. Address the source and let the area dry before patching, and remove any loose or damaged plaster you can see. Choose a stain-blocking product and patch material based on the area, and always check the label for compatibility and

Fixing Plaster After Water Stains: Salts, Stain Blocking, and When to Cut Out Read More »

Worker smoothing plaster on wall with trowel

Stopping “Picture-Frame” Ridges Around Plaster Patches: Feather Zones That Disappear

Introduction Picture-frame ridges are thin, raised borders that appear around plaster patches after finishing. They happen when the patch edge isn’t feathered smoothly into the surrounding wall. Fixing them means blending that border so it disappears under a flat surface. Start by lightly feathering the patch edges with multiple thin coats, keeping the transitions soft.

Stopping “Picture-Frame” Ridges Around Plaster Patches: Feather Zones That Disappear Read More »

Close-up of blue painted stucco wall texture

Patch “Picture Framing” on Painted Stucco: Prime Zones and Feathered Coating Steps

Introduction Patch “Picture Framing” on painted stucco means touching up small areas so the patch blends with the surrounding paint while keeping the texture. This guide introduces how to spot the framing, choose basic tools, and apply a feathered coat with primer over patches. Keep it practical and straightforward, like a real hands-on repair. Before

Patch “Picture Framing” on Painted Stucco: Prime Zones and Feathered Coating Steps Read More »

Stucco wall with reinforcing mesh and metal bead at corner

Corner Cracks at Stucco Windows: Mesh Orientation and Bead Choices

Introduction Proper mesh orientation and bead selection help prevent corner cracks around stucco windows. The way the mesh is aligned and the type of bead you use influence how the stucco moves at the casement and sill transitions. Choose options based on manufacturer guidance and local methods, then apply consistently. Bead installation techniques matter, especially

Corner Cracks at Stucco Windows: Mesh Orientation and Bead Choices Read More »

Man holding plastering hawk with fresh plaster

Sagging Plaster Ceilings: When Washers Help—and When Strapping Is Smarter

Introduction Sagging plaster ceilings can be stabilized temporarily by using washers under fasteners to pull the plaster back up. This is a short-term fix that can buy time while you plan a more permanent repair. Make sure you’re hitting solid framing, not just flaky plaster. Strapping is usually the smarter long-term approach when the ceiling

Sagging Plaster Ceilings: When Washers Help—and When Strapping Is Smarter Read More »

Worker on stilts applying plaster to ceiling near scaffolding

Plaster Ceiling Cracks Along Joists: Why They Return and How to Bridge Them

Introduction Cracks along ceiling plaster near joists happen when the ceiling system moves and the plaster loses grip. They often reopen because framing shifts or settling continues after repair. This is DIY-friendly but you must inspect joist movement and check for underlying causes. Bridge them by stabilizing the joint area and smoothing a patch over

Plaster Ceiling Cracks Along Joists: Why They Return and How to Bridge Them Read More »

Worker applying plaster to wall with trowel and hawk

Venetian Plaster Over Existing Tile: Prep, Bond Bridges, and Edge Detailing

Introduction Venetian plaster over existing tile is applying plaster onto a tile surface to create a seamless, stone-like finish. Prep and bond are critical, because you’re sticking plaster to a non-porous base. You’ll need to clean, roughen, and seal as needed, then choose a compatible bonding product and follow its directions. Start with careful prep,

Venetian Plaster Over Existing Tile: Prep, Bond Bridges, and Edge Detailing Read More »

Gloved hand holding a metal trowel against a plaster wall

Hollow-Sounding Plaster Walls: Tap Maps, Key Failure Patterns, and Targeted Stabilization

Introduction Hollow-sounding plaster walls hide voids behind the plaster, so tapping sounds hollow. This usually means the lath or backing has failed or separated from the surface. Understanding this helps you map where stabilization work is needed. To map the problem, tap in several spots and note where the sound is the weakest. Look for

Hollow-Sounding Plaster Walls: Tap Maps, Key Failure Patterns, and Targeted Stabilization Read More »