Search Results for: finishing

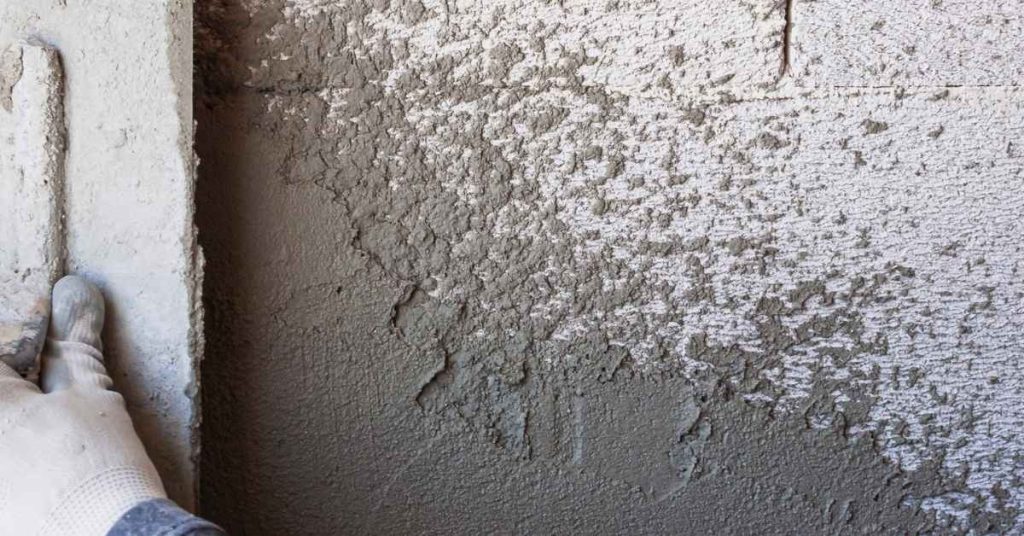
Hand smoothing wet scratch coat over base wall surface

Stucco Over Autoclaved Aerated Concrete (AAC): Base Coat Choice, Fasteners, and Suction Control

Introduction Stucco over AAC is applying a compatible base coat to Autoclaved Aerated Concrete walls. Pre-installation prep is key—clean surfaces, seal any joints, and plan how you’ll store and handle panels to avoid damage. Handle AAC panels with care, store flat in a dry, shaded area, and check manufacturer guidance for any site-specific restrictions. Choose […]
Stucco Over Autoclaved Aerated Concrete (AAC): Base Coat Choice, Fasteners, and Suction Control Read More »

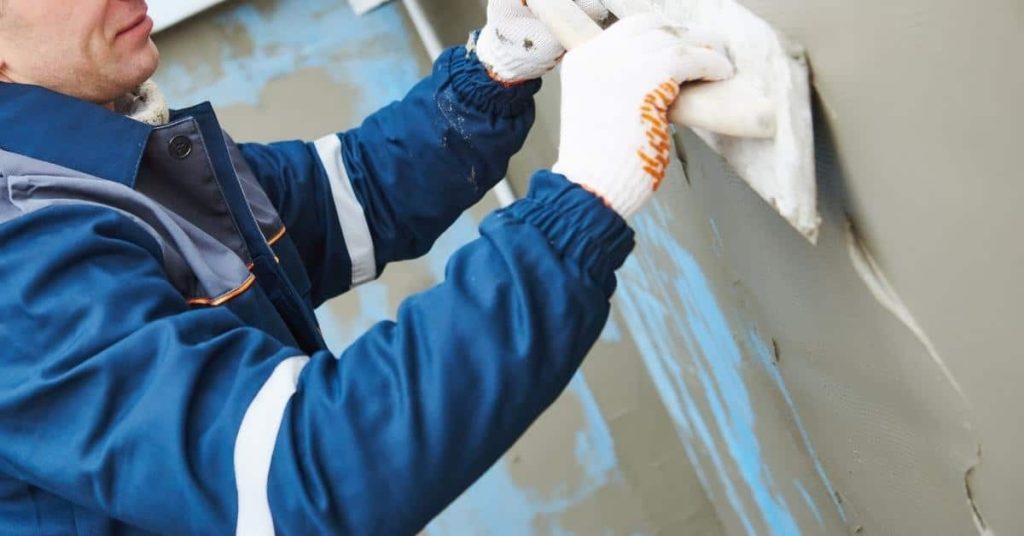
Worker applying stucco plaster onto wall with trowel

Stucco Movement Joints: Spacing Rules, Joint Profiles, and Sealant Detailing That Lasts

Introduction Movement joints in stucco are intentional gaps that let the plaster move with temperature and framing shifts. They help prevent cracks by giving the wall a controlled place to flex, not tear. Check local building rules and follow manufacturer instructions for spacing and placement in your area. There are different joint profiles and sealants,

Stucco Movement Joints: Spacing Rules, Joint Profiles, and Sealant Detailing That Lasts Read More »

Smooth glossy gray epoxy coated floor inside a room

Dealing With Soft, Carbonated Surface Paste: Grind Depth, Densifiers, and Coating Compatibility

Introduction Soft, carbonated surface paste is the chalky, weakened layer on concrete that needs removal or stabilization before finishing. Start with a small test spot to gauge how deep you’ll need to grind, and avoid taking off more than necessary. Always check the tool’s pad wear and the manufacturer or local rules for safe grind

Dealing With Soft, Carbonated Surface Paste: Grind Depth, Densifiers, and Coating Compatibility Read More »

Close-up of a metal tool shaping a joint in fresh concrete

Stamped Concrete at DIY Scale: Release Agents, Joint Planning, and Sealing Without Slippery Film

Introduction Stamped concrete at a DIY scale is about using release agents, planning joints, and sealing so the finish isn’t slick. Keep expectations simple: choose a release agent you can apply evenly, map where joints go before stamping, and select a sealer that reduces glare without creating a slippery film. Start with a clear plan,

Stamped Concrete at DIY Scale: Release Agents, Joint Planning, and Sealing Without Slippery Film Read More »

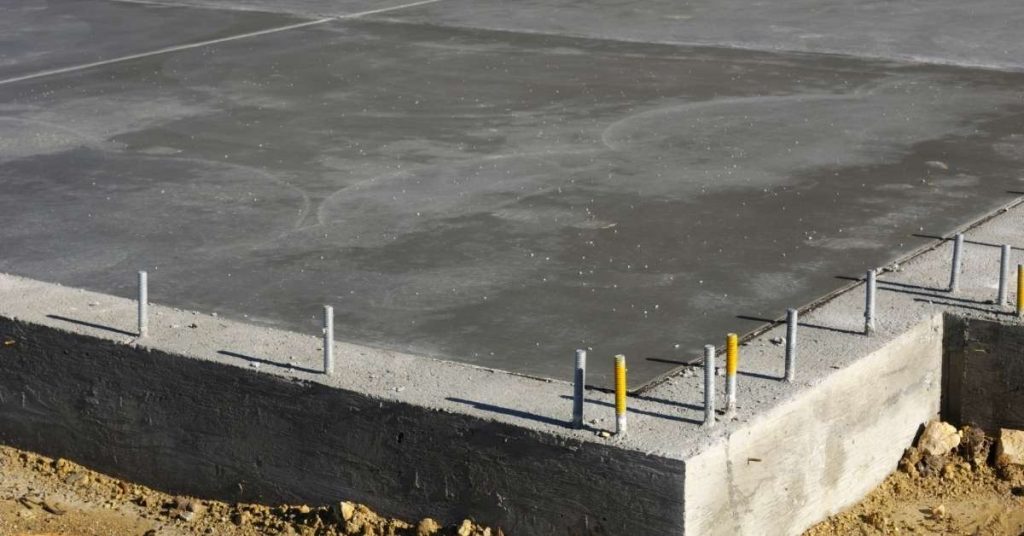
Concrete slab foundation with metal anchor bolts embedded

Preventing Cracks Around Slab Penetrations: Pipe Sleeves, Bond Breakers, and Joint Layout

Introduction Cracks around slab penetrations happen when the concrete around pipes or openings isn’t managed during pour. Key takeaways Use pipe sleeves fully encased in concrete, with proper clearance for movement. Apply bond breakers on form faces and sleeves to minimize three-sided adhesion. Plan joint layout early to align joints with penetrations and expected movement.

Preventing Cracks Around Slab Penetrations: Pipe Sleeves, Bond Breakers, and Joint Layout Read More »

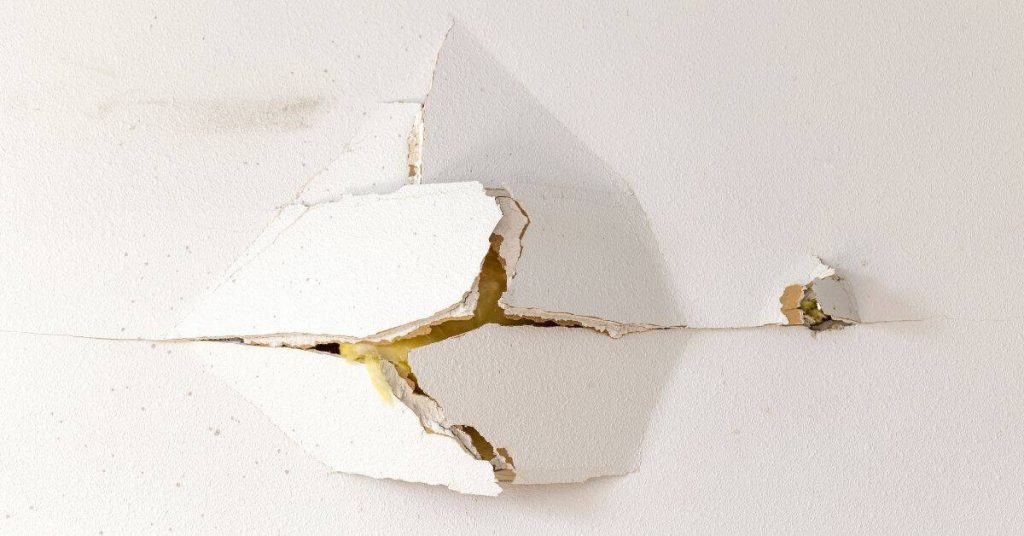
Closeup of cracked and peeling plaster on white wall

How to Repair a Failed Patch That Sounds Hollow: Cutback Rules and Reattachment Options

Introduction A failed patch that sounds hollow is a plaster area with voids that likely needs back-cutting and reattachment. In plain terms, you’ll check why it came loose and decide whether to trim the patch back or start fresh. This is a real-world, DIY job you can handle with basic tools and a patient approach.

How to Repair a Failed Patch That Sounds Hollow: Cutback Rules and Reattachment Options Read More »

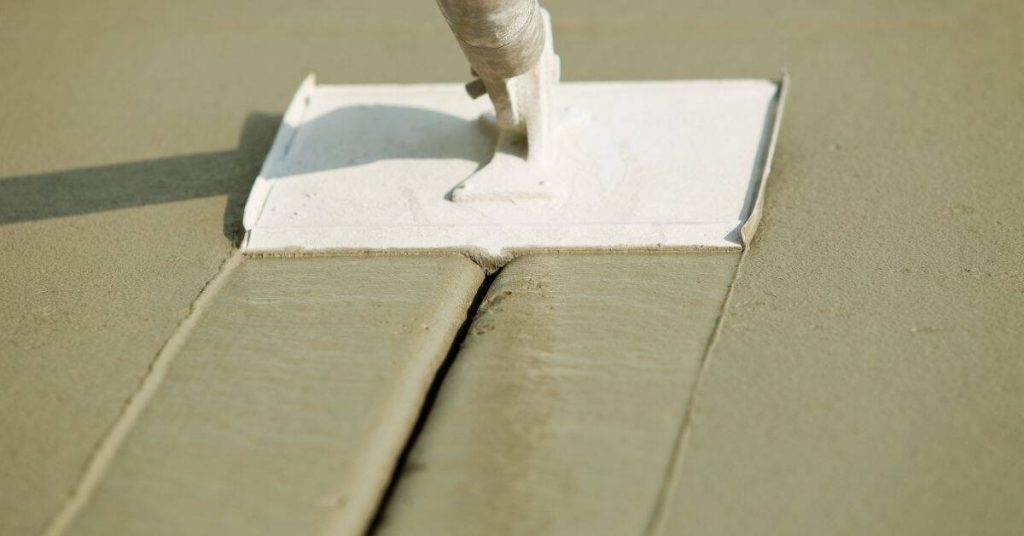
Hand using float tool on concrete control joint edge

Rebuilding Control Joint Edges After Raveling: Saw-Cut Cleanup, Primers, and Edge Forms

Introduction Rebuilding control joint edges after raveling is the process of renewing the exposed edge of a control joint that has deteriorated. This DIY repair focuses on cleaning, restoring shape, and preparing the edge for bonding or resurfacing. Keep the goal to create a clean, straight edge ready for primers and forms. You’ll need basic

Rebuilding Control Joint Edges After Raveling: Saw-Cut Cleanup, Primers, and Edge Forms Read More »

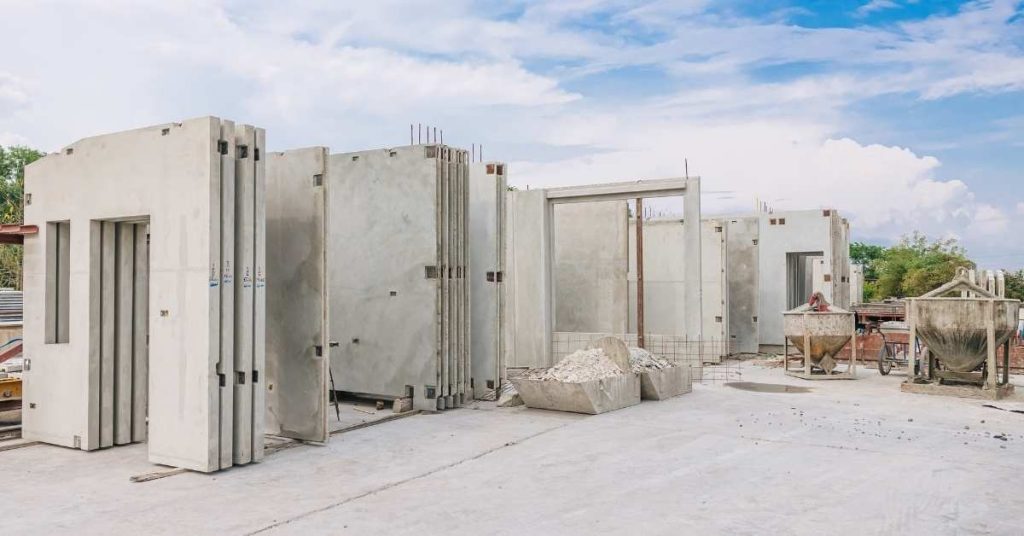
Precast concrete wall panels stored outdoors under cloudy sky

Concrete Patch Color Matching With Integral Pigment: Test Panels, Curing, and Sealer Influence

Introduction Color matching for concrete patches with integral pigment means adding pigment to the mix and comparing test panels to the target shade before a full repair. This article covers how test panels, curing, and sealer options affect the final look and help you spot mismatches early. Common mistakes include uneven coloring and blotchy finishes

Concrete Patch Color Matching With Integral Pigment: Test Panels, Curing, and Sealer Influence Read More »

Empty room with large windows and polished concrete floor

Salt-and-Pepper Polished Concrete: Achieving a Consistent Exposure Without Over-Grinding Edges

Introduction Salt-and-pepper polished concrete is a finish created by exposing a small, random mix of aggregate to produce a speckled, even look. The goal is to achieve a consistent exposure across the slab without carving too deep at edges. This approach keeps the surface looking uniform and practical for DIY applications. Edge finishing matters because

Salt-and-Pepper Polished Concrete: Achieving a Consistent Exposure Without Over-Grinding Edges Read More »

Wood block with nail inserted standing on concrete surface

Concrete Countertops With Inlays: Brass, Glass, Wood—Bonding and Differential Movement

Introduction Concrete countertops with inlays are countertops that embed brass, glass, or wood accents into the concrete surface. This article gives a practical, hands-on look at how to plan, mix, and place those inlays so they stay put. The goal is a durable, smooth surface you can live with, not a museum piece. We cover

Concrete Countertops With Inlays: Brass, Glass, Wood—Bonding and Differential Movement Read More »