Search Results for: control joint

Veneer Plaster over Drywall (Blueboard): What Beginners Get Wrong

Veneer Plaster over Drywall (Blueboard): What Beginners Get Wrong

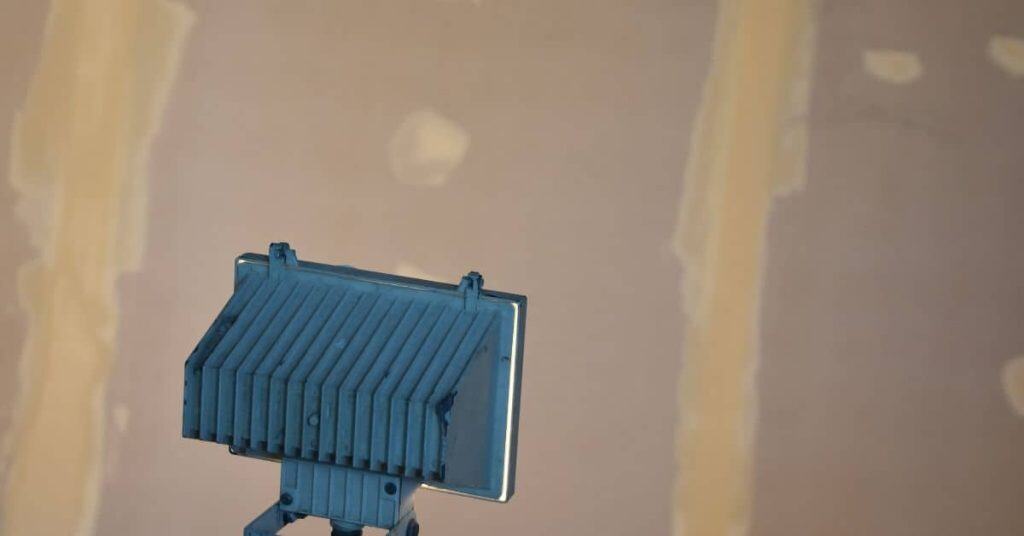
Introduction Beginners often misjudge the prep and coating process for veneer plaster over Blueboard, leading to cracks, delamination, and poor adhesion. This article explains what typically goes wrong and why proper substrate prep, plaster application, and curing matter so you can finish with a durable, smooth veneer. You’ll learn how to assess the Blueboard, apply […]

Veneer Plaster over Drywall (Blueboard): What Beginners Get Wrong Read More »
Bull Float Timing: What the Surface Should Look/feel Like When You Start

Bull Float Timing: What the Surface Should Look/feel Like When You Start

Introduction Bull float timing means starting the finish pass when the concrete surface has reached a light set and can accept a smooth, even stroke. Getting this timing right matters because it prevents gouging, reduces edge pull, and helps you achieve a uniform surface as you work. The guide walks you through how to judge

Bull Float Timing: What the Surface Should Look/feel Like When You Start Read More »

Preventing Honeycombing on Edges: Vibration Tricks without Overdoing It

Preventing Honeycombing on Edges: Vibration Tricks without Overdoing It

Introduction Use controlled, gentle vibration on the edges to minimize honeycombing without overworking the material. This approach helps you achieve a cleaner edge while preserving material integrity, and the guide walks you through practical tips, timing, and technique considerations. You’ll learn how to assess edge conditions, pick the right vibration frequency and duration, and apply

Preventing Honeycombing on Edges: Vibration Tricks without Overdoing It Read More »

Tile Edge Finishing: Metal Trims vs Bullnose vs Miters—what’s Realistic for DIY

Tile Edge Finishing: Metal Trims vs Bullnose vs Miters—what’s Realistic for DIY

Introduction Metal trims, bullnose edges, and miters each offer different, realistic finishes for tile edges. This guide explains when to use each option, outlines practical installation tips, and shares easy rules of thumb to help you choose and fit the finish confidently. Key takeaways Metal trims: Easy DIY, hides imperfections, various styles. Bullnose tiles: Softens

Tile Edge Finishing: Metal Trims vs Bullnose vs Miters—what’s Realistic for DIY Read More »

Repairing Plaster over Brick: Bonding Agents and Scratch Coat Technique

Repairing Plaster over Brick: Bonding Agents and Scratch Coat Technique

Introduction Repairing plaster over brick requires using a compatible bonding agent and a properly applied scratch coat to create a durable, crack-free finish. You’ll learn how to choose the right bonding agent, prepare the brick surface, and mix and apply the scratch coat with the right thickness and texture. The article also shares practical tips

Repairing Plaster over Brick: Bonding Agents and Scratch Coat Technique Read More »

Plaster Around Radiators and Pipes: Heat Movement Details That Crack Repairs

Plaster Around Radiators and Pipes: Heat Movement Details That Crack Repairs

Introduction Heat movement around radiators and pipes poses a significant risk to plasterwork. Cracks can form over time as these elements expand when hot water runs through them, pushing against the surrounding plaster. This guide walks you through practical steps and expert tips for detailing your plaster to accommodate heat expansion and prevent future damage.

Plaster Around Radiators and Pipes: Heat Movement Details That Crack Repairs Read More »

Form Release Alternatives: What to Use (and Not Use) on Plywood Forms

Form Release Alternatives: What to Use (And Not Use) on Plywood Forms

Introduction Choose a reliable form release method for plywood forms to ensure clean release and reusable assemblies. You’ll learn how different releases work, when to use wax, oil, or silicone-based options, and what to avoid to prevent staining or bonding failures. The guide walks through practical steps, common-sense rules of thumb, and examples of real-world

Form Release Alternatives: What to Use (And Not Use) on Plywood Forms Read More »

How to Keep Concrete Forms from Bowing: Bracing Patterns That Work with 2x Lumber

How to Keep Concrete Forms from Bowing: Bracing Patterns That Work with 2x Lumber

Introduction Bracing concrete forms with well-planned 2x lumber patterns prevents bowing and keeps the pour straight. The guide walks through practical bracing patterns, proper lumber spacing, and quick checks to keep forms straight and secure during a pour. Key takeaways Use 2x lumber bracing on all forms every 2–4 feet. Align bracing to load paths

How to Keep Concrete Forms from Bowing: Bracing Patterns That Work with 2x Lumber Read More »

Drilling and Epoxying Dowels: Hole Cleaning Steps That Actually Make It Hold

Drilling and Epoxying Dowels: Hole Cleaning Steps That Actually Make It Hold

Introduction Before diving into dowel and epoxy repairs, you need to understand the basics. This method is ideal for fixing damaged concrete where strength and load-bearing capacity are essential. Proper preparation and execution can make all the difference between a lasting repair and a quick failure. Key takeaways Clean hole debris thoroughly to maximize epoxy

Drilling and Epoxying Dowels: Hole Cleaning Steps That Actually Make It Hold Read More »

Termite Inspection Gap on Stucco: How to Create It Without Making the Wall Ugly

Termite Inspection Gap on Stucco: How to Create It Without Making the Wall Ugly

  Introduction A termite inspection gap on stucco can be created without compromising the wall’s appearance. This article explains practical steps, materials, and rules of thumb to keep the gap functional while remaining visually unobtrusive. You’ll learn how to locate, size, and finish the gap so inspections are thorough and the exterior stays clean. Key

Termite Inspection Gap on Stucco: How to Create It Without Making the Wall Ugly Read More »