Search Results for: control joint

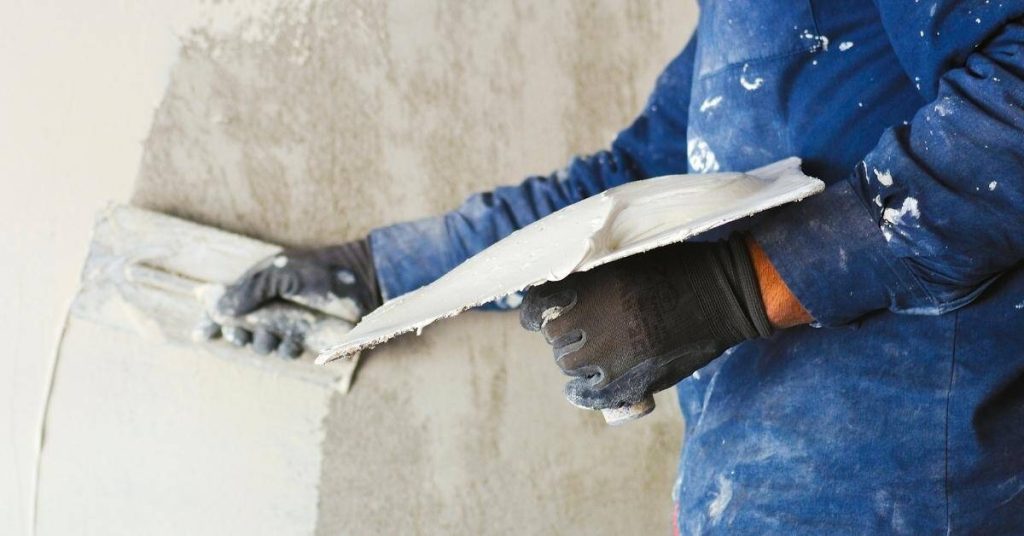
Person applying plaster to wall with trowel and hawk

Plaster Baseboard Dings and Gouges: Fast Patch Options That Don’t Shrink Back

Introduction Plaster baseboard dings and gouges are shallow to moderate damages along the plaster or drywall near the floor that you can tack quickly without later sinking or cracking. In plain terms: pick a stable, shrink-resistant patch material, prepare the area, and feather it to the surrounding surface so the repair bonds and stays flat. […]

Plaster Baseboard Dings and Gouges: Fast Patch Options That Don’t Shrink Back Read More »
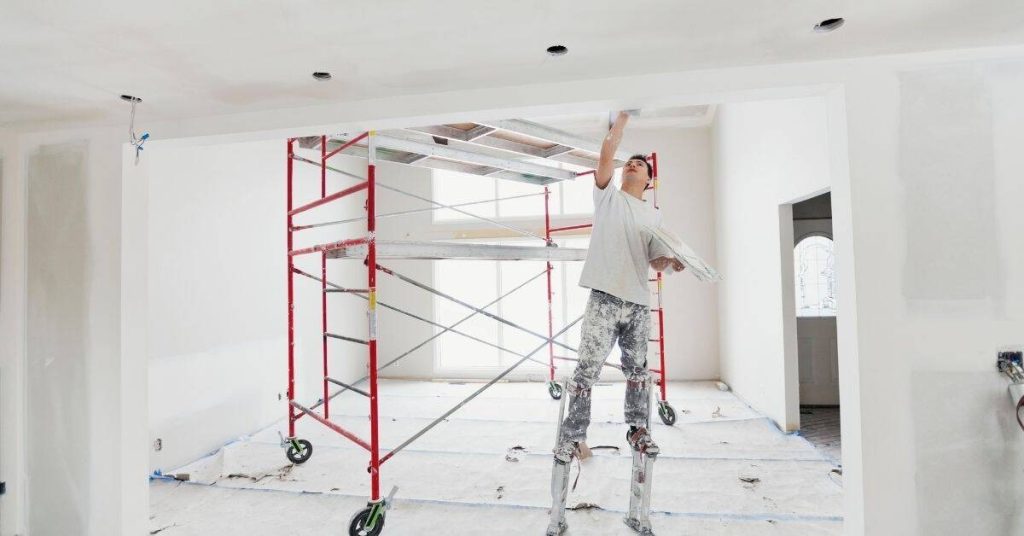
Worker applying plaster to ceiling with scaffolding nearby

Plaster Repairs Around Ceiling Light Boxes: Reinforcement That Stops Ring Cracks

Introduction Plaster repairs around ceiling light boxes are targeted fixes that reinforce the plaster and stop the circular “ring” cracks that form where fixtures meet the ceiling. This means cleaning the crack, adding a reliable backing or reinforcement around the box, and patching with an appropriate plaster or joint compound following the product directions. Treat

Plaster Repairs Around Ceiling Light Boxes: Reinforcement That Stops Ring Cracks Read More »

metal window grille on textured plaster wall

Fixing Rust Bleed Through Plaster: Metal Isolation and Stain-Blocking Strategy

Introduction Fixing rust bleed through plaster means stopping iron staining at the metal source and isolating it so stains don’t reappear through new finishes. In practice that means exposing the area, treating or replacing corroded metal, and using an appropriate isolation/stain-blocking primer before replastering or painting. Check product labels and manufacturer instructions for compatibility with

Fixing Rust Bleed Through Plaster: Metal Isolation and Stain-Blocking Strategy Read More »

Green paint roller applying green paint on white wall

Plastering Over Old Calcimine Paint: Identification Tests and Bonding Fixes

Introduction Plastering over old calcimine paint means confirming the paint is the flaky, powdery lime-based finish that repels new plaster and then removing or treating it so plaster can bond. I’ll show simple tests to identify calcimine and practical fixes for adhesion problems you can do with common tools. If a product or spec matters,

Plastering Over Old Calcimine Paint: Identification Tests and Bonding Fixes Read More »

Man smoothing plaster on wall with float tool

How to Get Dead-Flat Plaster Walls: Straightedge Checks and Build-Up Strategy

Introduction Getting dead-flat plaster walls means using straightedge checks and a stepwise build-up of layers until any high or low spots are leveled out. It’s a practical process of finding the worst deviations, feathering in material, and rechecking with a straightedge until the surface reads flat to the eye and tool. Expect to use joint

How to Get Dead-Flat Plaster Walls: Straightedge Checks and Build-Up Strategy Read More »

white plaster wall with uneven textured surface

Venetian Plaster Over Existing Texture: When to Skim, When to Sand, and When to Remove

Introduction Venetian plaster over existing textured walls means deciding whether to skim, sand, or remove that texture so the final finish looks smooth and bonds properly. In plain jobsite terms: skim if the texture is shallow and solid, sand if it’s flaky or slightly high, and remove if it’s loose, highly uneven, or has adhesion

Venetian Plaster Over Existing Texture: When to Skim, When to Sand, and When to Remove Read More »

Close-up of paint roller applying white paint on wall corner

How to Paint Over Silicone Contamination: Solvents, Abrasion, and Specialty Primers

Introduction Painting over silicone contamination means removing or isolating slick silicone residue so paint will stick; that can be done with solvents, mechanical abrasion, or specialty primers depending on how much silicone is present. Start by testing a small area to see if solvent or sanding removes the contamination, and always check product labels and

How to Paint Over Silicone Contamination: Solvents, Abrasion, and Specialty Primers Read More »

Paint roller applying white paint on wall

How to Create a Paint Sample Wall Without Ruining Drywall: Removable Boards and Film

Introduction Creating a paint sample wall without ruining drywall means putting paint on removable boards or using a temporary film so the wall itself stays clean. This is a hands-on DIY approach that keeps samples tidy and lets you move or change test spots without patching. Check product labels and manufacturer instructions for attachment methods

How to Create a Paint Sample Wall Without Ruining Drywall: Removable Boards and Film Read More »

Paint roller applying white primer on drywall

How to Avoid Picture Framing on Walls: Rolling Patterns, Wet Edges, and Primer Strategy

Introduction Picture framing is the darkened outline that appears around a painted wall when roller technique, wet edge control, or primer choice are handled poorly. In plain jobsite terms: it’s caused by overlapping passes that dry at different rates and by inconsistent paint load from the roller. I’ll describe practical ways to keep a consistent

How to Avoid Picture Framing on Walls: Rolling Patterns, Wet Edges, and Primer Strategy Read More »

Glossy shiny black epoxy coated floor reflecting light

Polyurea vs Epoxy Floor Coatings: Where Fast Cure Helps and Where It Causes Failure

Introduction Polyurea and epoxy are two different floor coatings: polyurea cures very fast and stays flexible, while epoxy cures slower and tends to be harder and more rigid. For a DIYer that means polyurea can get you back on the floor quickly, but the fast cure also makes surface prep and application less forgiving. Check

Polyurea vs Epoxy Floor Coatings: Where Fast Cure Helps and Where It Causes Failure Read More »