Search Results for: control joint

Person applying plaster to plaster cornice with trowel and spatula

Plaster Cornice Repairs: Making Simple Running Molds for Clean Profiles

Introduction Plaster cornice repairs using simple running molds means making a flexible or straight guide that lets you press or cast matching profile runs to restore damaged cornice sections. It’s a hands‑on jig you shape to the original profile and use to form or press repair material in place. This approach is practical for small […]

Plaster Cornice Repairs: Making Simple Running Molds for Clean Profiles Read More »

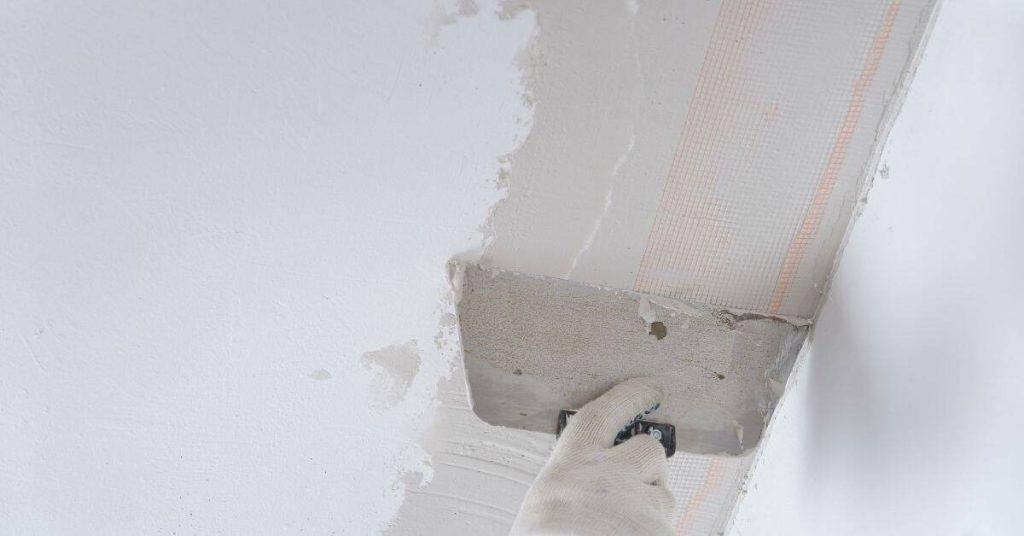
Person smoothing plaster on ceiling with trowel

Fixing Plaster Cracks at Ceiling Medallions: Stress Relief Cuts and Rebuild Strategy

Introduction Fixing plaster cracks at ceiling medallions means cutting relief gaps to stop old stresses and then rebuilding the substrate so the medallion sits on sound plaster, not cracked or loose bits. Start by exposing the damaged area cleanly, check the lath condition and how the medallion is attached, and decide whether to repair lath

Fixing Plaster Cracks at Ceiling Medallions: Stress Relief Cuts and Rebuild Strategy Read More »

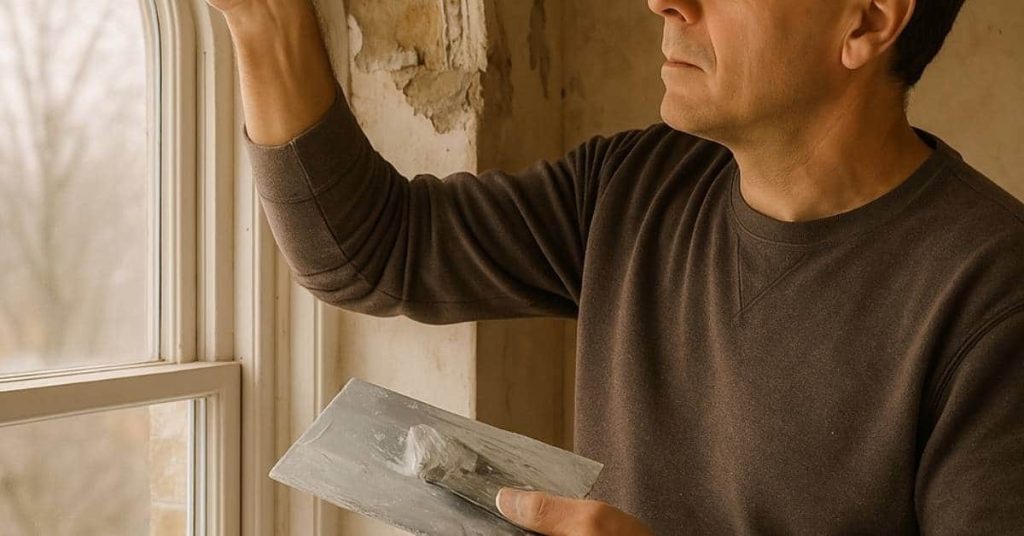
Man applying plaster near window casing with trowel

Repairing Plaster Around Window Casings: Keeping Returns Straight and Corners Crisp

Introduction Repairing plaster around window casings means removing loose material, backing up the returns, and filling and finishing so the casing meets the wall with straight returns and crisp corners. This is a hands‑on job that starts with good surface prep and the right tools—check product labels for compatibility and drying times before you buy.

Repairing Plaster Around Window Casings: Keeping Returns Straight and Corners Crisp Read More »

Person applying plaster over blue mesh on wall

Reinforcing Plaster at Material Transitions Without Telegraphing

Introduction Reinforcement can reduce cracking and visible lines at a plaster transition, but it cannot make two moving or failing substrates behave as one. First identify the junction: a gypsum-board joint, masonry-to-gypsum transition, timber-to-masonry junction, or exterior cement-render detail. Then use the tape, mesh, lath, bead, or movement-joint detail specified for that assembly. To keep

Reinforcing Plaster at Material Transitions Without Telegraphing Read More »

Man applying plaster over rough stone wall wearing gloves

Salts in Masonry Plaster: Efflorescence, Spalling, and Compatible Repair Materials

Introduction Salts in masonry plaster are soluble minerals that migrate to the surface as moisture moves through the wall, leaving white or powdery deposits called efflorescence and in worse cases causing spalling where the plaster flakes or crumbles. This usually comes from water intrusion, damp soils, or moisture wicking through masonry and carries salts via

Salts in Masonry Plaster: Efflorescence, Spalling, and Compatible Repair Materials Read More »

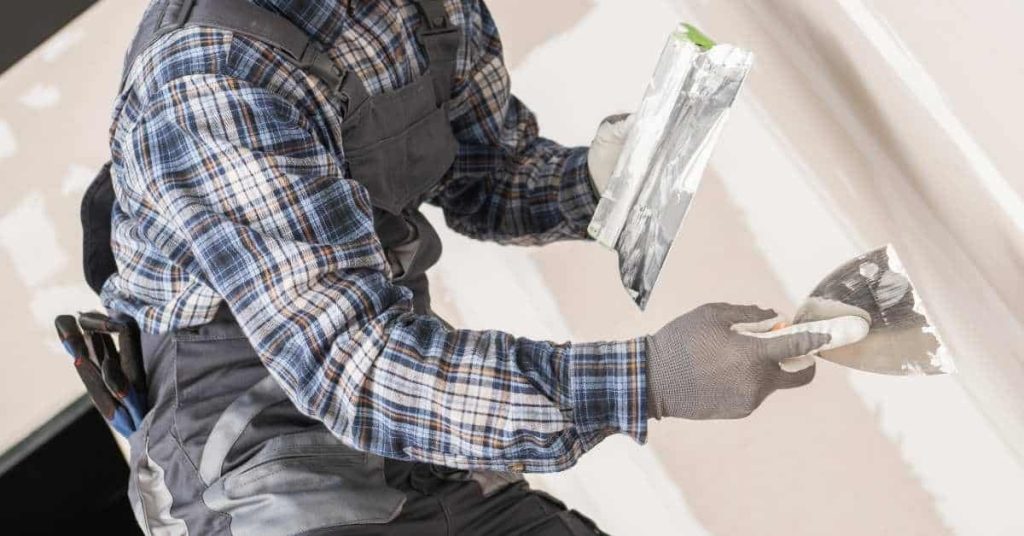
Worker applying plaster with trowel over cement board

Plaster Over Cement Board: Bonding Agents and Scratch Patterns That Hold

Introduction Plaster over cement board means using the right bond coat and a keyed scratch surface so the plaster mechanically and chemically adheres to the board. In plain jobsite terms: use a compatible bonding agent or cement-based scratch coat, make a consistent scratch pattern so the plaster keys, and follow product label instructions for mixing

Plaster Over Cement Board: Bonding Agents and Scratch Patterns That Hold Read More »

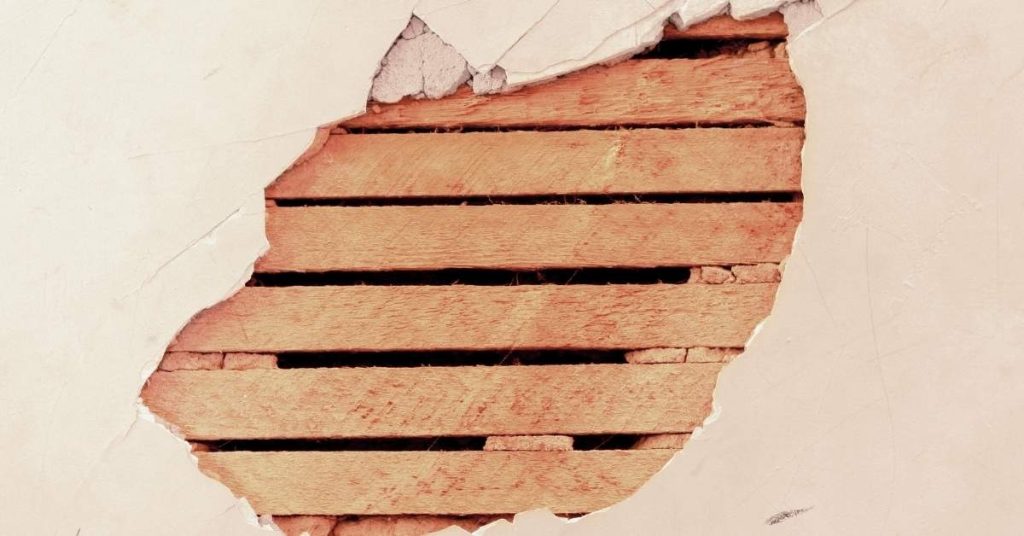
Wooden lath exposed through broken plaster wall

Plaster Key Failure on Wood Lath: Diagnosing, Re-Keying, and When to Add Mesh

Introduction Plaster key failure on wood lath happens when the plaster pulls away from or loses grip on the lath, leaving loose or hollow areas that will crack or fall out. This write-up shows practical ways to diagnose where keys failed, how to re-key small patches, and when adding mesh or repairing lath is the

Plaster Key Failure on Wood Lath: Diagnosing, Re-Keying, and When to Add Mesh Read More »

Worker applying stucco around windows with protective coverings

Stucco at Window Sills: Drip Edges, End Dams, and How to Stop Staining Below

Introduction Stucco at window sills is the way the exterior plaster and the window flashing work together to shed water away from the opening; a proper setup keeps water off the wall below and prevents staining. In practice that means installing a flashinged sill, a drip edge or kerf, and end dams where the stucco

Stucco at Window Sills: Drip Edges, End Dams, and How to Stop Staining Below Read More »

Hand smoothing plaster on wall with trowel

Polished Lime Plaster in Wet Areas: What ‘Waterproof’ Really Means and Safe Details

Introduction Polished lime plaster in wet areas is not automatically waterproof; it’s a breathable finish that can resist splashes when detailed and sealed correctly. In practice that means treating the wall system—substrate, cement backer, membranes, and sealers—as a complete assembly rather than relying on the lime plaster alone. Check product labels and manufacturer instructions for

Polished Lime Plaster in Wet Areas: What ‘Waterproof’ Really Means and Safe Details Read More »