Dash Finish Stucco Repair: Getting Consistent Throw Without Overbuilding Thickness
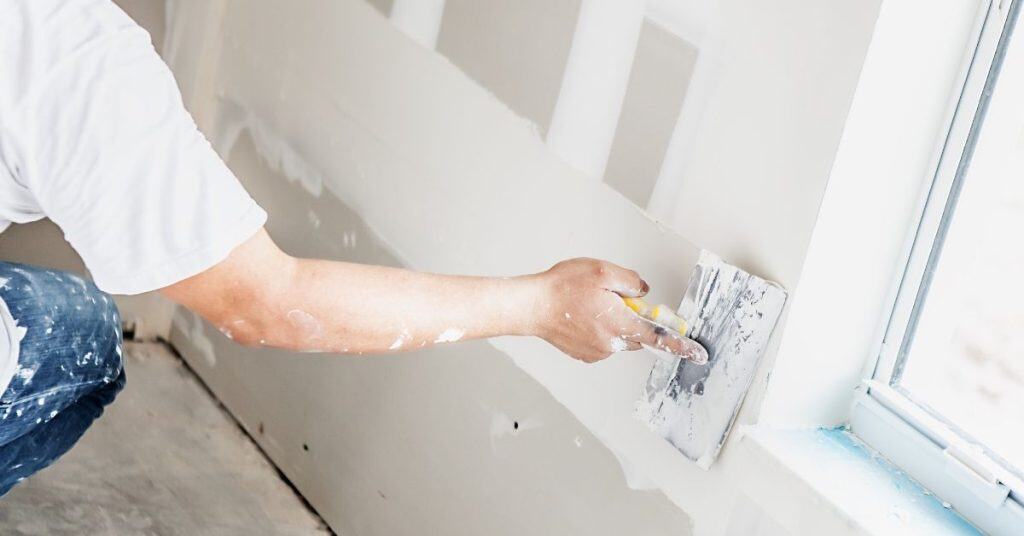
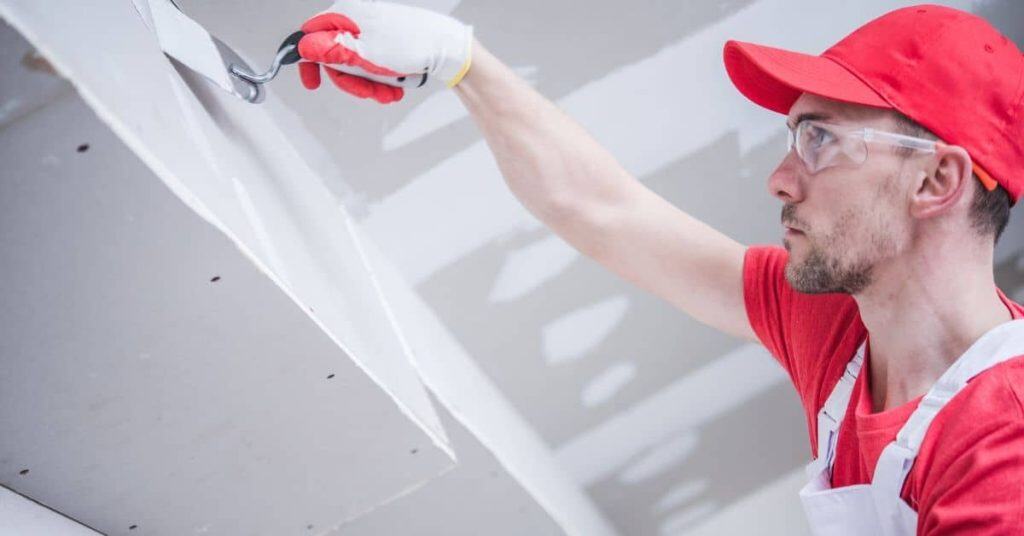
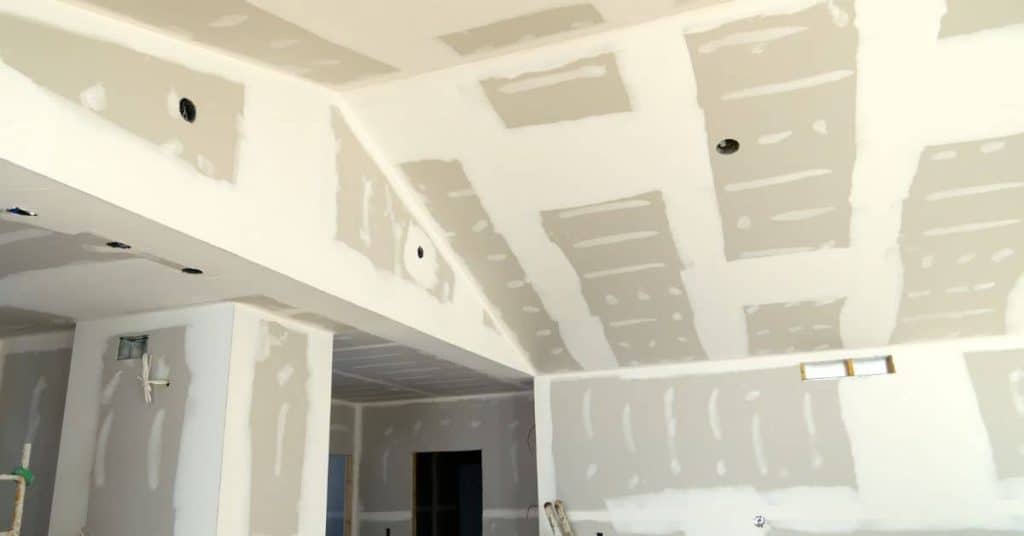
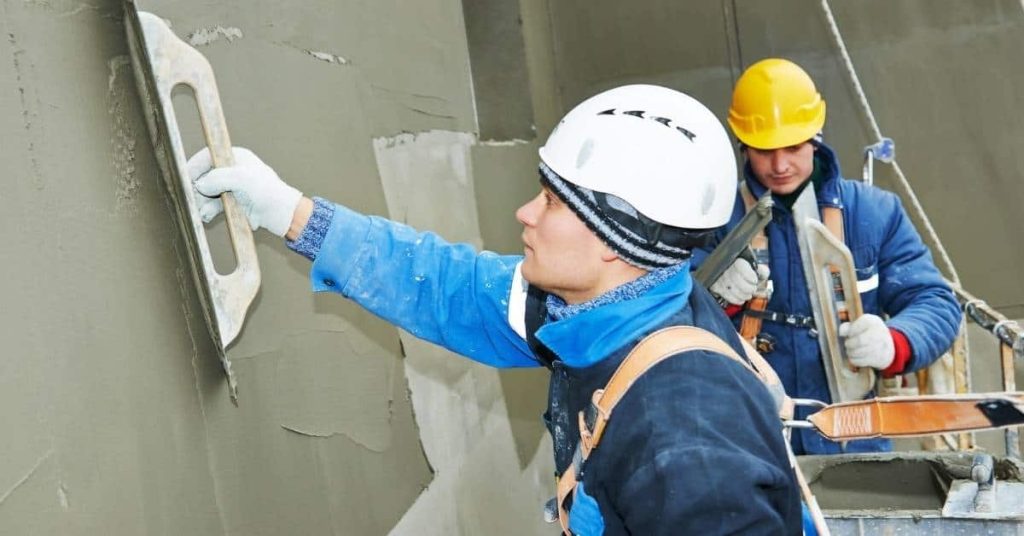
Introduction Dash finish stucco repair means rethrowing a coarse mix so it keys to the patch without building the wall thickness beyond the original surface. Think of it as matching texture by controlling how far and thick each throw lands rather than piling on extra material. Check product labels and local practices for compatible scratch/base […]
Dash Finish Stucco Repair: Getting Consistent Throw Without Overbuilding Thickness Read More »