
Introduction
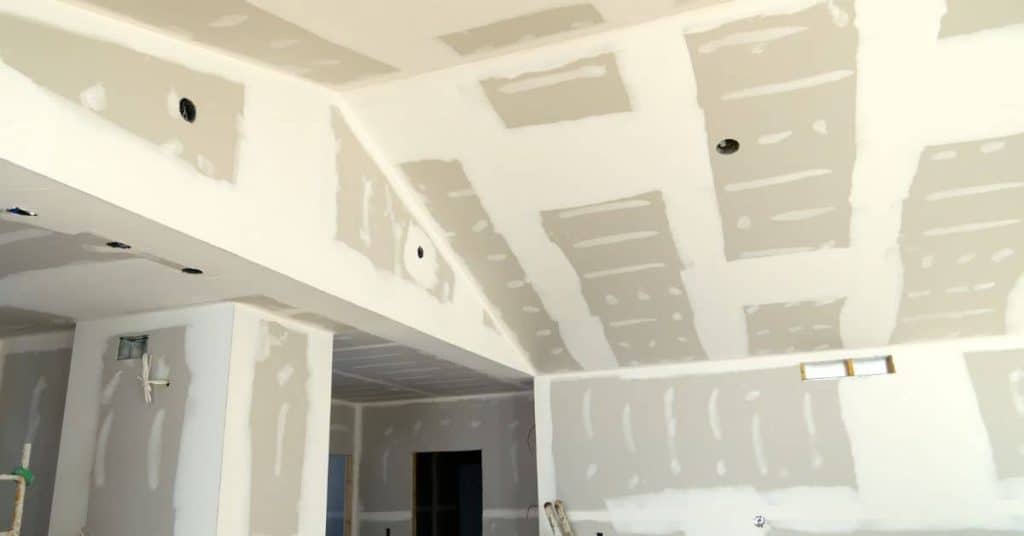
Drywall finishing in cold weather means keeping mud workable and joints from cracking by managing heat and drying times.
Aim for a steady, moderate temperature in the room and avoid drafts that slow drying. Check the mud you’re using for cold-weather guidance and follow the manufacturer’s instructions for working times. Position heaters to keep the space warm without overheating the joints, and watch for humidity changes that can affect set.
Place heaters away from walls and open joints to prevent direct heat on taped seams and corners. Use practical drying times as a guide, but expect longer times than in warm weather and plan accordingly. If you see hairline cracks, reassess surface prep, tape, mud thickness, and heater placement, and adjust as needed to keep joints stable.
Key takeaways
- Plan heater placement to avoid direct blasts on fresh joints and walls.
- Keep work areas ventilated to control humidity without blasting drying agents.
- Label cans and tapes, verify compound cure expectations with manufacturer instructions.
- Stagger tasks and maintain workflow to prevent cold-weather cracking from stress.
- Monitor surface prep quality; airless tools can introduce fine dust.
- Safety: ensure ventilation and CO detectors; keep heaters and cords safe.
Table of Contents
- Introduction
- Key takeaways
- Cold-Weather Drywall Finishing — Key Challenges and Goals
- Heater Types and Pros/Cons for Drywall Jobs
- Optimal Heater Placement and Airflow Strategy
- Dry Times and Cure Expectations for Common Compounds
- Humidity Control, Moisture Sources, and Ventilation
- Surface Prep, Taping, and Application Techniques to Prevent Cracks
- Workflow and Schedule Template for a Cold-Weather Drywall Job
- Tools, Materials Checklist and Material Specs to Verify
- Conclusion
- FAQ
Cold-Weather Drywall Finishing — Key Challenges and Goals
In cold weather, finishing tasks slow as moisture and temperatures push drying times. Workloads hinge on controlling humidity and temperature. You must plan for longer cure windows.
Cracking and poor adhesion become more likely when joints stay wet or flex. Gaps can show up if finishes dry unevenly. Verify product data sheets and local rules for acceptable temps and recoat intervals.
How temperature and humidity affect compounds
Cold weather slows down the setting and drying process of joint compound. The ideal working temperature is between 70-85°F (21-29°C). Below this range, compounds take longer to set and dry.
Relative humidity also plays a role. In cold, dry conditions, moisture evaporates too quickly from the compound, leading to poor adhesion and increased risk of cracking.
The slower drying time means you’ll need to adjust your schedule and plan for longer wait times between coats.
Common failure modes in cold weather
Cold temperatures can lead to several issues with drywall finishing:
Delamination: The joint compound may not adhere properly to the drywall or tape, causing it to peel off over time.
Wide shrinkage cracks: As the compound dries too slowly and loses moisture unevenly, it can shrink and crack. These cracks are wider than typical hairline cracks and run along the length of the joint.
Delayed cure: The setting process is slowed down, leading to a longer wait time before you can sand or apply additional coats. This can also increase the risk of dust and debris accumulating on the surface.
Heater Types and Pros/Cons for Drywall Jobs
Electric, indirect-fired, and forced-air heaters each behave differently in enclosed spaces. Ventilation needs vary; watch moisture buildup. Choose a option that suits room size and duration of use.
Consider how heat source affects evaporation, ventilation, and dust movement. Check label instructions and manufacturer guidelines for safe clearance and operation in tight spaces. Be mindful of room airflow and potential moisture impact.
Electric heaters and radiant heaters
Electric heaters and radiant heaters are great for enclosed spaces like your drywall job. They don’t produce combustion byproducts, so you won’t need to vent them.
Pros: No fumes, easy to set up, and safe to use around flammable materials.
Cons: They can be expensive to run, especially if you’re heating a large area. Also, they don’t increase humidity, which could slow down drying times in cold weather.
Indirect-fired vs direct-fired forced-air heaters
Forced-air heaters come in two types: indirect and direct. The main difference is how they handle exhaust.
Indirect: These heaters recirculate air, so they don’t dry out the room or increase humidity. They’re ideal for drywall work as they won’t interfere with drying times.
Direct: These heaters exhaust air outside. While they can heat quickly, they also remove moisture from the room, which could slow down your drywall drying process. Avoid using them in enclosed spaces where you’re working on drywall.
Optimal Heater Placement and Airflow Strategy
Start by locating heaters away from fresh seams and wet edges to avoid direct heat on joints. Position fans to create crossflow that warms the room evenly. Avoid blowing hot air directly onto still-wet finishes.
Setups should prevent hotspots and keep dust from sticking to wet surfaces. Use manufacturer guidance for clearance and electrical load. Verify with product labels or instructions.
Distance from walls and direct heat vs ambient heating
Placing heaters too close to fresh drywall joints can cause hot spots, leading to uneven drying and potential cracking. Aim for even ambient temperature instead.
Follow these guidelines:
- Keep heaters at least 2-3 feet away from walls with fresh compound.
- Maintain a consistent temperature throughout the room, around 70°F (21°C) for optimal drying.
- Always follow manufacturer’s clearances and safety instructions.
Using air movers and circulation fans
Air movers and fans help distribute heat evenly, reducing cold pockets and speeding up drying time. But be cautious with high-velocity air on wet compound.
Here’s how to use them effectively:
- Place fans so they circulate warm air gently across the room, not directly onto wet joints.
- Avoid pointing fans directly at fresh compound as this can cause it to dry too quickly, leading to cracks and other issues.
- Use fans on low settings for best results. High speeds can create drafts that interfere with drying.
Dry Times and Cure Expectations for Common Compounds
Explain that setting-type compounds cure chemically, while drying-type relies on evaporation. Cold reduces rate for both, delaying firm set. Always check product data for cure windows.
Plan around slower drying and longer wait times and adjust schedules accordingly. Look at the label for temperature range and recommended drying times. Verify with manufacturer instructions.
Setting compounds (‘hot mud’) in cold conditions
Setting-type joint compounds, often called ‘hot mud’, are your friend in cold weather. They set chemically rather than drying, making them less dependent on ambient temperature and humidity.
Advantage: Faster cure times compared to air-dry compounds, even in cold conditions.
But remember, pot life and working time are crucial. Keep an eye on the clock once you mix your compound. It’ll set faster in colder temps, so don’t let it sit too long.
Drying-type joint compound and paint readiness
Drying-type compounds rely on evaporation to cure. That means they’re more sensitive to cold, humid air – it slows down the drying process.
Wait longer: Before you can sand or prime/paint over these compounds in cold weather.
Before you pick up that sandpaper or paintbrush, verify your compound is fully dry. A simple moisture meter can help. Don’t rush this step – it’s crucial for a lasting finish.
Humidity Control, Moisture Sources, and Ventilation
Keep relative humidity under control to avoid trapped moisture. Seal openings like openings to concrete slabs and windows when possible. Bring in fresh air without chilling the workspace.
Use ventilation to manage moisture but avoid blasting cold air on wet finishes. Identify and eliminate moisture sources, and check labels for humidity guidance. Verify local rules or manufacturer specs.
Managing indoor humidity and dehumidification
In cold weather, it’s crucial to manage indoor humidity. Too much moisture slows drying times and can cause mold or mildew growth.
Use a dehumidifier alongside your heaters when the relative humidity is above 50%. This helps accelerate drying by reducing moisture in the air.
Caution: Don’t overdry. Humidity levels below 30% can make joint compound brittle and prone to cracking.
Ventilation best practices during heating
Proper ventilation is key when using heaters. It helps prevent CO build-up, removes moisture from the room, and ensures even drying.
Open windows slightly for controlled fresh-air exchange. This brings in cool, dry air while letting warm, moist air escape.
Avoid: Creating strong drafts over wet seams. This can slow drying and cause warping or cracking.
Surface Prep, Taping, and Application Techniques to Prevent Cracks
Prepare a solid substrate and clean it before taping. Use the right paper or mesh tape and embed properly to resist peeling. Feather joints and compress compound to minimize shrinkage.
Work in thin coats and allow adequate drying between passes; cold slows this, plan accordingly. Inspect seams for bridging and check product instructions for setting times. Verify with label or data sheet.
Taping and embedding in cold environments
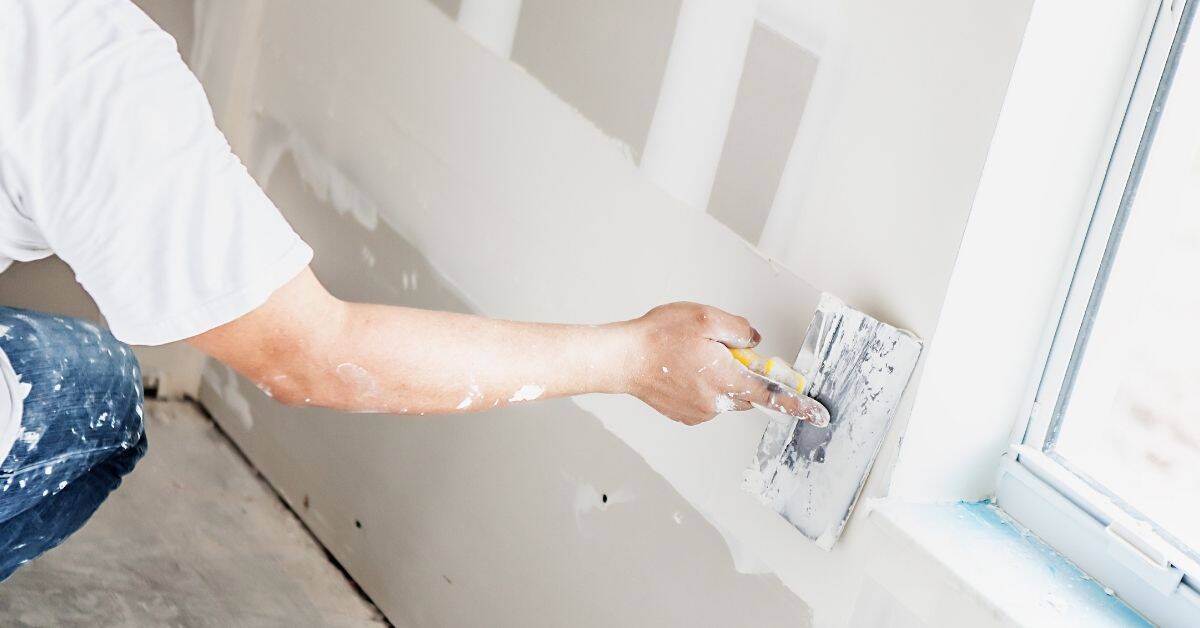
In cold weather, proper taping is crucial to prevent cracks. Use tapes designed for low-temperature adhesion.
Firm pressure when embedding ensures a solid bond. Avoid trapped moisture – use a damp cloth to wipe the surface before applying tape.
Don’t rush. Let each layer set and dry fully before moving on. This might take longer in cold conditions, so be patient.
Layering, feathering, and sanding strategy
In cold weather, apply thinner coats. This reduces shrinkage stress as the compound dries.
Feather your edges well. This helps distribute stress evenly across the joint, preventing cracks.
Wait for each coat to fully cure before sanding. Heavy sanding too soon can cause cracks. In cold conditions, this could take a day or two longer than usual.
Workflow and Schedule Template for a Cold-Weather Drywall Job
Outline acclimation, taping, compound application, sanding, priming in logical order. Build in longer buffers for drying in cold air. Use a checklist to track progress and checks at each stage.
Adjust sequences to align with actual room conditions and verify cure or set times with product instructions. Keep a live log of temps, humidity, and any changes. Verify guidance from manufacturer or local rules.
Material acclimation and staging
Before you start your cold-weather drywall job, make sure materials are ready. This checklist helps.
- Gypsum boards: Let them sit in the room for at least 24 hours before installation to reach near-room temperature.
- Compound: Open and mix it indoors, away from cold drafts. Keep it covered when not in use.
- Avoid exterior walls: Stage materials away from exterior walls to prevent them from getting too cold.
- Check temperature: Use a thermometer to ensure materials are at least 50°F (10°C) before starting work.
- Humidity check: Keep an eye on humidity levels. Too much can cause issues, too little can make materials brittle.
- Tape and tools: Bring them indoors a day ahead to warm up.
- Avoid moisture sources: Keep materi