
Introduction
Crackle paint is a DIY finish you can achieve at home by following a step-by-step approach.
In this guide, you’ll learn how to prep surfaces, choose and apply crackle effects, control crack patterns, and avoid common mistakes with practical tips and rules of thumb.
Key takeaways
- Choose a crackle medium compatible with your base and decorative finish.
- Prepare surface thoroughly; clean, dry, and sand for optimal adhesion.
- Apply base coat even, awaiting full dry before crackle medium.
- Work fast with crackle medium; don’t overbrush to avoid smooth areas.
- Topcoat should contrast base to enhance crackle patterns and depth.
- Drying times depend on humidity; ventilate and protect from dust.
Table of Contents
- Introduction
- Key takeaways
- Tools and materials checklist
- Preparing the surface
- Applying the base coat and crackle medium
- Topcoat application and paint techniques for crackling
- Drying, curing, and finishing touches
- Common mistakes and solutions
- Planning, cost, and safety considerations
- Long-Term Maintenance to Prevent Future Problems
- Conclusion
- FAQ
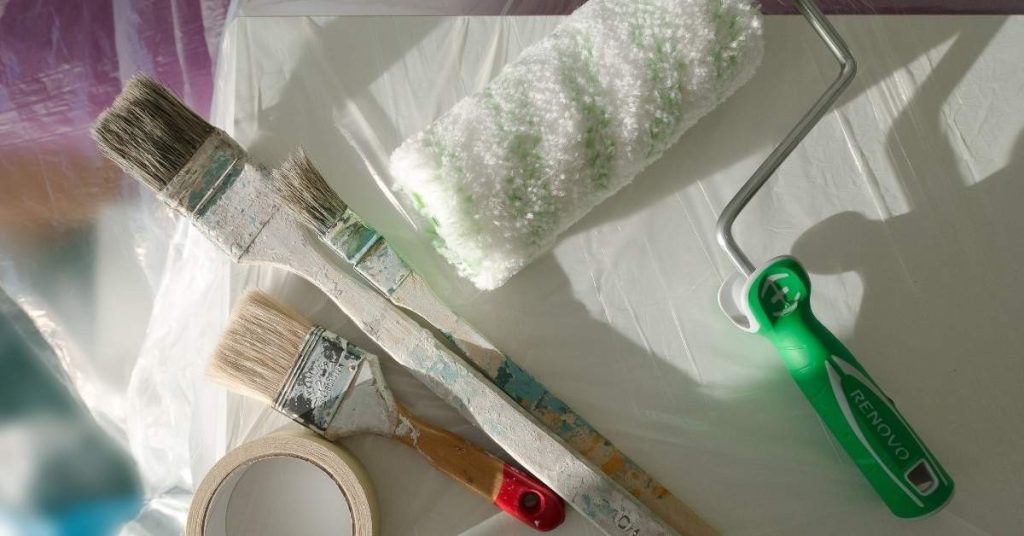
Tools and materials checklist
The tools and materials checklist focuses on the core must-haves plus practical extras, with quick notes on substitutions and PPE. You’ll want a solid primer and crackle medium, two paint colors, basic brushes (2″ for edges and 1″ for detail), a short-nap roller, a paint tray, drop cloths, painter’s tape, and a damp rag, plus gloves and a mask for ventilation. If you’re short on tape, you can substitute masking methods, and choose latex/acrylic water-based options where appropriate.
Optional but helpful extras can smooth the workflow: a foam roller for base coats, a paint mixing stick and disposable cups, a stencil or fan brush for texture, a crackle comb or old card for even crackle distribution, and a slow-speed stirrer to avoid air bubbles. Plan quantities in safe ranges—base coat roughly 1 gallon per 120–150 sq ft, crackle medium about 1 quart per 600–900 sq ft with multiple coats as needed, and topcoat/sealant around 1–2 quarts for typical small projects; size brushes/rollers by area (2″ for edges, 9″ roller for large walls) and use 1–2 yard drop cloths per large surface. Ensure ventilation, prep surrounding areas, test crackle on a sample, and budget time for cleanup and proper disposal of used materials.
Materials: paints, crackle mediums, primers
Before you start your project, make sure you have the right materials to achieve a professional look.
- Latex paint: Use for base coats; check if it adheres well to surface. Skipping can lead to peeling and cracking.
- Oil-based primer: For sealing porous surfaces; confirm coverage with one coat. No primer means poor adhesion of topcoat.
- Acrylic paint: Good for top coats; ensure it dries evenly without streaks. Without proper drying, texture won’t crackle correctly.
- Crackle medium: Choose commercial or DIY mix; test on small area first to see if it cracks properly. Skipping this step results in no cracking effect.
Quick rule: Always test materials before full application.
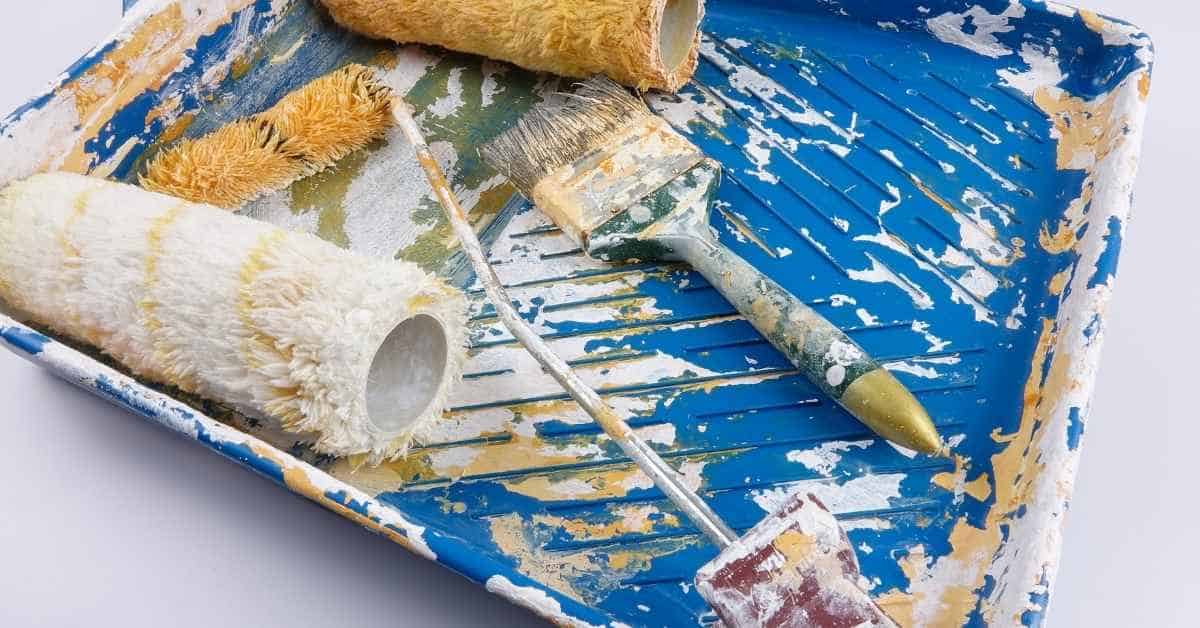
Tools: brushes, rollers, scrapers, and safety equipment
Having the right tools is key to a smooth process. Here’s what you need:
- 2″ brush: For edges; check if it holds paint well without dripping. Missing this can lead to uneven edges.
- 9″ roller frame: With short-nap roller; confirm even coverage on large areas. Skipping means poor base coat application.
- Sandpaper: To prep surfaces; ensure smoothness before priming. No sanding leads to rough, uneven paint job.
- Tack cloth: For dust removal after sanding; check if it leaves surface clean. Missing this step causes dirt in primer and paint.
- Masking tape: To protect edges; confirm proper adhesion without residue. No masking means messy cleanup.
Quick rule: Always prep surfaces before painting.

Preparing the surface
Preparing the surface means cleaning, sanding, and priming appropriately for each substrate—wood, MDF, metal, and surfaces with old finishes. You’ll remove dust and oils, create a uniform key, and choose a primer suited for crackle effects, while watching for lead paint on older homes.
Why it matters: proper prep prevents uneven crackle and peeling, and a good test patch will show how the finish behaves before you commit. Always follow product labels and local rules for lead paint safety and disposal, and plan for safe removal and thorough washing before priming.
Cleaning and sanding checklist
Before you start crackling, make sure your surface is clean and ready with this quick checklist.
- Remove dust: Wipe down the surface; check for residue. Skipping this step can lead to poor paint adhesion.
- Clean oils: Use degreaser; rinse thoroughly, dry completely. Leaving oil can cause bubbling or peeling later on.
- Sand wood: 120-grit paper for smooth finish; check surface feels even. Not sanding enough leaves a rough texture that won’t look good under paint.
- Sand MDF: 180-grit paper for fine touch-up; ensure no splinters or rough spots remain. Skipping this can lead to uneven crackle patterns.
- Sand metal: 220-grit paper for smooth base; check surface is free of rust and scratches. Rust left behind will cause the paint to peel off over time.
- Fine sanding: For glossy surfaces, use 400-grit paper; ensure surface is dull but not too rough. Over-sanding can weaken the substrate’s integrity.
- Fill cracks: Use wood filler or spackle; smooth out and let dry. Leaving gaps will show through the paint and ruin your crackle effect.
- Scuff sand: Lightly go over filled areas with fine-grit paper; check for smoothness. Not scuffing can lead to a patchy finish that looks amateurish.
Quick rule: Always clean and sand before applying primer or paint, ensuring your surface is ready for the crackle effect.
Priming and patching
Primer helps create a uniform base that enhances adhesion of the crackle medium. Use the right primer based on your substrate type.
For wood, use an oil-based primer to seal knots and prevent bleed-through. For MDF or metal, opt for a water-based primer as it dries faster and is less toxic.
If you have any gouges or holes, patch them with spackle or wood filler before priming. This ensures your surface is smooth and ready for the crackle effect without any bumps or dips showing through.
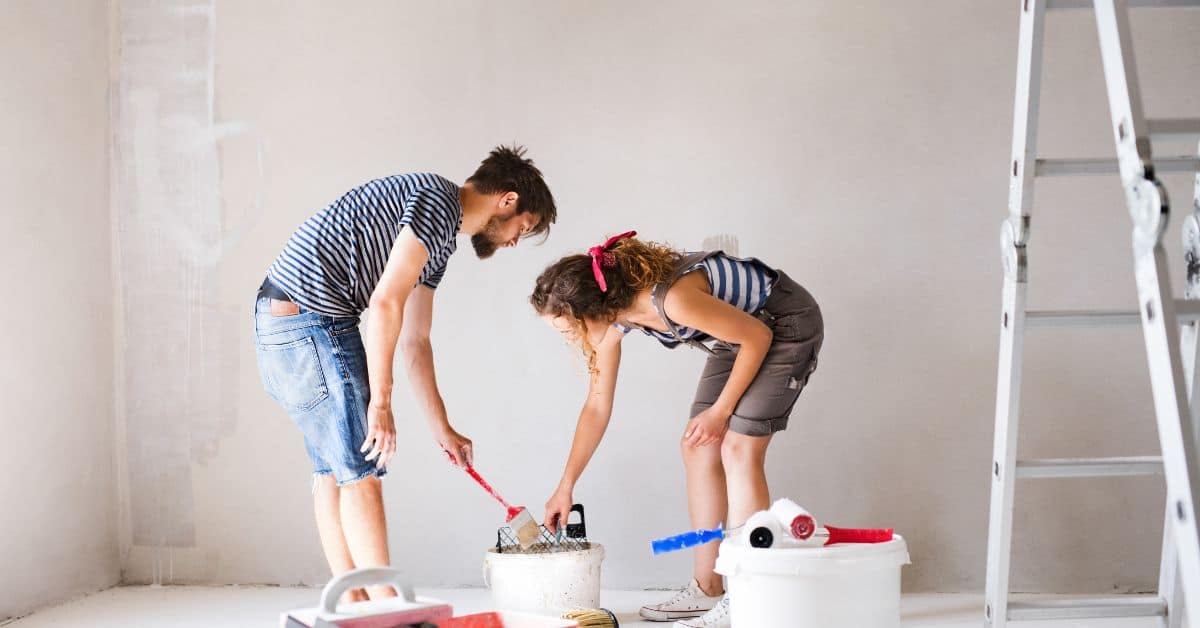
Applying the base coat and crackle medium
Start with a clean, sanded surface and apply an even basecoat. Let it dry to the point where you could lightly handle it, then apply the crackle medium in a controlled thickness and consistent direction to guide crack patterns. Intercoat timing matters to control crack scale.
Your basecoat color and finish, plus the crackle medium’s composition, drive how big and how many cracks show up, so plan for contrast. Apply with even strokes or a gentle cross-hatch and test thickness on a small sample before committing to the whole piece. Keep ambient conditions moderate and avoid rushing or touching while it dries.
Basecoat application and drying
First up, you need to lay down your basecoat. Choose a color that contrasts well with your topcoat for the best crackle effect. Clean and sand your surface thoroughly before applying primer if needed.
When it comes to applying the basecoat, use a brush or roller depending on the area size and texture. Aim for an even layer about 1/8 inch thick. Let it dry completely—usually overnight in normal conditions. Check that you can scrape off any excess with your fingernail without leaving paint behind.
Pro tip: If you’re working in humid weather, give it extra time to cure properly before moving on. Rushing this step can lead to cracking issues later when applying the crackle medium.
Crackle medium application techniques
The key here is consistency in how you apply your crackle medium. Use a brush, roller, or spray gun depending on what works best for the job at hand. A thin layer will give you smaller cracks while a thicker one results in larger ones.
Brushing: Go with long even strokes and avoid overworking it once applied. Wiping: This method helps smooth out any uneven areas but can leave marks if not done right. Spraying: Best for large surfaces, ensure an even mist without pooling.
To test the thickness, dab a small area and let it dry to see how the cracks form. Adjust your technique accordingly until you get the look you want. Remember, less is more when it comes to avoiding unwanted brush marks or unevenness.
Topcoat application and paint techniques for crackling
Topcoat color and finish largely determine how crackling shows up: lighter undercoats with a darker topcoat tend to emphasize the cracks, while matte vs gloss finishes change how obvious the lines appear. The timing and technique to trigger cracking depend on drying conditions and the underlayer’s porosity and adhesion, plus how you layer and brush or roll to guide the pattern and spacing. Different paint types react differently, and your choice of sheen will tilt the final look, so plan your layering sequence and methods accordingly.
Practical testing helps you see the effect before committing: do spot tests on scrap or inconspicuous areas, and note how the surface prep and product compatibility shape the result. This matters because prep, substrate, and environment drive crack direction and spacing, and poor technique or incompatible paints can ruin the effect. If issues pop up, you’ll want simple fixes and a clear plan for adjusting your approach next time.
Timing and brush/roller techniques
To get the crackling effect right, you need to time your topcoat application carefully. If applying wet-on-wet, make sure the medium is still tacky but not fully dry—this gives you a window where the paint will stick but also allows for some movement as it dries.
When brushing or rolling, use light pressure and quick strokes to avoid smearing the base layer. For predictable cracks, move your brush or roller in one direction only; going back over wet areas can disrupt the crackling pattern you’re trying to achieve.
Creating different crackle finishes (thin vs. thick)
To get fine hairline cracks, apply a thin layer of your base coat and let it dry thoroughly before applying the topcoat. For wider fissures, go for a thicker base coat but still keep an eye on how it dries to avoid sagging or cracking in unwanted places.
For thin crackle effects, use less medium with more topcoat when mixing your paint. This will give you finer cracks that look like aged paper. If aiming for thick cracks, add more medium and less topcoat to create a dramatic effect.
Check base compaction before applying any layers to ensure the surface is ready for crackling without causing uneven results or weakening the finish.
Drying, curing, and finishing touches
Drying and curing times for crackle-painted concrete depend on temperature, humidity, airflow, and surface moisture. Start with the product label for guidance, and look for signs like no tack and even color before moving on. If it’s cool and damp, expect slower cure; hot, dry conditions can speed things up but may cause premature drying or cracking.
This matters because environment plus finish choice affects how the texture develops and how long you can safely handle, recoat, or seal. Plan finishing steps like distressed or antiqued effects after initial cure, then choose a penetrating sealer or a film-forming sealer based on compatibility with crackle texture, followed by wax only if recommended. Do adhesion tests and check recoat intervals on the label or datasheet, and watch for uneven sheen, crack pattern changes, or moisture at the surface that signal a rework is needed.
Troubleshooting drying issues
If your crackle paint is taking longer to dry than expected, it could be due to high humidity levels or cooler temperatures. Both of these factors slow down the evaporation process and can lead to a tacky finish that won’t properly crackle.
To fix this issue, you might need to adjust the environment where your concrete is drying. For instance, if it’s too humid, consider using a dehumidifier or moving the project indoors to a more controlled space. If it’s cold outside, try warming up the area with heaters but avoid direct heat sources that could cause uneven drying.
Uneven cracks can also occur when there are sudden changes in temperature or humidity levels during the curing process. To prevent this, monitor these conditions closely and make adjustments as needed to keep them stable throughout the drying period. If you notice any issues early on, address them promptly before they become bigger problems.
If your paint remains tacky after several days, it’s likely that the surface isn’t dry enough for another coat or sealant yet. Wait until it feels completely dry and no longer sticky to touch before proceeding with further steps like distressing or sealing.
Sealing and protective finishes
Once your crackle paint has fully dried and cured, sealing it is crucial for longevity. You can choose between penetrating sealers that soak into the concrete or film-forming sealants like polyurethane or varnish that sit on top.
A penetrating sealer will enhance durability without altering the crackle texture too much. It’s ideal if you want to maintain a natural look while still protecting against wear and tear. On the other hand, film-forming sealants provide an additional layer of protection but can slightly flatten out the cracks.
If you decide on a film-forming sealer like polyurethane or wax, make sure to test it in a small area first to see how it affects your crackle pattern. Some finishes might alter the appearance more than others, so choose based on what looks best for your project.
Wax is another option that adds a subtle shine and can be reapplied periodically to maintain protection. However, wax doesn’t last as long as other sealants and requires regular maintenance. Always ensure the surface is clean and dry before applying any sealer or topcoat.
Common mistakes and solutions
Common crackle finish mistakes show up as uneven cracking, peeling, blistering, and wrong substrate prep, often from temperature swings, moisture, improper primer, or incompatible crackle products. Corrective steps include thorough surface cleaning, moisture mitigation, re-priming with a bonding primer, using a crackle medium that matches the topcoat, and applying the finish in deliberate stages. Quick fixes if you’re already off the rails include stripping back to a clean substrate and re-prepping, then reapplying in smaller, controlled steps.
This matters because proper prep and product compatibility protect the look and save you rework. Do a simple plan: test for moisture, patch and re-sand rough areas, choose the right indoor or exterior crackle option, and keep temperature and humidity steady during cure. If a project goes wrong, strip and re-prep, patch small cracks, and touch up without wrecking the crackle.
Uneven or sparse cracking
If your crackle paint isn’t showing the right amount of texture, it’s usually due to one of three issues: incorrect thickness of layers, incompatible paints, or improper drying conditions. Start by checking if you applied too thin a base coat or too thick a crackle medium. Both can lead to sparse cracking.
To fix this, sand down the surface and reapply with the correct layer thicknesses. Use a primer that’s compatible with your chosen topcoat for better adhesion. Also, ensure the room temperature stays steady during drying—fluctuations can cause uneven cracks.
Prevent future issues by testing small areas first to find the right balance of paint and medium. Always follow manufacturer instructions on layer thicknesses and drying times.
Peeling, flaking, and adhesion failures
If your crackle paint is peeling or flaking off the surface, it’s often due to poor adhesion. This can happen if you didn’t prep the surface properly before painting or used incompatible products that don’t stick well.
To fix this issue, strip back to bare wood and start over with proper sanding and priming. Use a bonding primer designed for crackle paint to ensure good adhesion. Patch any rough spots with filler and let it dry completely before proceeding.
Prevent future peeling by choosing the right products from the start. Test small areas first to make sure your chosen paints and mediums work well together. Keep surfaces clean, dry, and free of dust during prep and application.
Planning, cost, and safety considerations
Plan your project around costs, time, and safety. Use a simple cost breakdown with unit prices, quantities, and totals for items like crackle paint, primer, crackle medium, brushes, rollers, drop cloths, and PPE. Also designate workspace and a drying/prep area to keep things flowing and reduce backtracking.
This matters because it helps you spot gaps, budget accurately, and stay safe. Check labels and manufacturer instructions for product-specific guidance, plan for waste margins and potential extra coats or repairs, and map out a setup that keeps solvents and debris contained while you work.
Cost breakdown and time estimate
To get a handle on your budget, start by estimating the cost of materials. For crackle paint projects, you’ll need primer or sealer, base coat paint, crackle medium (if using), topcoat paint, brushes, rollers, drop cloths, and PPE like gloves and goggles. A good rule is to buy enough for two coats just in case.
For a small room, expect material costs around $50-$100 depending on the quality of paints and mediums you choose. Larger areas will naturally cost more. Allocate time based on room size: a 10×10 foot area might take about half a day for prep and application, plus another day or two for drying.
Remember to factor in additional costs such as surface repairs if needed, and any special tools like scaffolding for high ceilings. A contingency line of around 15% is wise to cover unexpected expenses or price hikes.
Health and safety precautions
Safety first when handling paints and solvents. Always wear gloves, goggles, and a respirator or mask to protect against fumes and dust. Work in well-ventilated areas; open windows and use fans if necessary.
Proper disposal of paint waste is crucial. Follow local regulations for disposing of hazardous materials like solvent-based paints. Never burn leftover paint or solvents as they can be highly flammable.
If working with older surfaces, test for lead before starting to avoid exposure risks. Also, be cautious around combustible materials and ensure there are no ignition sources near your workspace.
Long-Term Maintenance to Prevent Future Problems
Long-term maintenance starts with identifying the root causes of cracking and finish deterioration so you can tailor the steps. Look for shrinkage, moisture intrusion, and substrate movement, then set up a maintenance routine with regular inspections, cleaning, sealing, and re-coating as needed. Use breathable sealers or elastomeric coatings as appropriate and keep an eye on early warning signs like new cracks or moisture staining.
This matters because steady care keeps small issues from becoming costly repairs, and it supports long-lasting appearance and performance. Stick to a simple cycle of cleaning, priming, sealing, and timely crack touch-ups using compatible primers, crack fillers, sealers, and topcoats, and use the right brush or roller for the job.
Set up a periodic inspection routine to catch issues early
Inspect your crackle-painted concrete every six months, especially after harsh weather or heavy use.
- Check for cracks: Look for new hairline cracks. If missed, they can widen and cause major damage.
- Look at edges: Ensure tape lines are still intact. Peeling edges mean water can seep in.
- Inspect surface: Check for peeling or flaking paint. This is a sign of adhesion failure.
- Note moisture stains: Look for any discoloration from water damage. Early signs prevent bigger issues later.
- Check substrate stability: Ensure the concrete isn’t shifting. Movement can cause cracking and delamination.
- Verify sealant condition: Make sure seals are still intact. Cracks in seals let moisture in, causing damage.
- Evaluate efflorescence: Look for white salt deposits on the surface. This indicates water intrusion.
- Note any pop-outs: Check for small pieces of concrete popping out. These can lead to larger cracks if ignored.
Quick rule: Regular checks save big headaches down the road.
Maintenance routines and re-coating timeline for crackle-painted surfaces
Clean your crackle-painted concrete with a mild detergent solution, avoiding harsh chemicals that can damage the finish. Rinse thoroughly.
Control humidity and moisture by applying breathable sealers or elastomeric coatings to prevent water from penetrating the surface. These products also help manage temperature fluctuations.
Re-coat your crackle-painted concrete every three years or as needed based on wear and tear. Use a compatible primer and sealer before repainting to ensure proper adhesion and protection against moisture.
Conclusion
Crackling paint successfully comes down to clean prep, steady steps, and careful safety. When you control the process, you get a durable, attractive finish that you won’t regret later.
Proceed by confirming the surface is clean and dry, applying the base coat evenly, then a crackle medium in the specified order, and finally the topcoat with proper drying between layers. Test a small area first, keep the area well ventilated, wear a mask and gloves, and never rush the curing times. Check your tools, materials, and work area before you start each stage, and work in a logical sequence from prep to finish to avoid mistakes and costly fixes.
Common mistakes to watch: skipping surface prep or moisture, working too thickly or too quickly, and ignoring long drying or curing times. Safety rules: cut exposure by working in a ventilated space, protect floors and adjacent surfaces, and use drop cloths and painter’s tape where needed. If a crackle pattern isn’t responding after the recommended wait, pause, recheck the base and crackle products, and test again in a small spot rather than redoing a large area.
If the project feels beyond the scope—unfamiliar surfaces, large areas, or uneven results—calling a professional is sensible. Otherwise, stay disciplined with the plan, follow the steps, and the finish will hold up and look right. Stay steady, stay safe, and you’ll finish with confidence.
FAQ
What tools do I need for crackle painting?
You’ll want a clean base surface, a base paint, a crackle medium, and a top coat. Get brushes or a roller, a cup for mixing, and a smooth working area. If you’re unsure, check the product instructions for drying times and compatibility.
How do I apply crackle paint without ruining the finish?
Start with a solid base coat and let it dry thoroughly. Apply the crackle medium as directed, then brush on the top coat in one steady pass. Work quickly and don’t rework it after you start drying.
What are common mistakes and how can I fix them?
Common mistakes are applying too thick a top coat, not letting the base dry, or using incompatible products. Fix by letting each layer dry fully and matching the crackle medium to the top coat. If it looks wrong, start over on a small test panel.
How long before I can seal the finish?
Let the crackle layer dry according to the product’s guidance, then apply a clear sealant. If in doubt, test on a scrap piece and confirm no tackiness remains before sealing the real piece.